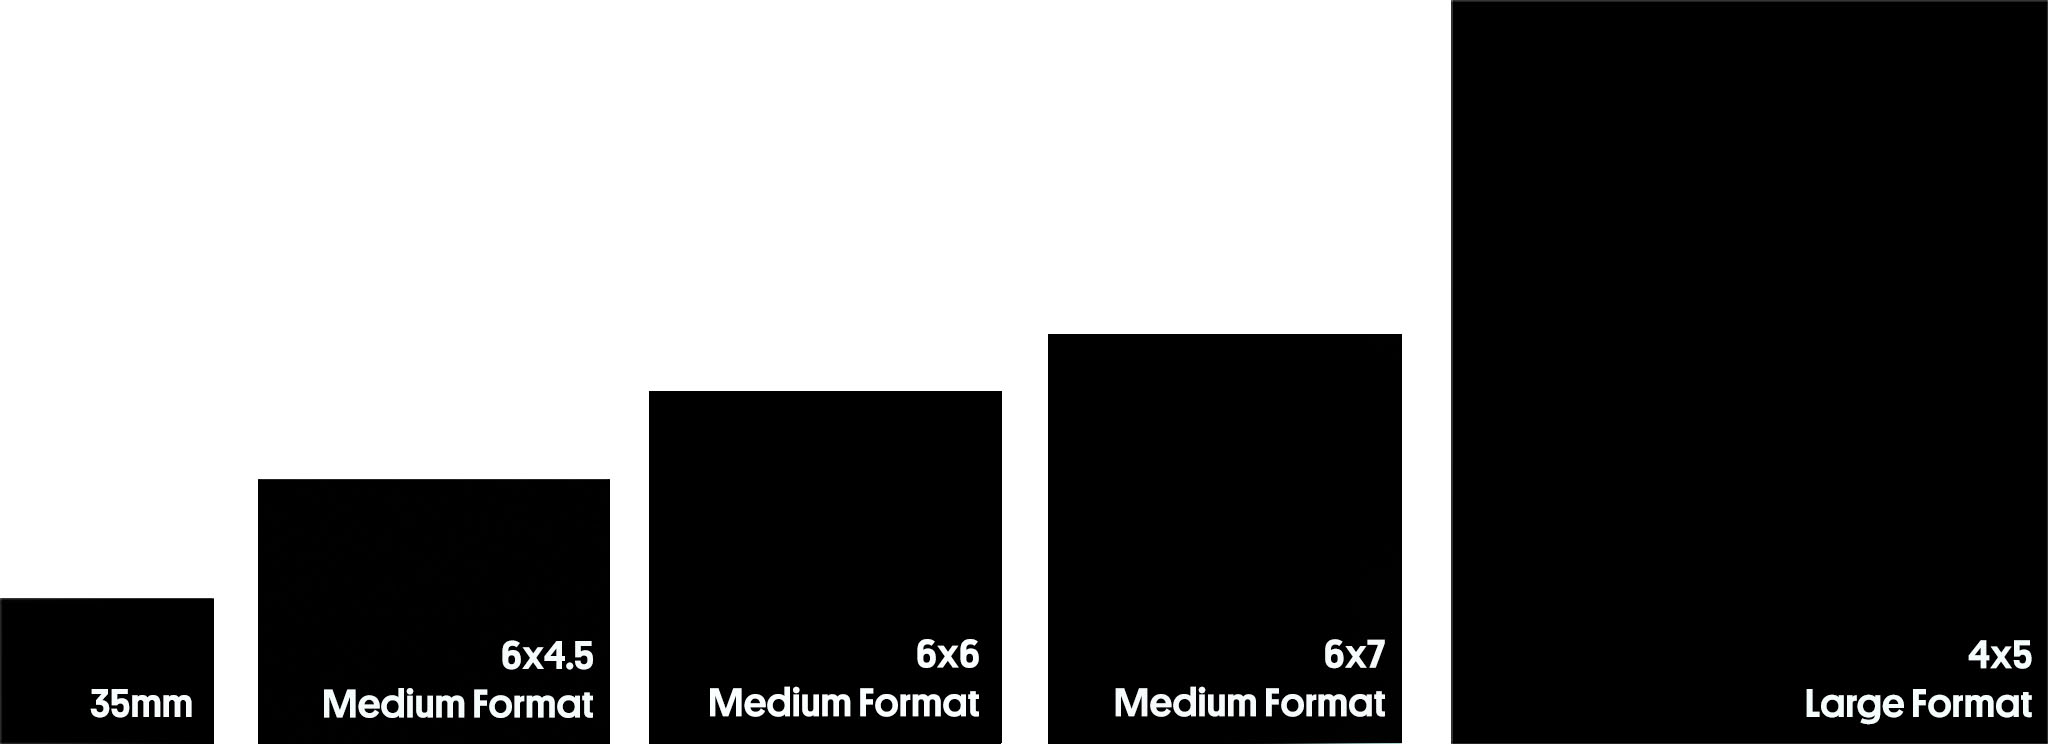
Large format photography issue #1 – is it a 5×4 camera or 4×5? The answer seems to depend on where you live, and I’m in Australia, so I’m calling it 5×4.
I’ve done a couple of workshops on large format cameras — a day learning the basics on a 5×4 field camera and another doing 5×4 tintypes. Both were lots of fun, but, thanks to the time developing sheet film takes (first workshop), how long setting up, shooting then developing tintype plates take, and having to share the equipment with others, I made a total of three images over the two days.
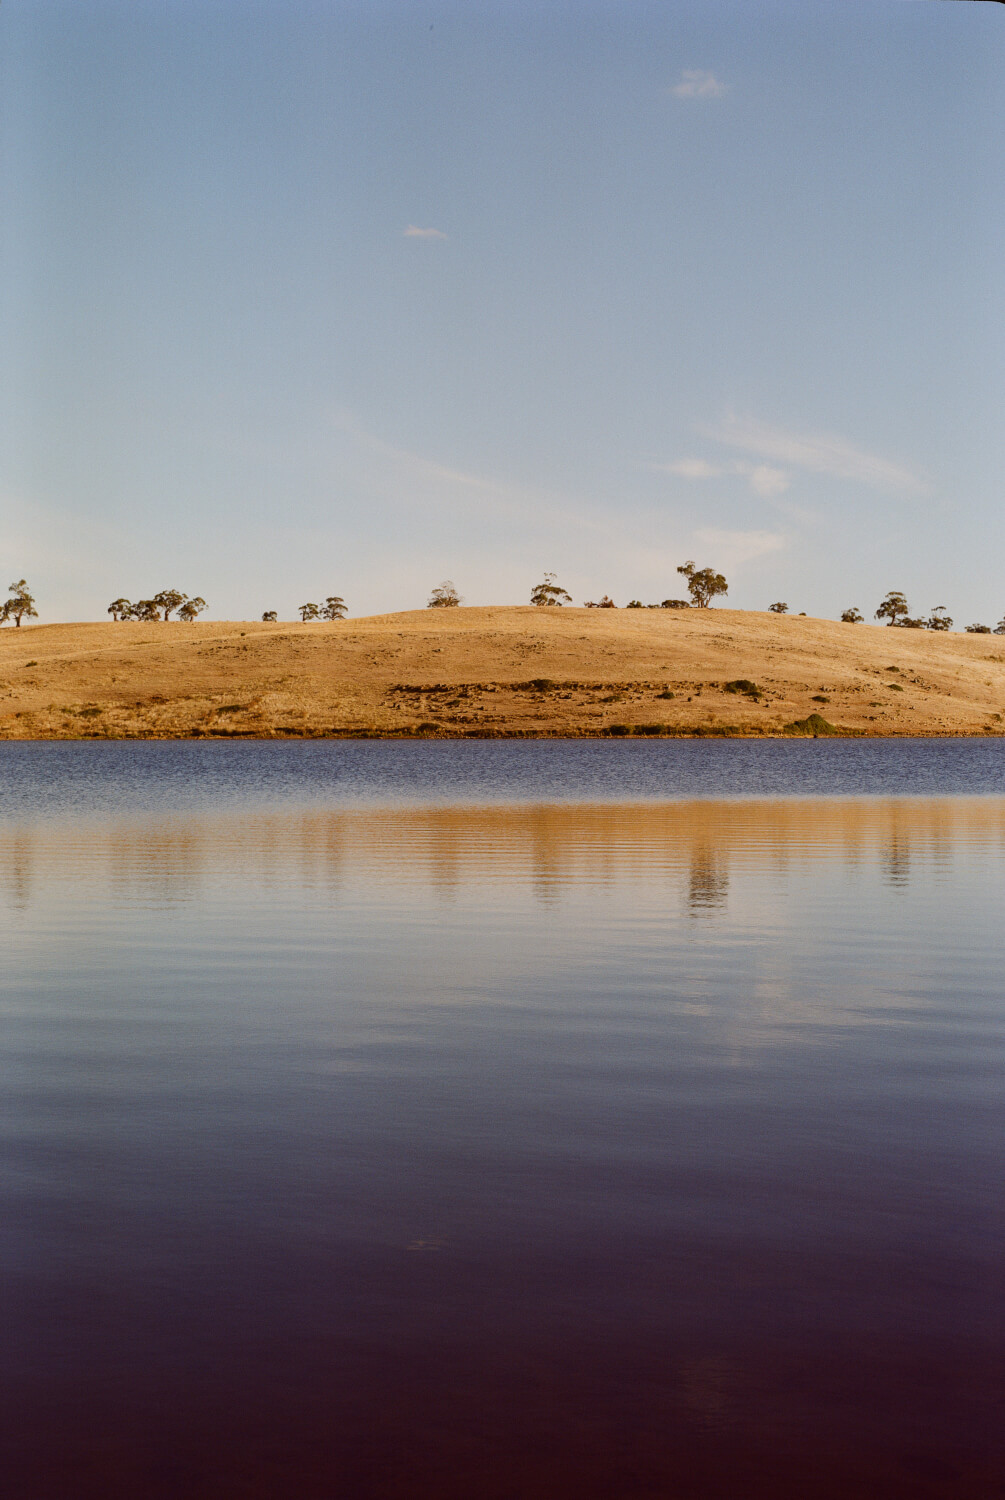 I was sure they were all going to look this good. Kodak Gold 200
When I was offered the use of a Toyo 5×4 with a 120 format film back that shot 6x9cm frames over the Easter break, I jumped at the opportunity!
After a lesson in setting the camera up, focusing and making an exposure, I carted what seemed like 100kgs of gear home with me on the bus. While the camera is made of plastic, its owner keeps it, along with two lenses, and associated some odds & ends in a Pelican case.
Oh, and its accompanying tripod seemed to be made of lead.
The camera’s ground glass has frame line marks for the 6x9cm back — as it’s hard to see much on the glass in bright daylight, even with a dark cloth over your head, I put some painter’s tape on to help me compose.
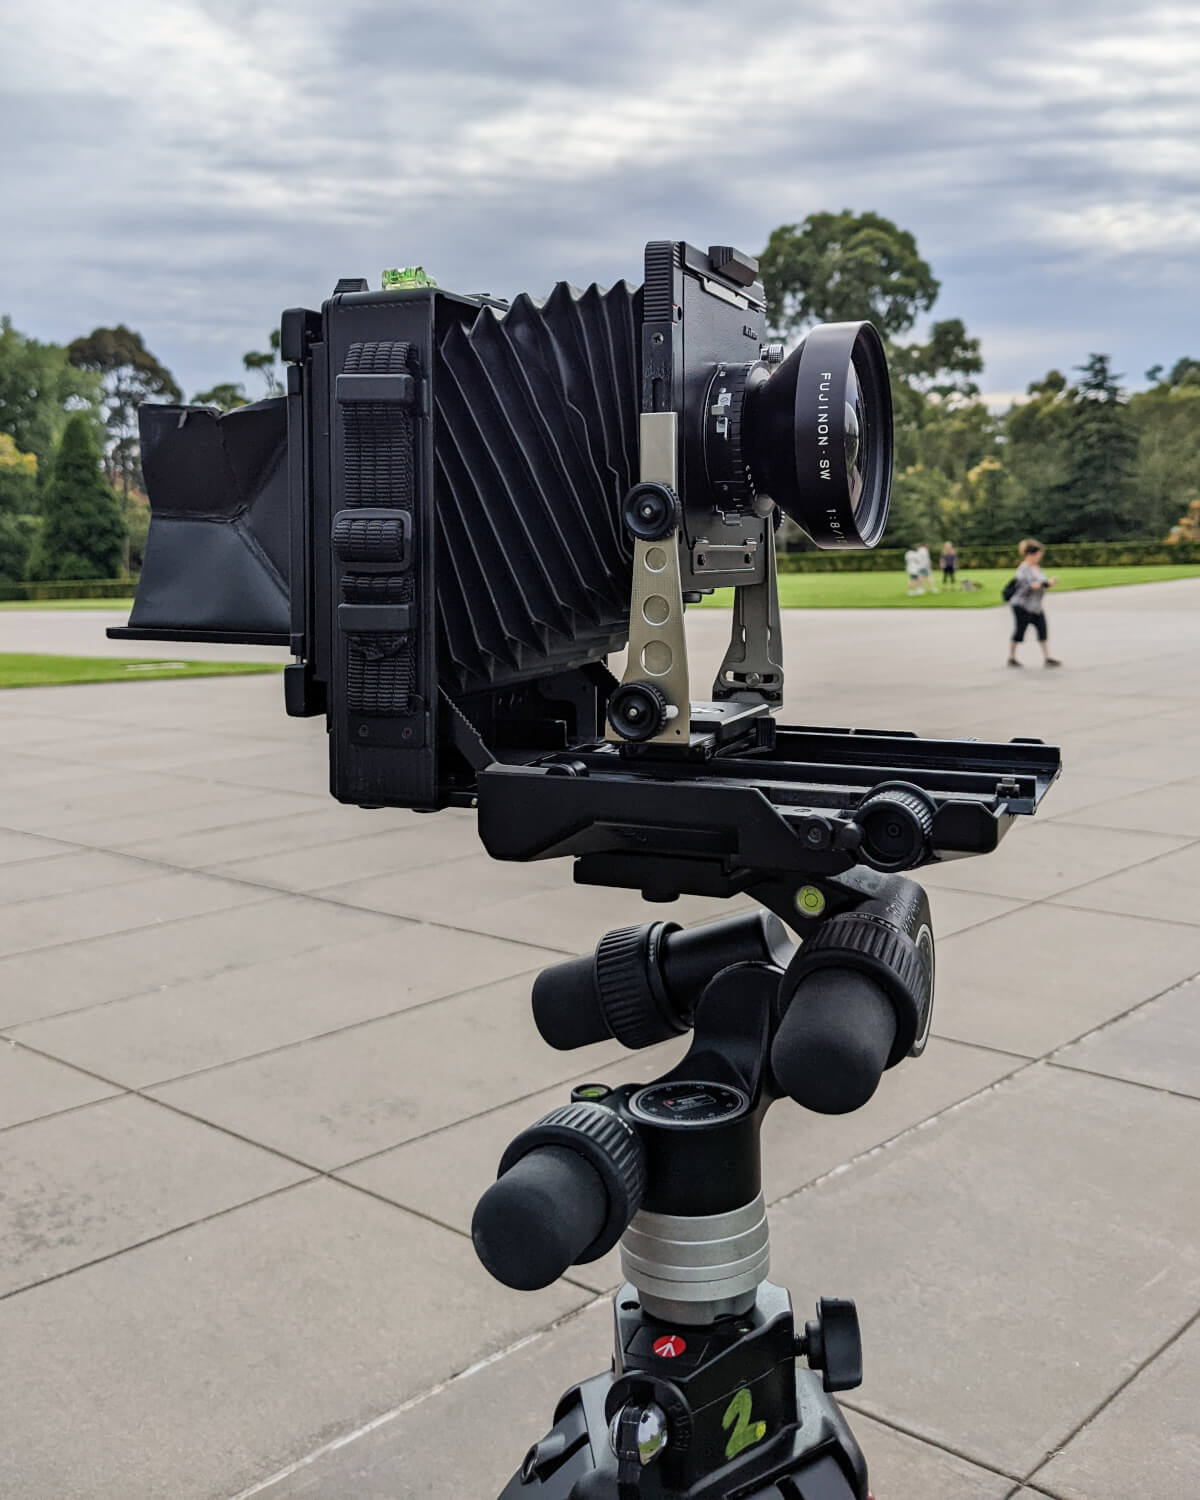 LOTS of rise, lots.
The 6×9 back yields 8 frames from a roll of 120 format film, so, relative to shooting 5×4 sheet film, it’s not all that expensive, and a great opportunity (or was it an excuse?) to buy a 5 pack of the new Kodak Gold 200 in 120.
I decided the roof of the apartment building I live in would be a great place to make the first couple of images … if I left anything behind, I only had to go downstairs to find it, and I really didn’t feel like hiking a long distance to discover that I couldn’t recall one (or all) of the setup and packing down steps.
Two flights of stairs later, I started setting up. The process goes something like this:
Setting upSet up the tripod, aim for reasonably level
Open the camera, and mount it on a tripod.
Use a bubble level app on your phone to make sure the base of the camera is level.
Pull the bellows out to the appropriate length for the lens you’re using, and lock them into place.
Put the lens & lens board into place, and make sure it’s locked.
Open the lens to its widest aperture. It’s really hard to compose & focus at f/22!
The ground glass back onto the camera, and make sure it’s locked.
Preparing the shotWith something over your head to keep the light out (I used a dark jacket) get focus close to correct.
Compose, maybe using some of the movements – I did a lot of rise & fall and had an attempt at the Scheimpflug principle (google it, I can’t even pronounce it, so I’m sure my explanation will be rubbish).
Use a loupe to nail focus on the ground glass.
Calculate exposure. I bought a Reveni Labs spot meter recently and it’s excellent. And there was something almost comical about using a tiny light meter with a huge camera.
Taking the shotSet the aperture & shutter speed, cock the shutter, test fire, re-cock the shutter.
Load film in the 6×9 back, wind to the first, or next, frame.
Take the ground glass out.
Double-check the shutter is cocked and closed – if it’s open and you take the dark slide out you’ll wreck that frame.
Put the 6×9 back on the camera.
Remove dark slide.
Fire shutter.
Replace the dark slide.
…and packing up is more or less the reverse order.
I decided that as it was a long process to set up for each location, I’d make a portrait and a landscape shot of my subject.
With the two first images made, I headed off to explore, taking my 20-year-old son as an assistant — he’s interested in film photography and was quite keen to have a play with the “watch the birdie” camera, although I think he was a little disappointed that it didn’t have an accompanying magnesium flash that went “Whoosh!”
What could possibly go wrong? A lot of things.
We headed to Melbourne’s war memorial, The Shrine of Remembrance. It’s an interesting building in a lovely large park. The first mistake: Even a few hundred meters from the car was a long way to carry very heavy equipment.
The first two images of the building — a landscape & a portrait — went fine, then an image of a tall part of the memorial, with the rise up as far as it would go, next we decided on a portrait of my son. As I clicked the shutter I said, “did I advance the film first?” No need to try to guess, no, I didn’t advance the film. So far, one unintended double exposure.
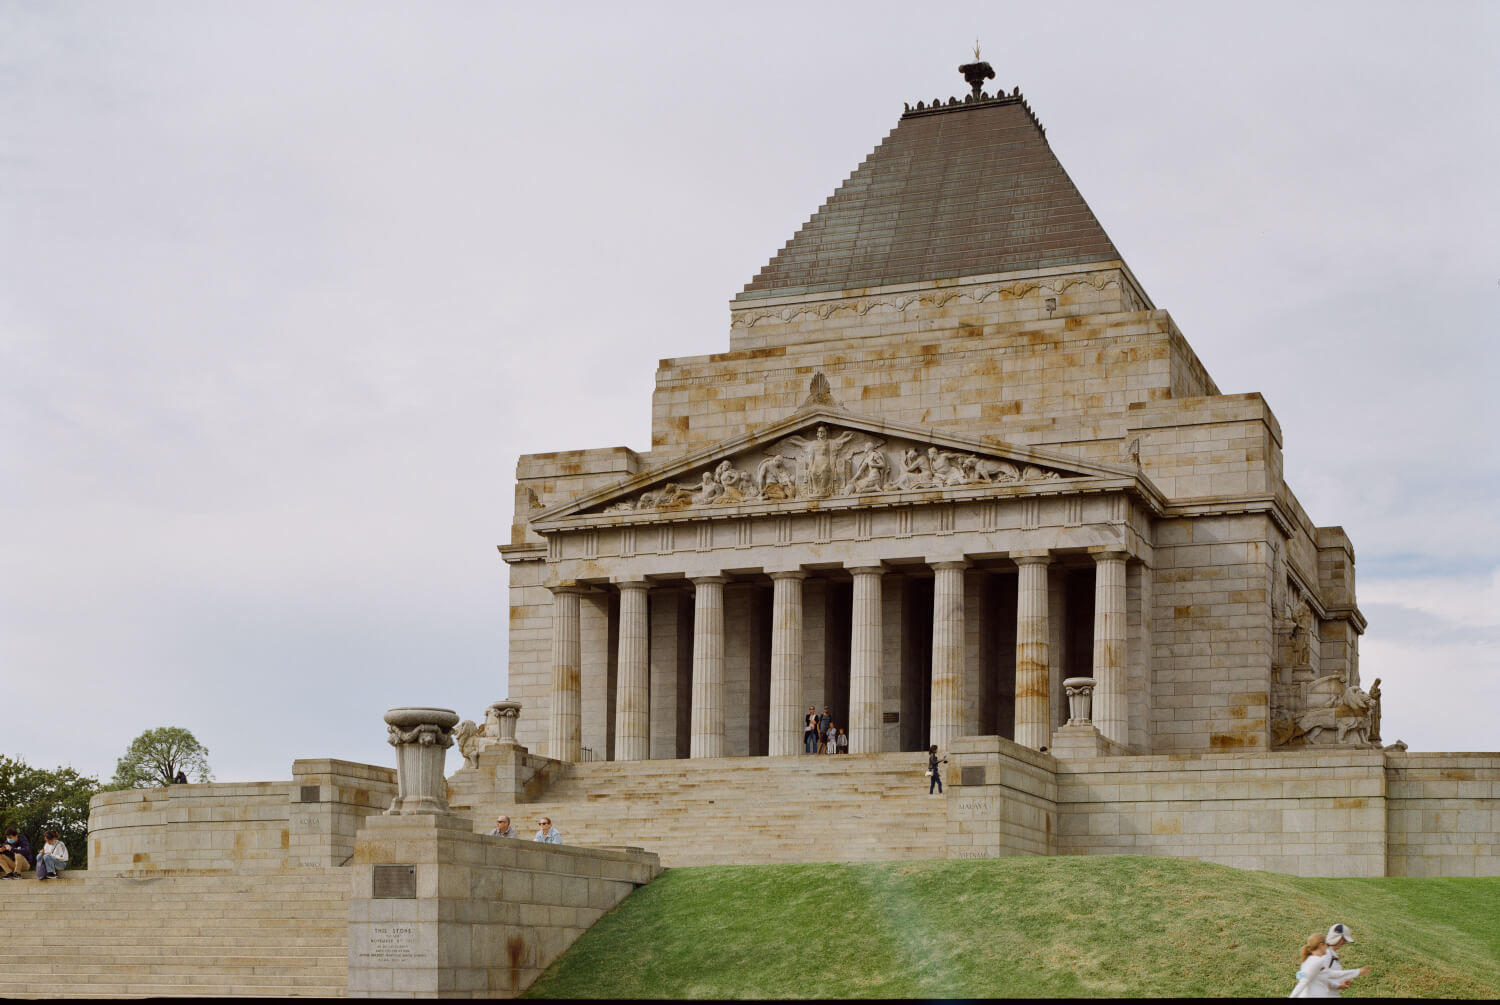 The landscape version
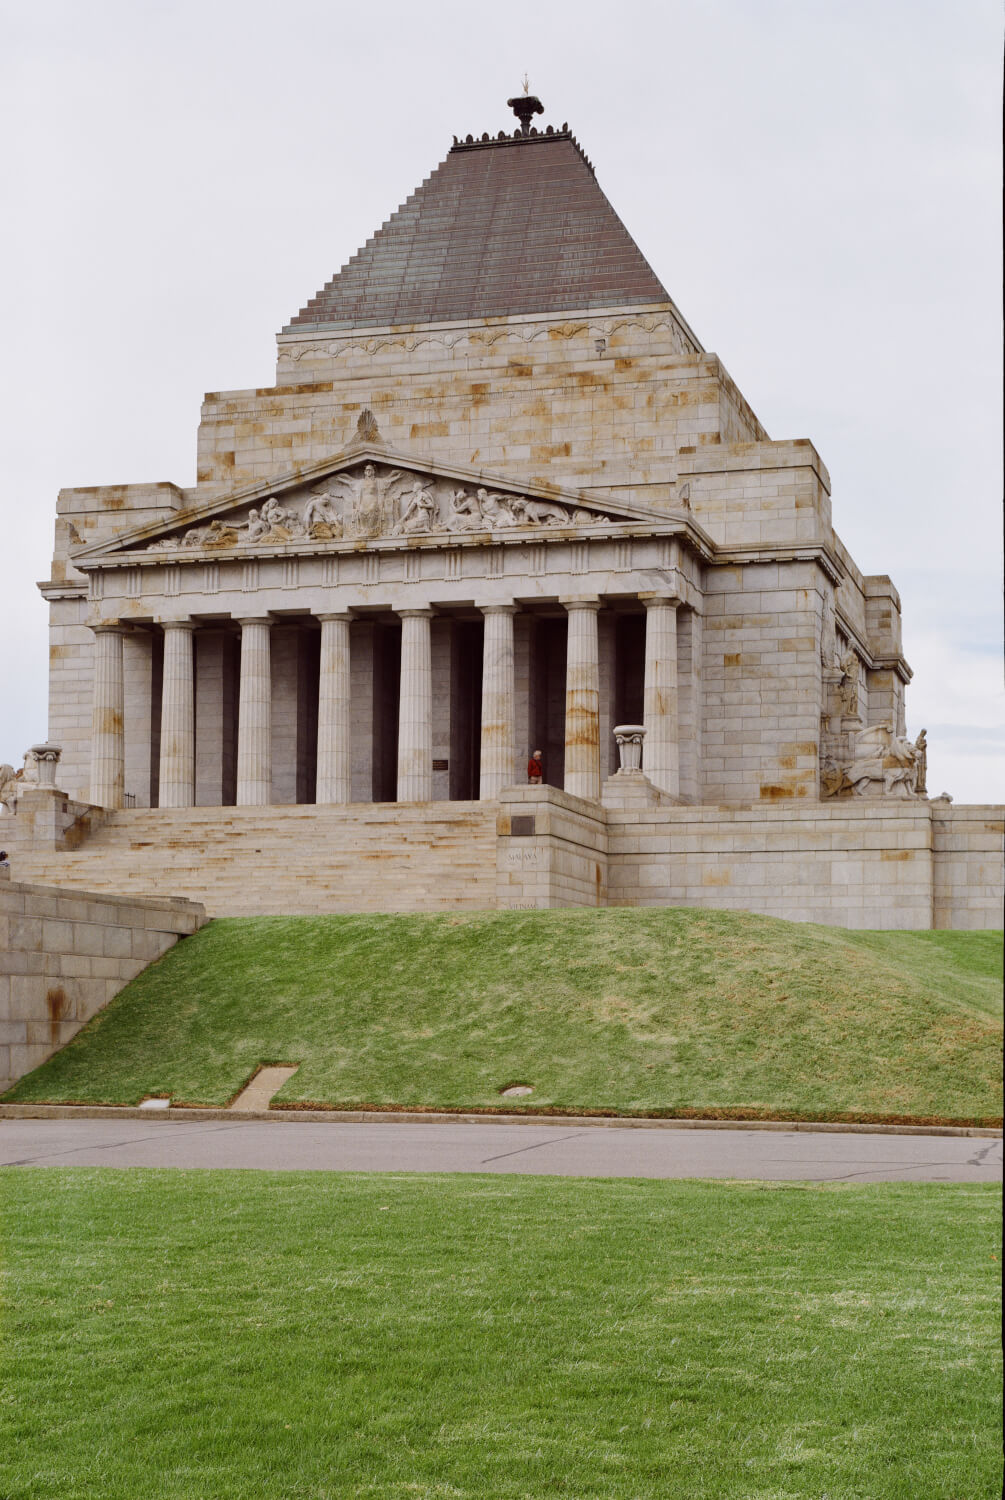 The portrait version
We CAREFULLY redid the portrait, but I didn’t quite nail the focus, then moved on to take a few more around the building, Our eight frames in the bag, we headed home.
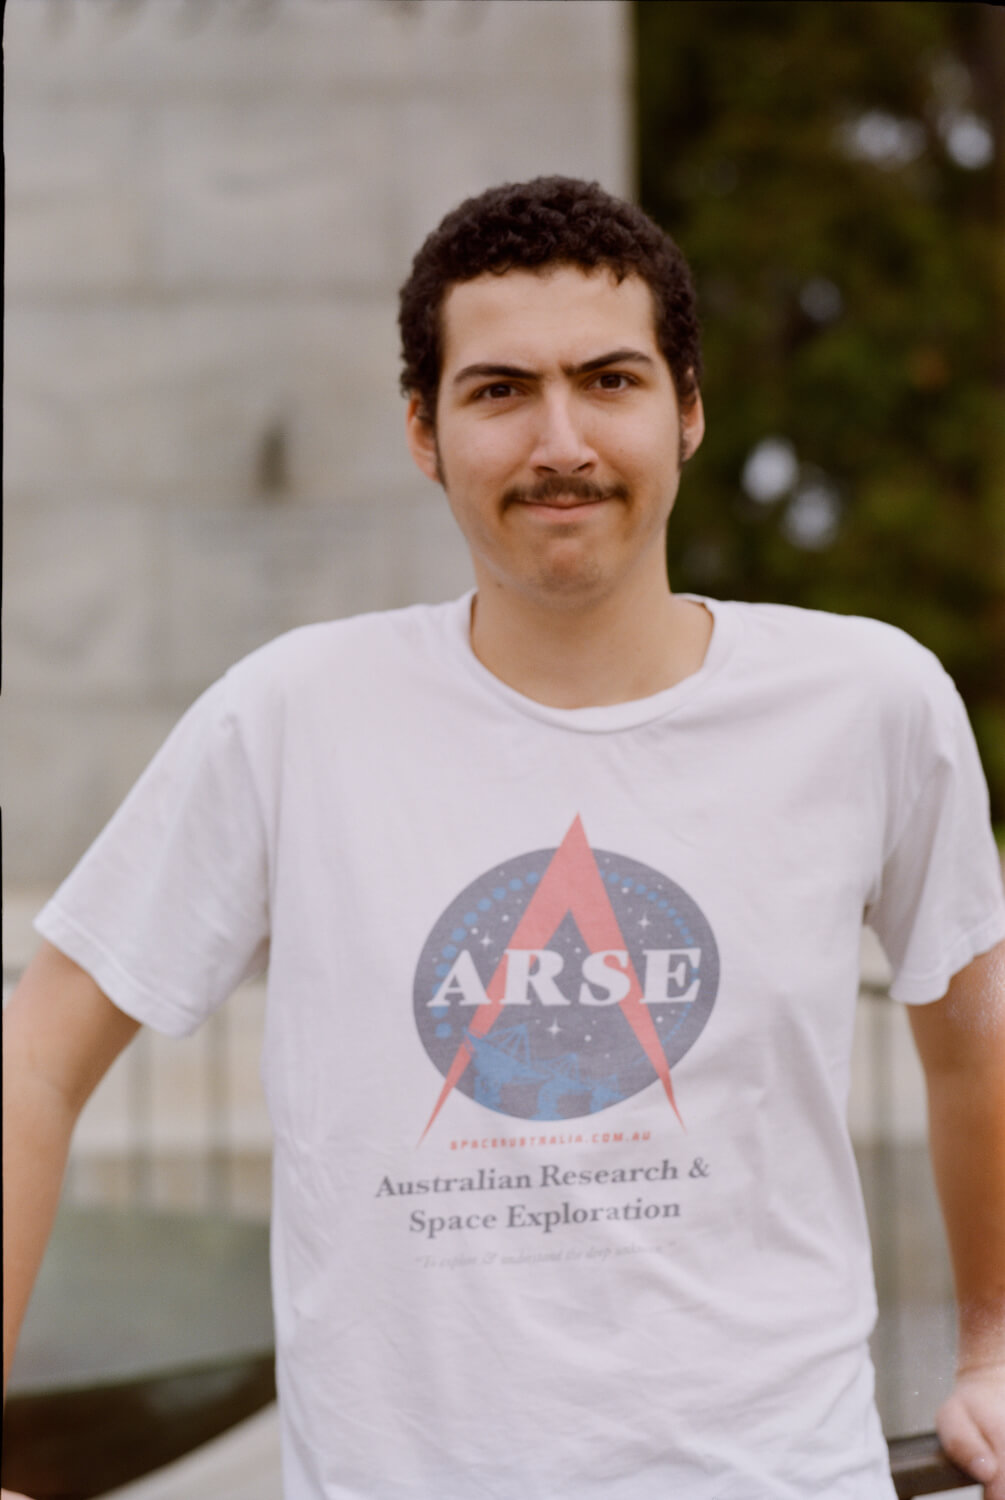 My son, a regular portrait subject of mine.
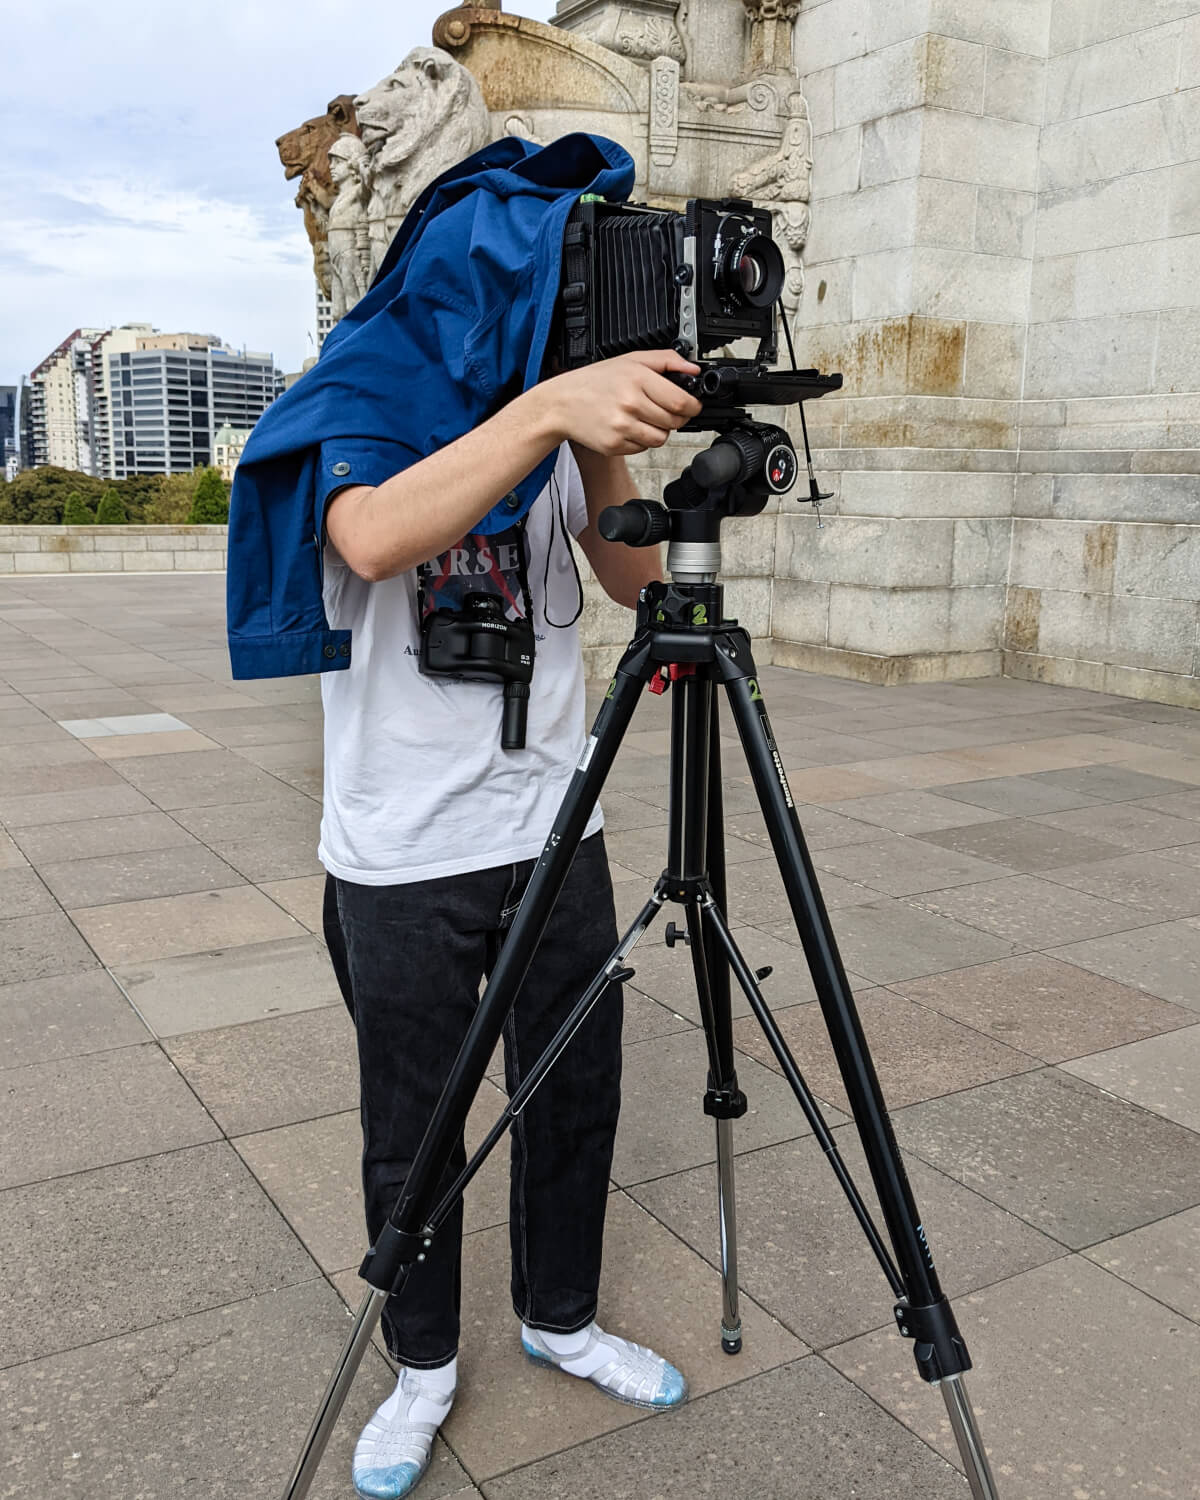 My son, setting up for an image that didn’t end up on the roll. NB: The Horizon camera casually slung around his neck,
Next up was the chance to use the camera on my Easter long weekend away in the countryside. A few landscapes, a portrait, some water infrastructure, and a few interesting trees later I’d put another two rolls through and decided that until I had them developed and scanned there was no point shooting anymore.
The camera certainly attracts attention – while I was setting up a number of shots people walking by stopped to ask me about it, and when I was getting ready to take the spillway image, a maintenance tech asked if I’d like him to open it for my photo. YES PLEASE!
By the time he’d opened, and then, 30 or so seconds later closed it, I still wasn’t ready, but I called out “THANKS VERY MUCH, I’M SURE I’VE GOT A GREAT IMAGE”
Here it is:
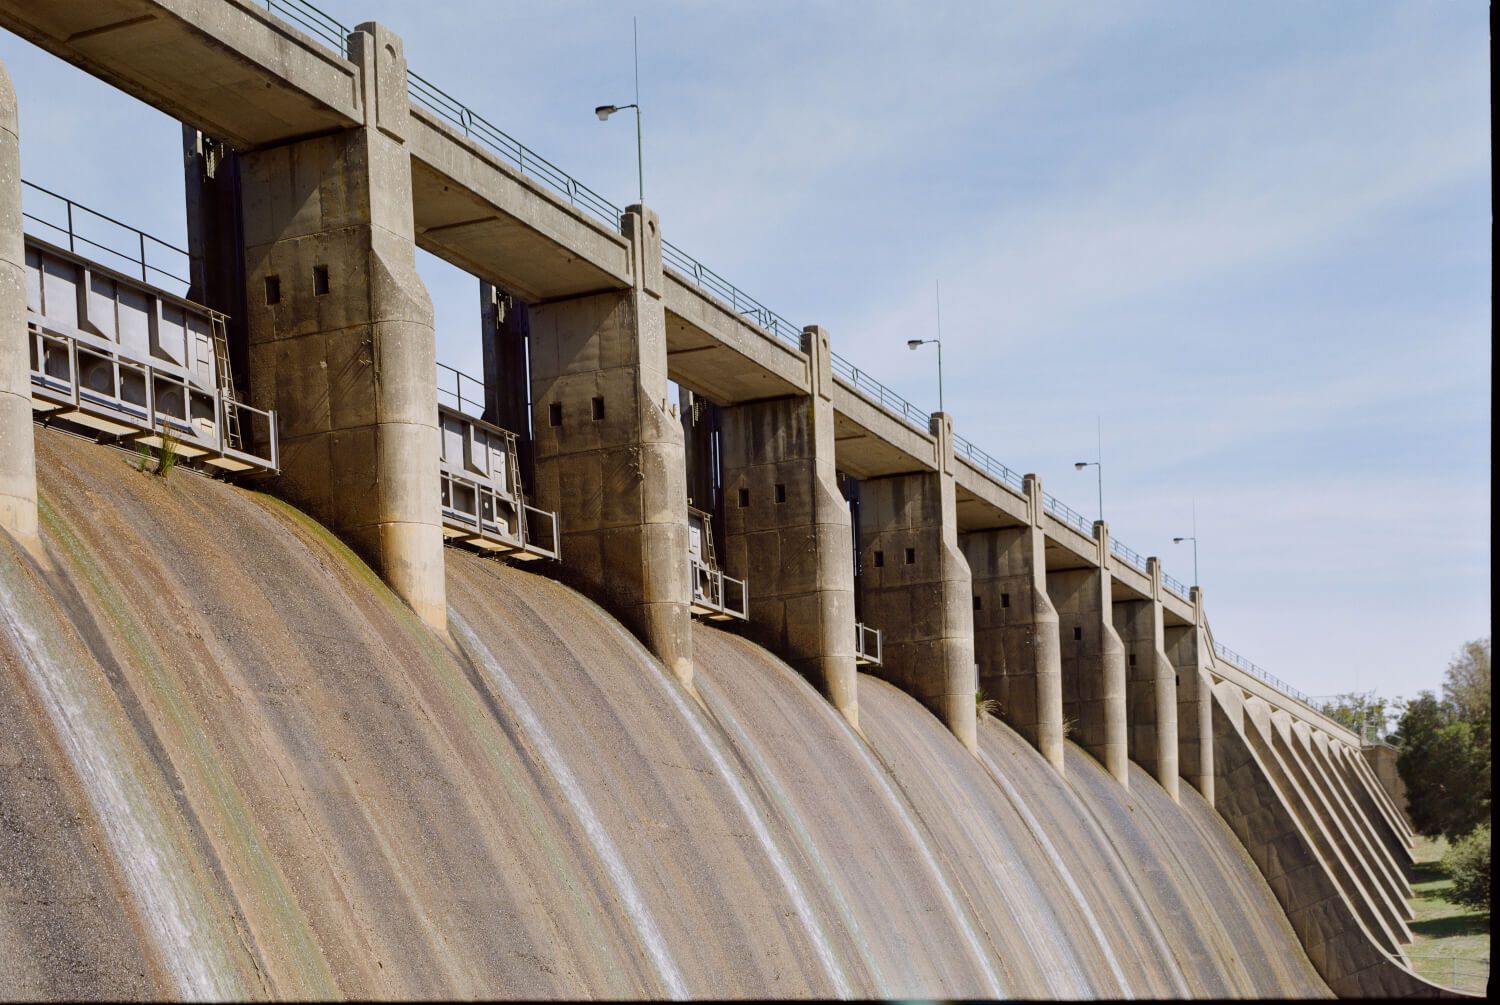 The reservoir spillway, just after the water was turned off
I had use of the camera for another week, so on Tuesday morning when I arrived at the lab I picked one film for express processing — I wanted to know how I’d done, and should I keep shooting? Was this the start of a new path on my ongoing photographic journey or just a quick side trip?
The lab emailed me a link late that afternoon to scans of 7 images, 4 with what looks like a light leak and 3 that I was happy with. I think the light leak has something to do with the dark slide, but I’m not sure.
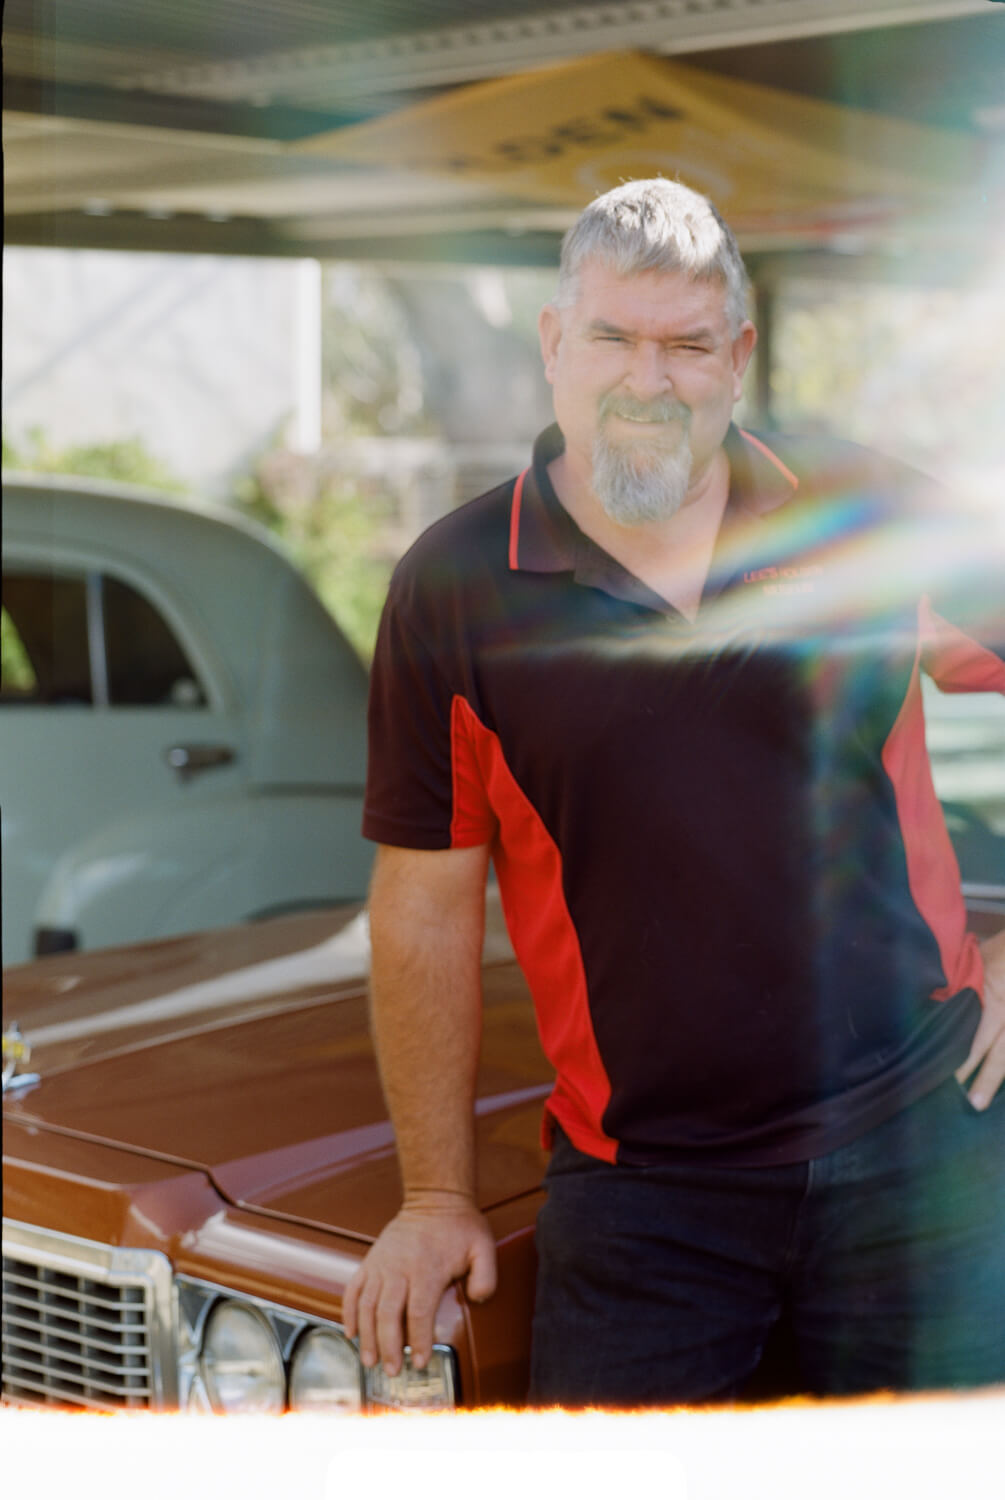 Light leaks!
The second roll processed, which was the first I shot, at The Shrine, resulted in 6 images, including the unintentional double exposure – I can only conclude that I didn’t load the film correctly, and roll three – ILFORD FP4 – yielded 7½ images, three of which I screwed up the metering on (I can’t blame the camera for that!) and one that’s only part of the frame.
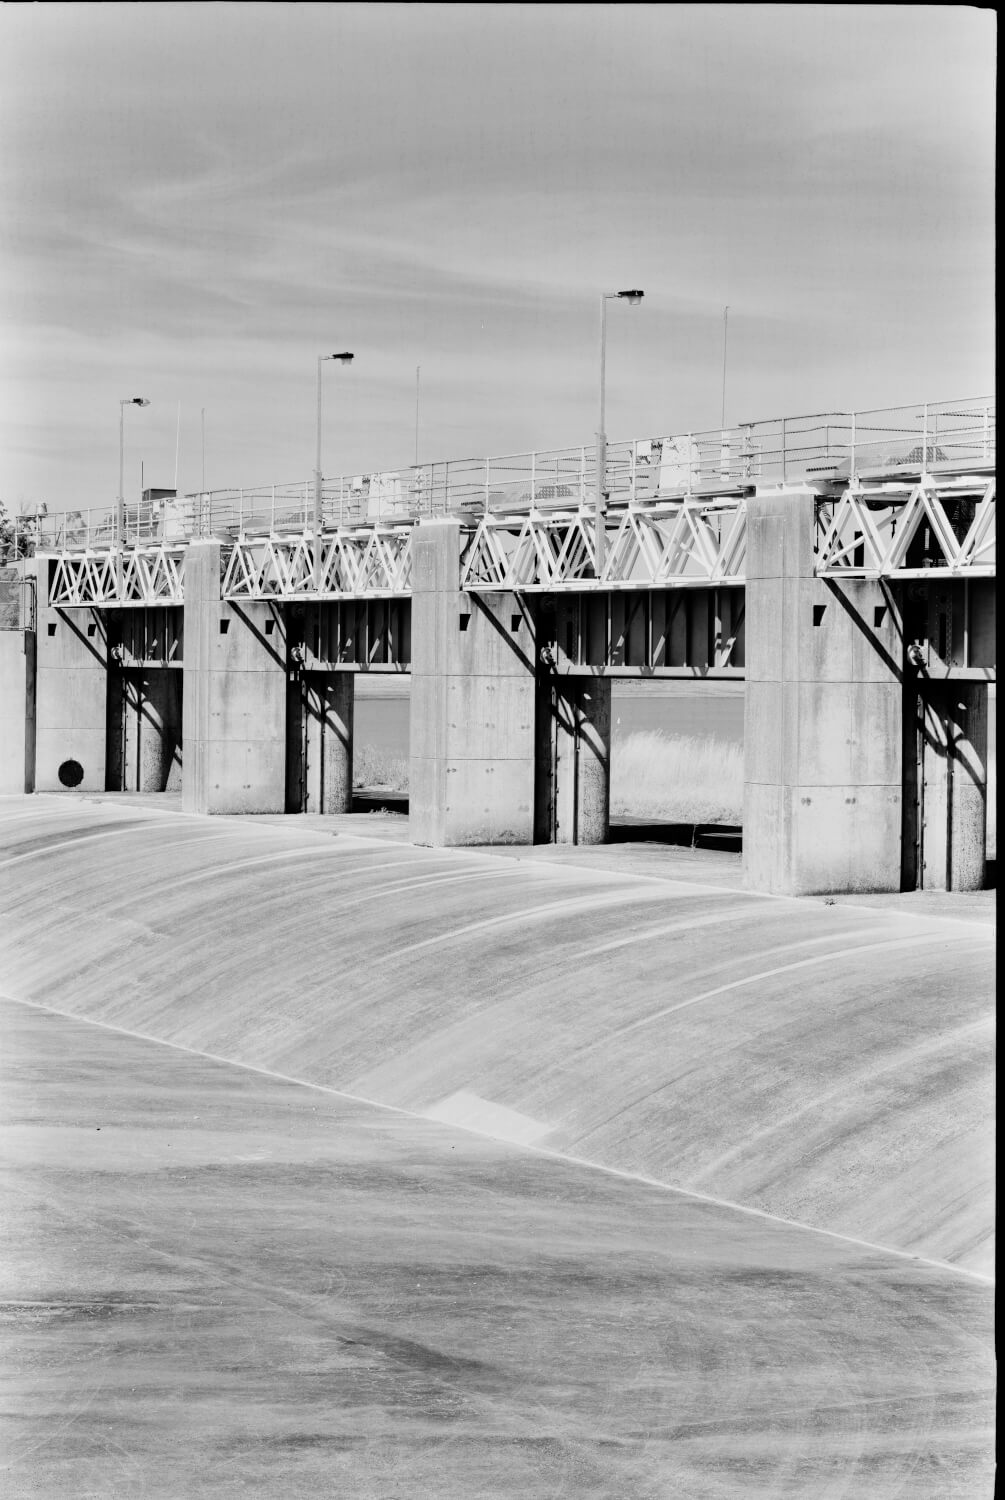 Ilford FP4
But what about the film?
As this was going to a ‘5 Frames…‘ post, I’d better say a little about the film. I can’t really put my finger on it, but it’s somehow better than the 35mm version. The colours are great, they’ve got a lovely softness without being muddy, and shadow & highlight details are nice too. All of that said, I need to run a few rolls through another 120 camera — I don’t know how much of what I’m seeing is down to the 5×4 camera’s lenses.
Price-wise, in Australia it’s not a cheap film. At A$17.00 for a roll of 120, it’s only $1.00 less than the various Lomo colour negative offerings, whereas in 35 it’s a cheap option: my local price for 35mm Gold 200 is $12.00 ($11.00/roll in a 10 roll brick) while the Lomo range is between $15.00 and $17.00/roll.
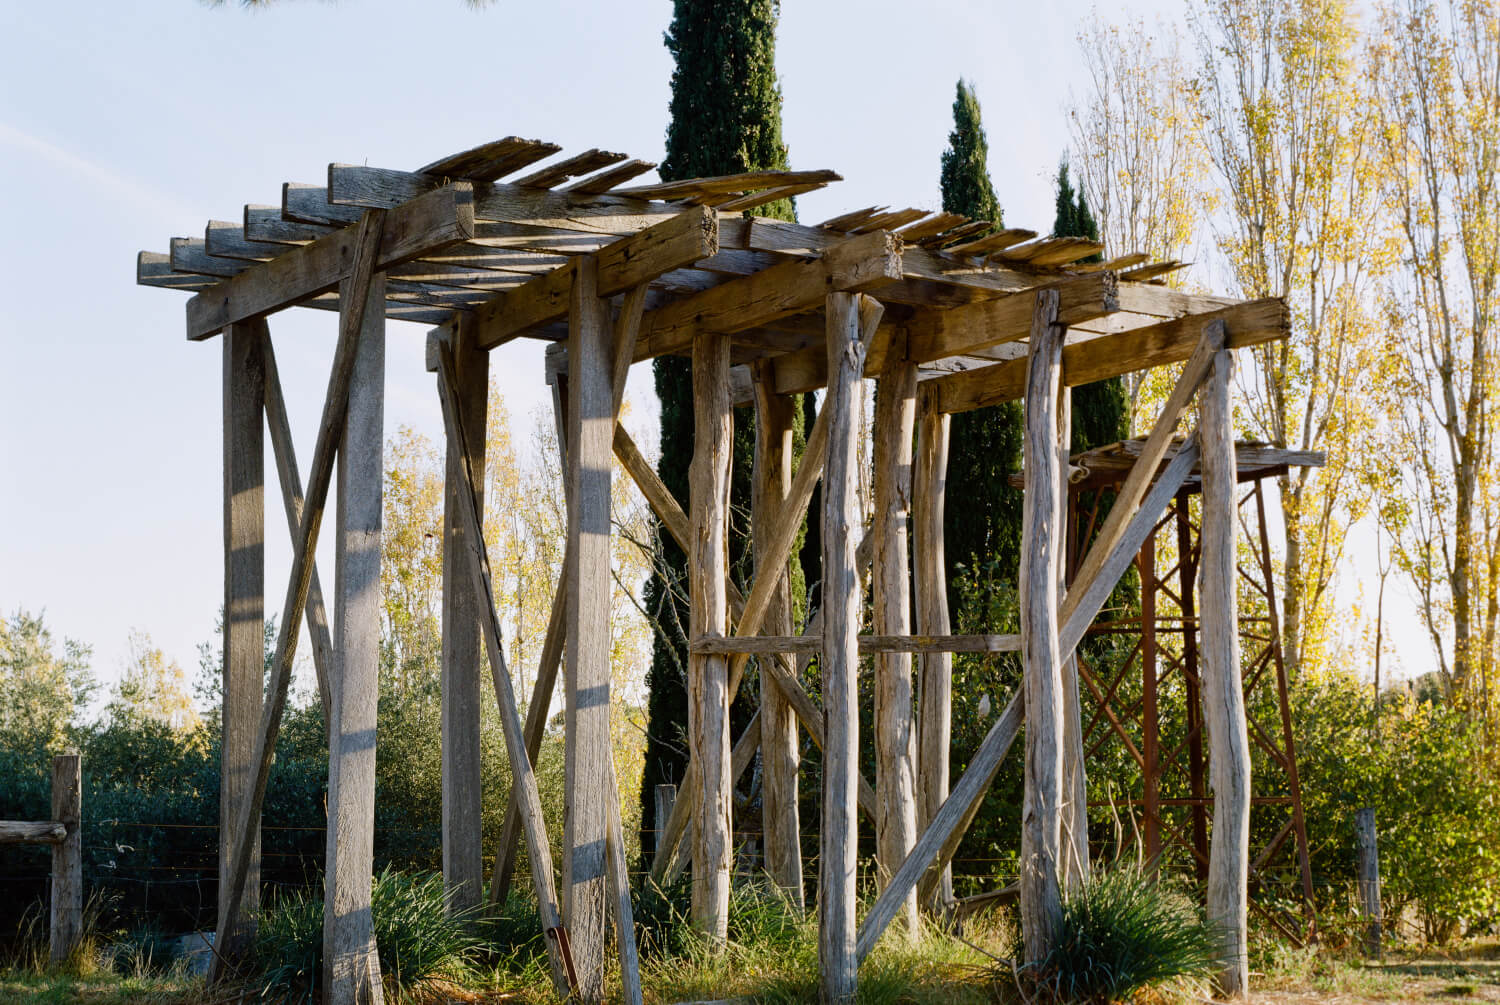 Afternoon light
Simple math
Out of a possibly 24 brilliant images, at least that was what I was expecting, I ended up with 20 frames, of which I’m impressed with maybe 2 or 3, and sort of satisfied with a couple more.
It was an interesting experiment, and after the second or third time I set up and packed down the camera, the process became relatively easy, and in some way relaxing. The time it took to setup, compose, focus and then pack away made me think about what was going in front of the camera rather than the habit a lot of photographers have — I know I certainly do — of shooting almost without considering what’s going to end up on the frame.
Am I watching eBay for a great deal on a field camera? No, I’m not.
I’m lucky to have a handful of wonderful 120 medium format cameras: a Hasselblad 503, a Pentax 67, a Yashica 635, and the Kiev I’ve written about here on EMULSIVE. And a Holga, if I ever remember who borrowed it.
They’ve all got their issues and their quirks; some are heavy, but I usually get all the frames I’m expecting from each roll (I’ll admit to an occasional unplanned double exposure with the Yashica), and I can shoot them all handheld, without needing a massively heavy tripod and a bubble level.
But I’m looking on the bright side – Imagine what it would have cost to shoot 24 5×4 sheets!
Nick Orloff
Emulsive