Showing posts with label lomography. Show all posts

17.4.25

The most expensive photograph in history is once again of Man Ray and sold for 12 million

Le Violon d’Ingres (1924), by Man Ray, in a period test
Rosalind Gersten and Melvin Jacobs/Christie’s Collection

It depicts a woman whose bare back evokes the shape of a violin. We can’t see her arms or legs, and only her profile reveals the identity of the model, Kiki de Montparnasse, singer, painter and lover of Man Ray, the artist to whom we owe Le Violon d’Ingres (1924), one of the most celebrated photographs of the 20th century.

A copy vintage of this work, which we immediately associate with its author and the surrealist movement, of which he is one of the main references, was sold this Saturday at an auction in New York for 12.4 million dollars (12 million euros, which already includes the fees that the transaction involves), greatly exceeding the most optimistic estimate, which was set at seven million.

Le Violon d’Ingres (silver gelatin print measuring 48.5 x 37.5 cm) was one of the lots that had generated the most expectations around the prestigious Christie’s auction and was part of the surrealist art collection of Rosalind Gersten and Melvin Jacobs.

According to the American art magazine Art News It took ten minutes, under the watchful supervision of the auctioneer, Adrien Meyer, for two of the auctioneer’s photography specialists, Darius Himes and Elodie Morel, on the phone with two bidders, to settle the dispute. Morel and the collector he represented ended up winning, setting the price at 10.5 million dollars (10.1 million euros) and drawing applause from the room.

This portrait of Kiki de Montparnasse, one of Man Ray’s muses, is what in the specialized world is called an “original photographic copy”, since it was made at the same time as the artist created the corresponding negative, which makes it very rare and therefore particularly valuable to any collector or museum.

The Jacobs, executives linked to the fashion world and with friends in the surrealist circle, which also included Marcel Duchamp, René Magritte, Max Ernst and Dorothea Tanning, bought Le Violon d’Ingres directly to Man Ray (1890-1976), in 1962, and they never abdicated it. Rosalind outlived her husband (Melvin died in 1993), eventually dying in 2019, aged 94. It fell to the heirs to sell the couple’s collection.

The auction offer of this iconic work by the American artist, which on the eve of his visit to Darius Himes square, he called “something unprecedented in the art market”, set a new record for photography and by a wide margin. The former belonged to Andreas Gursky, the German photographer who in 2011 saw one of the proofs of his The Rhine II (1999) to be sold for 4.3 million dollars (4 million euros). Gursky then broke the record previously held by Man Ray, author of Noire et Blanche (1926), sold four years earlier for three million (2.8 million euros).

“At once romantic, mysterious and mischievous, this image has captured everyone’s minds for nearly 100 years,” said Christie’s specialist Himes, quoted in a statement in which, weeks earlier, the prestigious auctioneer had publicized and promoted the sale of the portrait. unique by Kiki de Montparnasse.

With copies in the collections of the Pompidou Center in Paris, one of the most important museums of modern and contemporary art in the world, and in the J. Paul Getty Museum in Los Angeles, Le Violon d’Ingres it is a work built in stages: the artist photographed the model, then printed the resulting negative and, on the proof that gave rise, drew the typical openings of the violin, in pencil and ink, a type of ink. Only later did he pick up the camera again to record the result, which gave rise to a new negative and the proofs that would lead to the title of the one that was now sold at auction.

Le Violon d’Ingres it is, according to some art historians, a tribute by Man Ray to one of his favorite painters, the Frenchman Jean-Auguste Dominique Ingres, who liked to play the violin in his spare time. The model’s pose, they note, is also reminiscent of that of the women who appear in two famous paintings by Ingres: Le Bain Turkish (the one in the center wearing a turban, playing a stringed instrument) and la baigneuse.

28.4.22

UPP lomography presents Diana F+


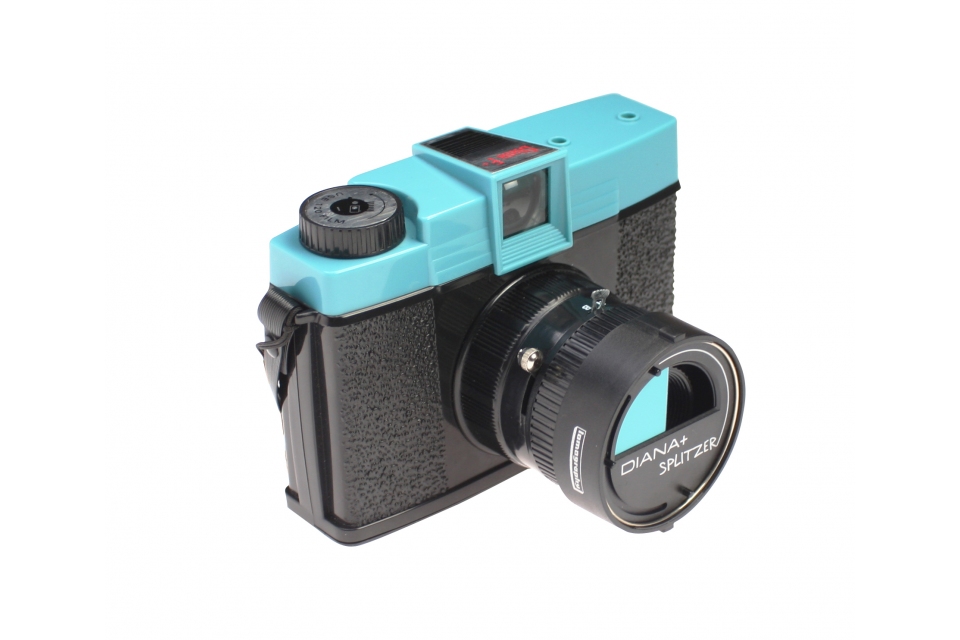
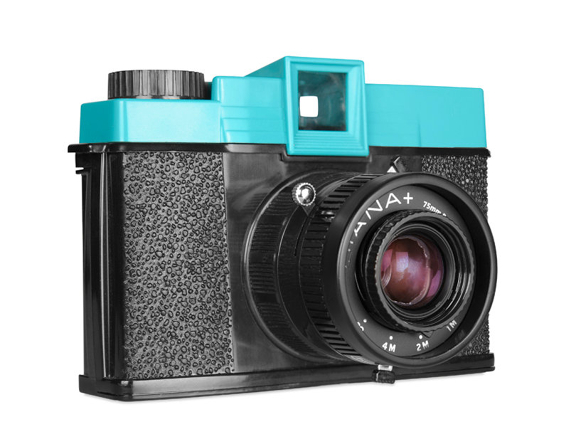
The Diana F+ is a medium format camera from Lomography. 
The roll film camera is made of plastic, therefore very light. Lomography often releases special editions of the plastic camera for various occasions. There are now more than 20 special editions of the camera (eBay / Amazon).

The history of the Diana

The Diana was presented by Lomography in 2007. It is the new edition, of the Diana camera.

The Diana is a plastic camera from the 1960s. It was manufactured in Hong Kong by the Great Wall Plastic Factory. It was sold for a few dollars or was distributed as a promotional gift.

Equipped with a simple plastic lens, the Diana was never intended for serious photography, so it could be called the first toy camera. After the triumph of 35mm film, production of the Diana ended in the mid-1970s.

Due to the demand for Lomo cameras, Lomography reissued it with many new features. Besides the standard black and green version, there are a lot of Special Editions of the Diana F+.

The functions of the Diana F+

Not only is the body made of plastic, but the lenses of the Diana F+ are plastic as well. The standard lens has a focal length of 75mm and can be replaced, unlike the old Diana.

It is equipped with two exposure times, Normal (about 1/100s) for everyday use and a Bulb mode for long exposures. In Bulb mode, light falls on the film for as long as the shutter button is pressed. For this, the Diana has a handy accessory located on the camera. A small plastic part is pushed in when the shutter release button is pressed down and prevents it from going back up and closing the shutter again. Depending on the desired exposure time, it can be removed with a pull and the shutter closes. This makes long exposures easy.

On the bottom of the lens, the aperture is set using a slider. There are four apertures to choose from, f/11 (cloudy), f/16 (partly cloudy), f/22 (sunny) and a pinhole (f/150). Pinhole photography is possible when the pinhole is selected, and the lens can be removed for this purpose or photographed with it, depending on your preference. The small weather icons should help with the choice of aperture.

Without an additionally available back or without modification, the Diana can only be used with medium format film. Medium format film, or roll film, is larger than 35mm film and has no canister into which it is rewound. The film is protected by a protective paper attached to the back of the film. It is wound from one spool to another in the camera, so rewinding is not possible.

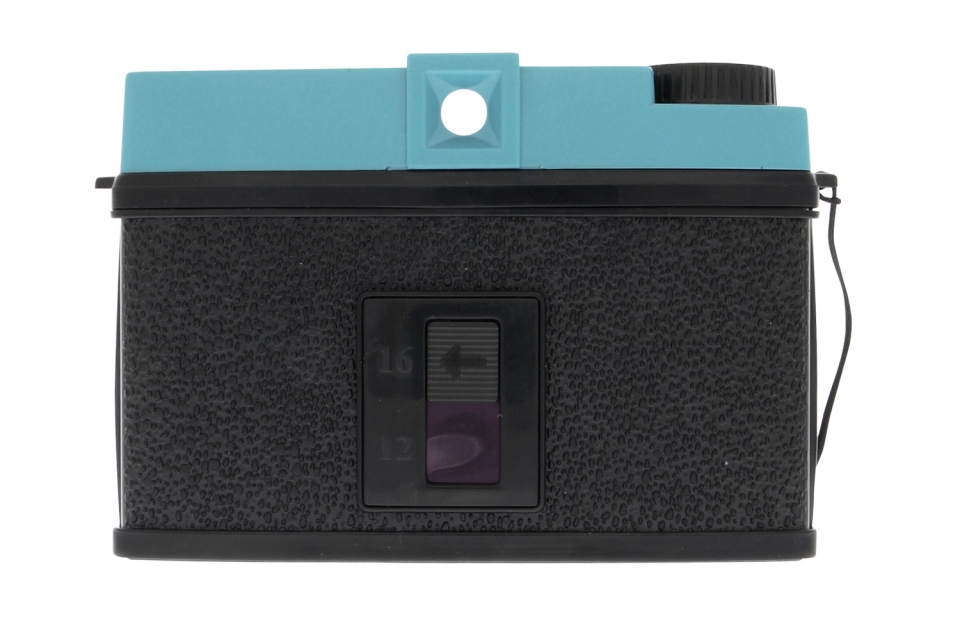
A small window on the back of the camera allows you to check the current frame count and, when rewinding, how far you have to turn the wheel on the top of the camera to get to the next frame. With the help of the additionally available backs, it is also possible to use 35mm film and instant film in it. With a little skill, 35mm film can be loaded and exposed without a 35mm back.

In principle, any medium format or roll film can be used with the Diana F+. It doesn’t matter if it’s black and white, slide, cropped or not, color or redscale. You should only pay attention to the sensitivity of the film. The Diana F+ is a low light camera, which means it needs a lot of light for good pictures.

So to get good results, you can either shoot only on sunny days, use a more sensitive film, or use a flash. On sunny days, a film with a sensitivity of ISO 100 is usually enough, such as the Lomography Color Negative 100 120 (eBay / Amazon), Kodak T-Max 100 (eBay / Amazon) or Fujifilm Provia 100F.

On cloudier days, it doesn’t hurt to use film with a sensitivity of min. ISO 400. For example, the Kodak TRI-X 400 (eBay / Amazon), a very good film, the Kodak Portra 400 (eBay / Amazon), or the Fujifilm Provia 400X are good choices if you need a slide film in bad weather. A flash in bad weather and indoor shooting can’t hurt either.

Normally it exposes 12 large images on the film. Through a mask, 16 images are also possible, but then only with a size of 4.2 x 4.2 cm per image. Panoramic shots are also possible with a mask. The plastic camera from Lomography also has a tripod thread.

The viewfinder of the Diana F+ is simply a hole to look through. It is not connected to the lens, so it can only give a small preview of the later image.

The Diana F+ is only conditionally suitable for beginners, especially the high film and development costs, spoil the fun of experimenting and analog photography.
Scope of delivery of the Diana F+
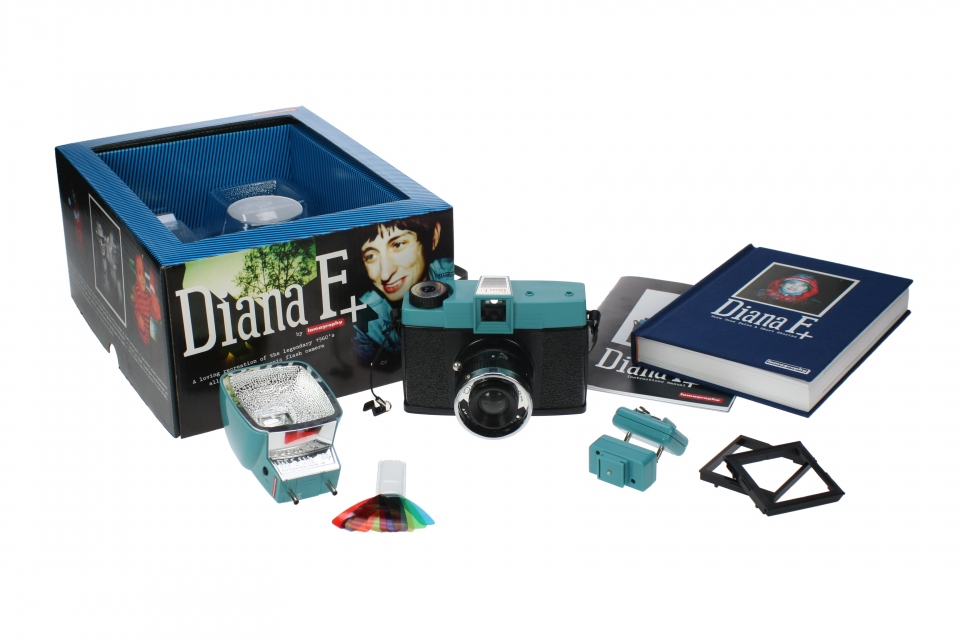
The Diana F+ comes, for the version with flash, with the Diana F+ Flash, color filters, manual, 4.2 x 4.2 cm mask, 4.65 x 4.65 cm panoramic mask and 2 adapters for the flash.

Also included is a book with photos and the history of the Diana. With the adapters for the flash, it can be used with a normal camera with Hot Shoe. Flashes with hot shoe can be used with the other adapter on the Diana F+.

Accessories for the Diana F+
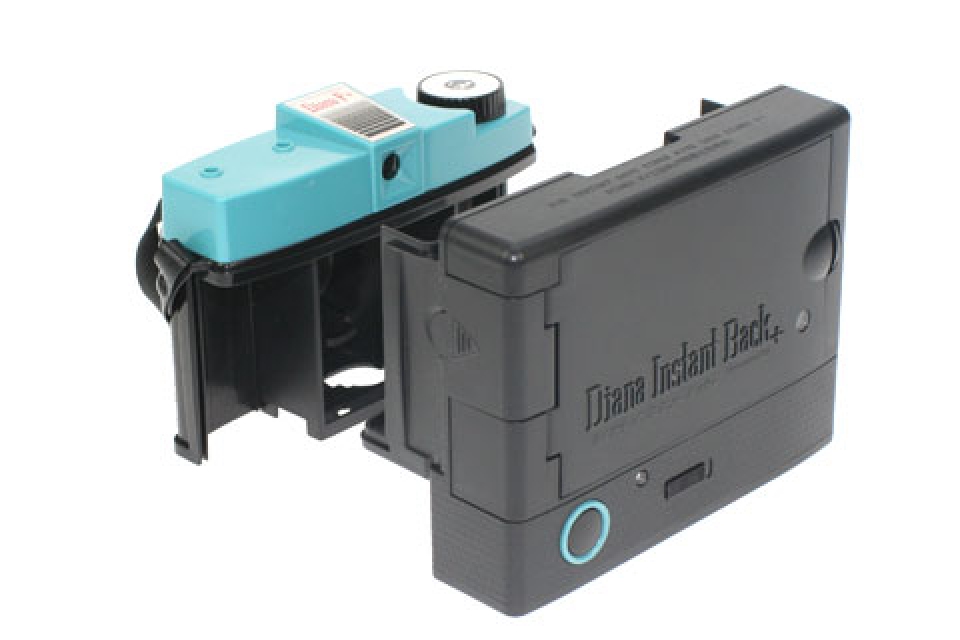
Instant Back+

This accessory turns plastic camera into an instant camera. The Instant Back+ mounts to the back of the Diana.

The film used is Fujifilm’s Instax Mini Film (eBay / Amazon). This film is still in production and is relatively easy to get. One film pack contains ten pictures.

Photographs are taken normally, just as when using the normal back. To get the instant picture, a button on the back must be pressed, then it ejects the picture. After a few minutes, you then hold the finished picture in your hand.

Two CR2 (6V) batteries (eBay / Amazon) provide the power supply, but they are not included.

Of course, the Instant Back can be used with the Diana accessories, such as the lenses, flash and splitter, and double and multiple exposures are also possible without any problems.

In addition to the back, the scope of delivery also includes a compensating lens (for correct focusing). This accessory is also equipped with a tripod thread and a film counter.

The Instant Back+ was introduced by Lomography in March 2009. It was developed by Lomography Japan.
35mm Back

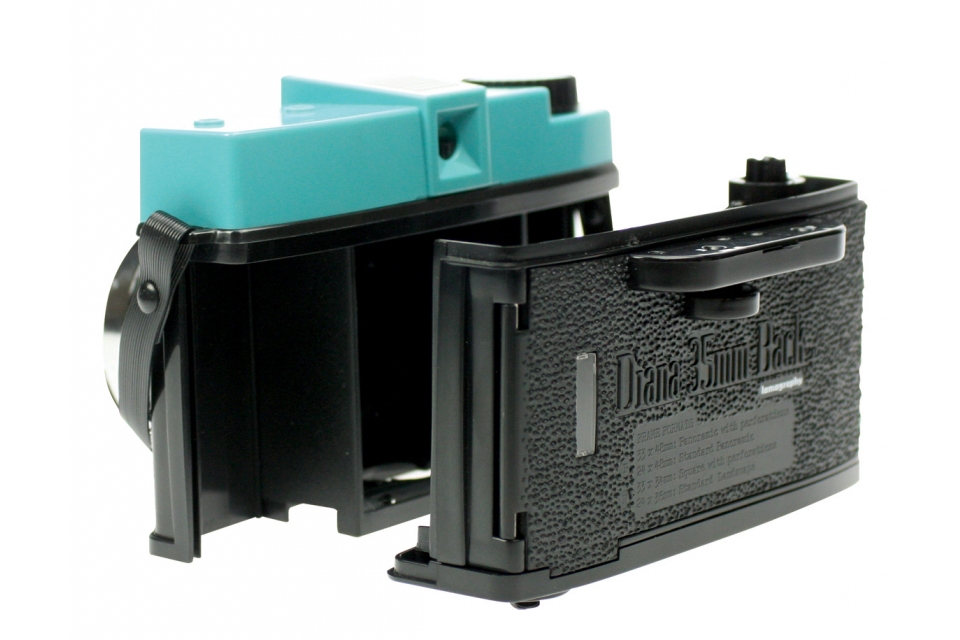
The Diana+ 35mm Back allows 35mm film to be used in the Diana F+.

There are four formats to choose from: square with exposed sprockets, panorama with sprockets, normal panorama without sprockets, and standard landscape.

Two film counters indicate the number of frames. In addition to the back, the package also includes instructions and four plastic frames for the different formats.

Why use 35mm film in a medium format camera? Besides more images per film and the exposure of the sprockets, probably the main reason is the cheaper prices and the greater availability of 35mm film. That’s why Lomography offers this back for the plastic camera.

Because of the smaller medium, 35mm film is smaller than roll film, the size of the image is also reduced. So it can happen that for example heads are cut off, because the viewfinder is not designed for this format. Effects such as vignetting or the fisheye effect of the Diana lenses are also not as effective when the back is used.

So if you only want to use the Diana for 35mm film and never want to use medium format film, it wouldn’t hurt to take a look at the Diana Mini or Holga 135, as they are probably the better choice.
Cable Release Collar

For the use of a cable release this accessory is necessary, since the Diana has no thread for one. There is also a solution for this, and that is the Cable Release Collar. This is a plastic attachment that attaches to the front of the camera. Now a normal cable release can be attached to the camera.

There is one already included, but other releases can be used as well. This makes blur-free long exposures and self-portraits easy. A poster is also included in the package.
Diana F+ Flash

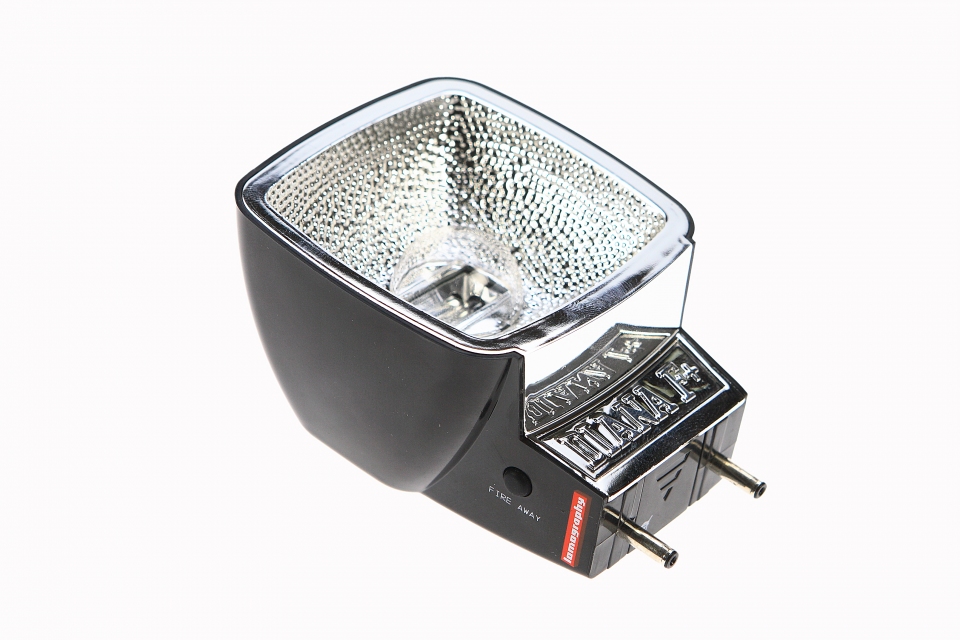
Like the Diana, the flash is modeled after the old Diana from the 60s and fits perfectly with the plastic camera. In the scope of supply there are also a lot of color filters, with these the color of the flash can be changed, in which they are put in front of the flash.

The flash is powered by a normal AA battery (eBay / Amazon). On the back of the flash there is a white light. This indicates when the flash is ready for use. When the light is fully lit, flashing is possible. On the side of the flash there is a small button installed, with which the flash can be fired manually.

Normally, it can only be used with the Diana F+ and the Diana Mini. However, with an adapter, it can be converted into a flash for cameras with a hot shoe. The guide number of the flash has not been published by Lomography. The only guide for proper exposure is the chart on the back of the camera.
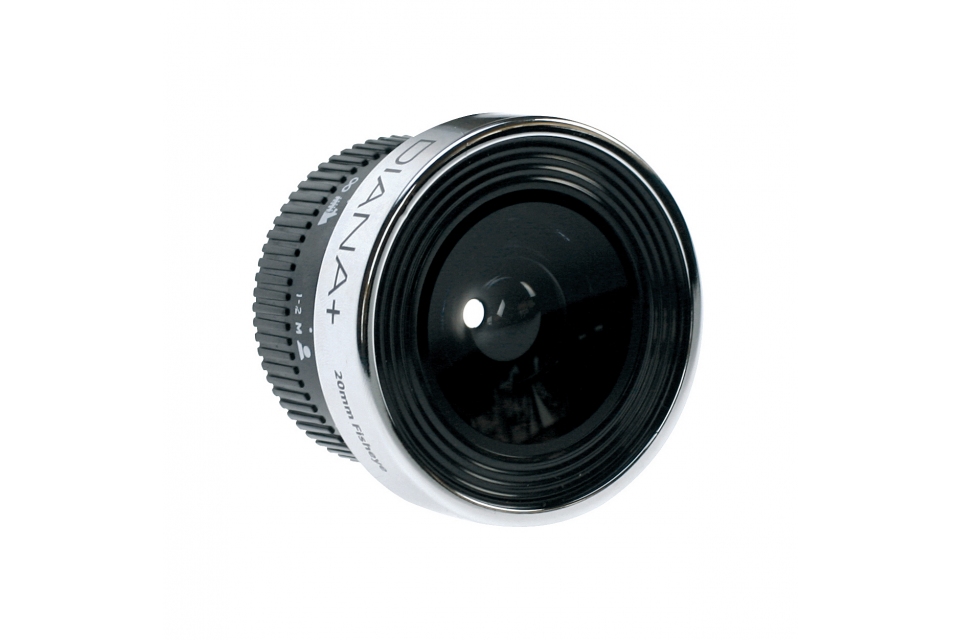
20mm Fisheye Lens

This additionally available lens transforms the Diana into a fisheye camera. With its 180 degree angle of view, it captures a circular image on medium format film.

It comes with an attachable viewfinder adapted to the focal length of the Diana+ 20 mm Fisheye Lens. Also included is a storage pouch and two lens caps to protect the lenses.
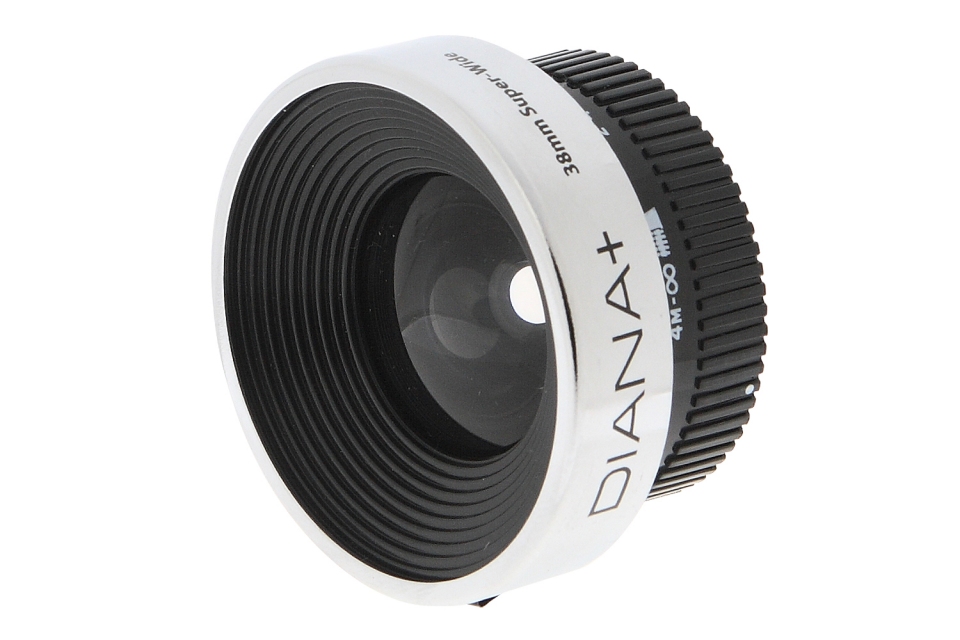
38mm Super-Wide Lens

The Diana+ 38mm Super-Wide Lens for the Diana features a 120 degree angle of view. On a 35mm camera, the focal length is roughly equivalent to a 25mm lens.

The distance is not adjusted in the front of the lens, as with the normal lens, but by turning the lens. It can be used to take wide-angle shots with a blur and darkening in the corners.

Included is a matching viewfinder to attach, a pouch for storage, and matching lens caps.
55mm Wide-Angle & Close-Up Lenses

The Diana+ 55mm Wide-Angle & Close-Up Lenses consists of two lenses. The focal length of the wide-angle lens is equivalent to about 34mm on a 35mm camera. The close-up lens can be attached in front of it, making close-up shots possible at a distance of 15 centimeters.

The two lenses are made of plastic, of course. A matching attachable viewfinder is included.
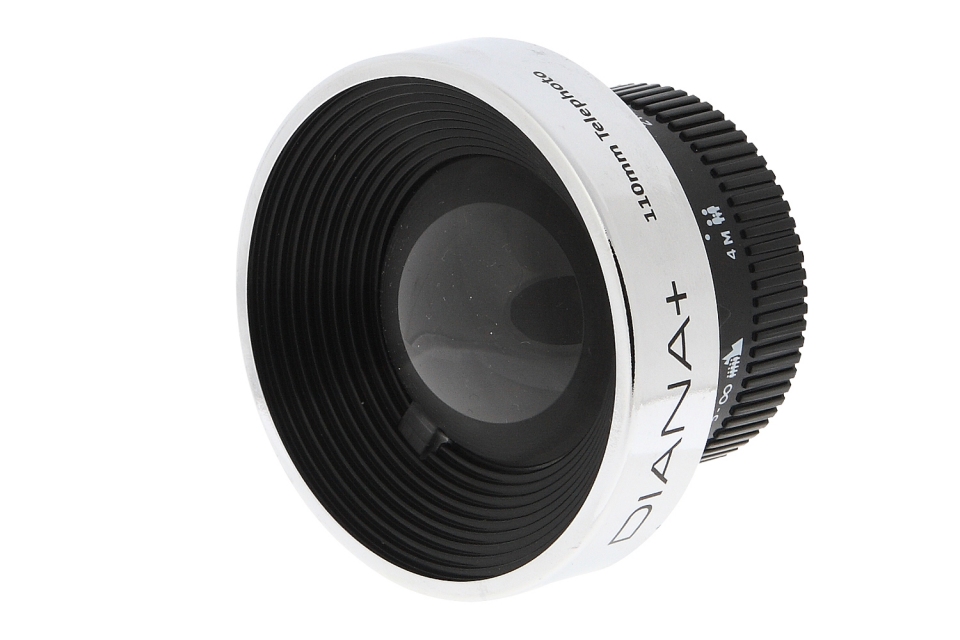
110mm Telephoto Lens

The Diana+ 110mm Telephoto Lens is a telephoto lens for the Diana F+. It comes with an attachable viewfinder that covers part of the normal viewfinder to fit the lens.

On a medium format camera it has a focal length of 110mm, and on a 35mm camera it becomes a 200mm lens. It produces vignetting, blurring to the corners, and softens the image.
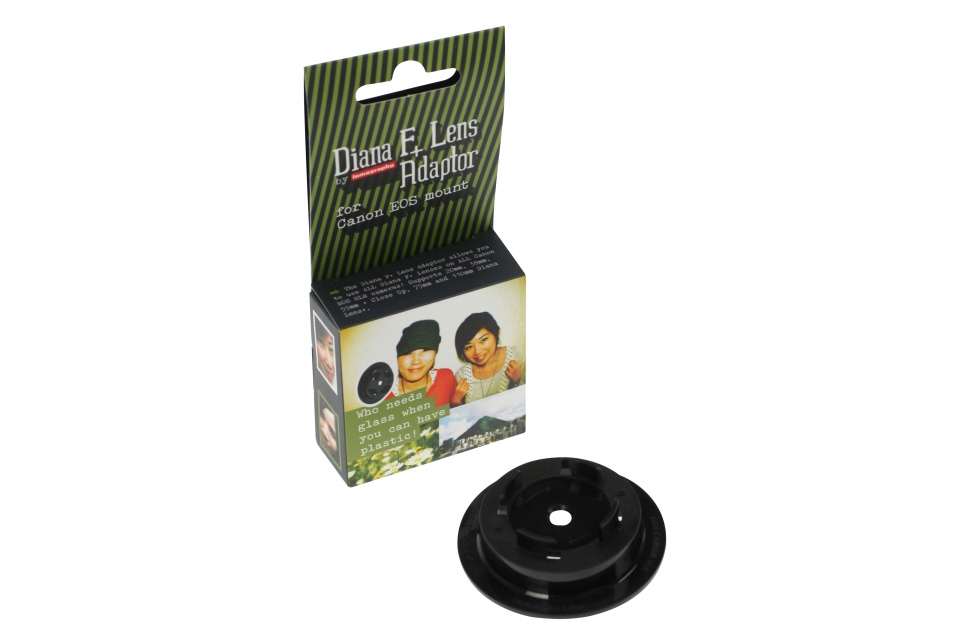
Lens Adaptor – Canon Mount

With this adapter, the Diana lenses can also be used on a Canon DSLR. As with the adapter for Nikon cameras, the crop changes depending on the size of the sensor.

For example, if you want to get the fisheye effect, you should use the lens on the normal Diana F+ and not on the digital camera, since it is practically non-existent there. Since it is only a simple adapter, there is of course no autofocus.
Lens Adaptor – Nikon Mount

With this adapter it is possible to use the Diana lenses on a Nikon F SLR cameras, including DSLRs. All plastic lenses can be used with the Diana F+ Lens Adaptor. The disadvantage is that the smaller sensor means that the cropping of the image is used, keyword cropfactor.

Thus, the focal length with a full-frame sensor or only with a 35mm SLR corresponds as follows:

Diana F+ 38mm Super Wide Lens = 72mm
Diana F+ 20mm Fisheye Lens = 38mm
Diana F+ 55mm Close-up & Wide-angle Lens = 105mm
Diana F+ 110mm Telephoto Lens = 200mm

That means to achieve a normal focal length you should use the Fisheye Lens.

With an APS-C sensor, which is installed in most DSLRs, this occurs even more.
The focal length of the Fisheye Lens is about 60 mm, the Super Wide Lens is a 115 mm telephoto lens, the Close-up & Wide-angle Lens is 170 mm and the Telephoto Lens is an incredible 320 mm telephoto.

It should be noted that the different formats do not change the focal length, but only the section.

When buying one should note that there is no autofocus and there can be problems with the automatic modes, if necessary you have to use the DSLR in manual mode. Therefore, a look at the manual of the camera can not hurt.
Splitter

The Diana Splitzer is attached in front of the lens of the Diana, only goes with the standard lens. It can be used to expose half, a quarter, eighth, or only a sixteenth of the image.

For the second exposure, it can then be rotated so that the part from the first exposure is not exposed again, but only the previously covered part. With the splitter, for example, it is possible to photograph only a head during the first exposure and another body during the second exposure.
75mm Premium Glass Lens

The Diana+ 75mm Premium Glass Lens is a glass lens for the plastic camera. It has a focal length of 75 mm.

The lens consists of three coated glass elements. You have to adjust the focus of the lenses yourself, as with the other lenses. The closest focusing distance is one meter. It can be used on all Diana F+ cameras.
Sample photos

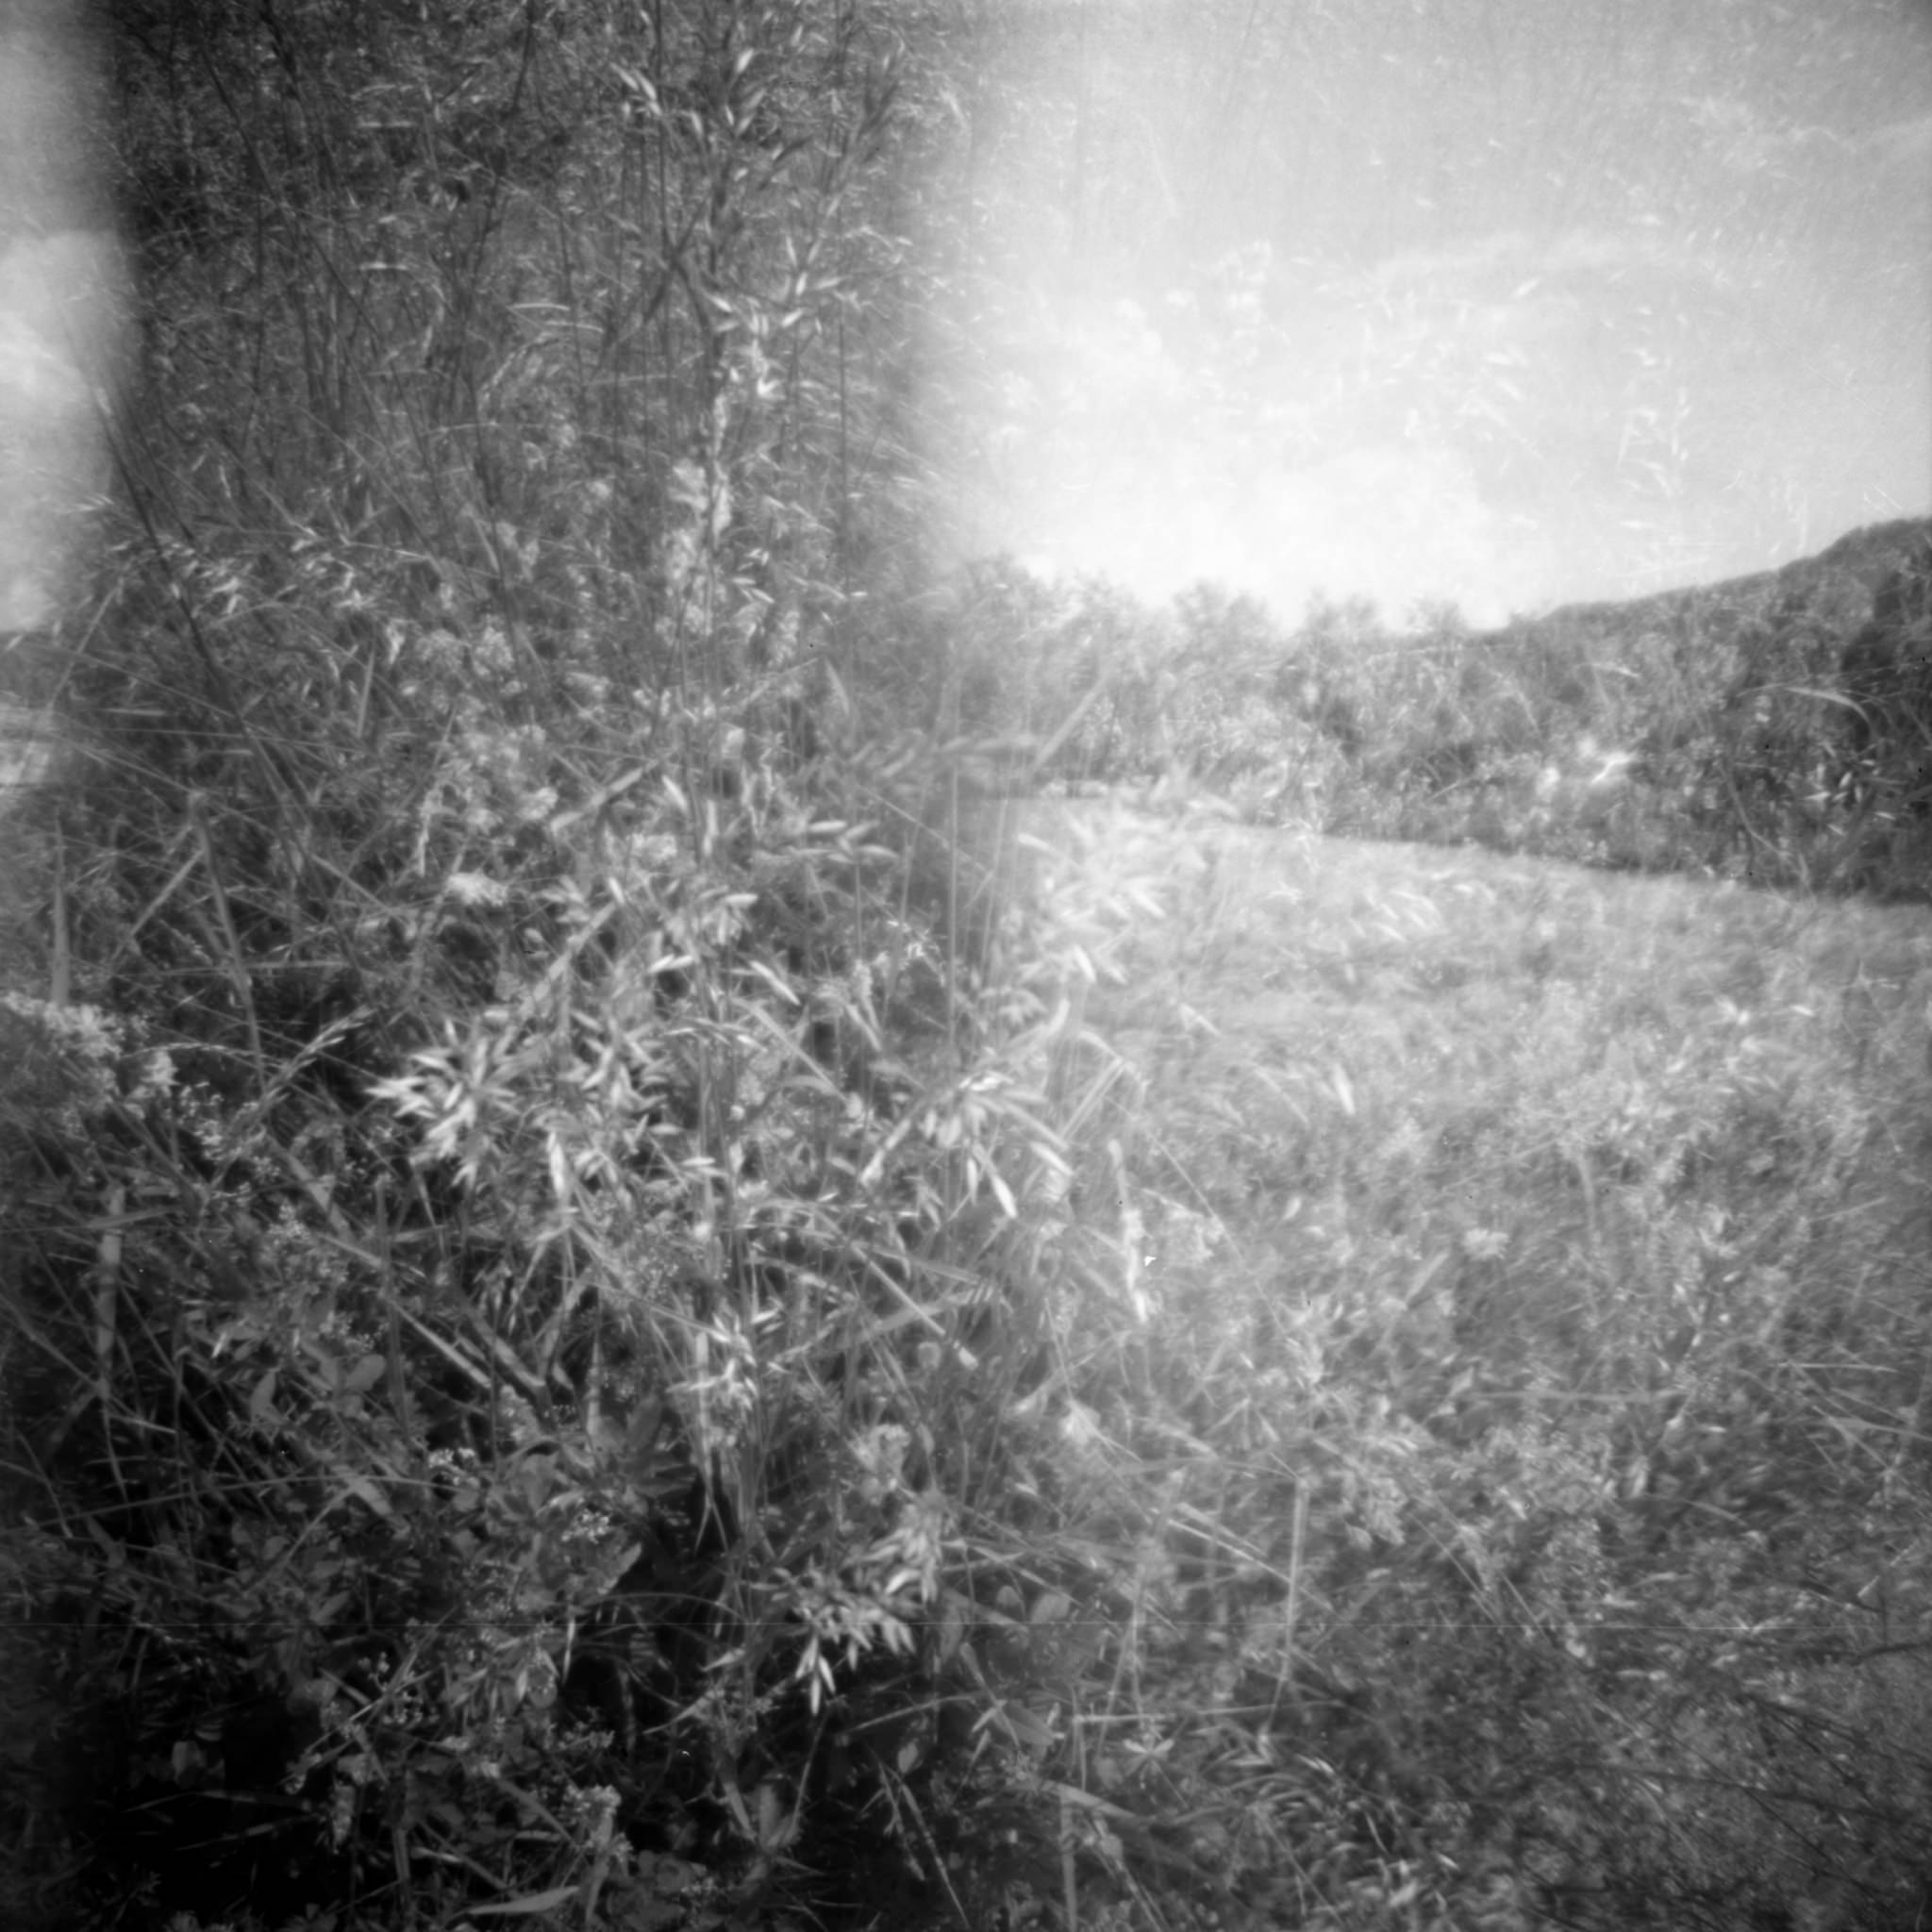
Both pictures were taken with the Lomography Lady Grey B&W 400 120. The film was developed in Kodak XTOL and digitized with the Canoscan 9000F (eBay / Amazon).
Technical datasheet

Technical specifications of the cameraAttributeSpecificationType of Camera Viewfinder camera
Type of Film 120, 35mm (additional accessories), Fuji Instax Mini (additional accessories)
Film transport Manual
Focal length 75 mm
Maximum aperture f/11
Minimum focus distance 100 cm
Focus Manual
Type of focus Zone focus
Focus zones 1 m to 2 m, 2 m to 4 m, 4 m to Infinite
Shutter speeds 1/100 s, Bulb
Bulb mode Yes
Built-in flash No
Flash Connection Connection for Diana F+ Flash, Hot Shoe (with adapter)
Flash sync speed 1/100 s
Tripod mount Yes
Self-timer No
Power supply Not necessary
Country of production China

Video

Carlos Alves de Sousa
United Photo Press

5.9.21

TRICHROMES - COLOUR PHOTOS WITH ILFORD HP5


A SCENE THAT SCREAMS COLOUR

Have you ever been out with your camera, loaded with your favourite black and white film stock and found a scene that screams to be shot it colour? Of course you have, we have all been there!

Today I am going to introduce you to a new 150 year old process called Trichromy also known as the three colour process or more recently Trichromes (by Jasper Fforde). As with all early photographic techniques it's difficult to say who coined the process first as there were many people working on similar techniques in the same space of time.
HISTORY
The big three that are most commonly referenced are Louis Arther Ducos du Hauron, Charles Cros and James Clerk Maxwell. Both Ducos du Hauron and Cros presented their methods to the French Society of Photography on the 7th of May 1869 despite not working with one another or knowing of each other's research. J.C Maxwell presented the first colour photograph at a Royal institution lecture on colour theory in 1861. The photograph was taken by Thomas Sutton the inventor of the SLR, of a tartan ribbon using red, green, blue and yellow filters. Unfortunately for Maxwell the wet collodion plates Sutton used were insensitive to red and barely sensitive to green light. A published remark on the lecture read “if the red and green images had been as fully photographed as the blue" it would have been a fully coloured image.

THE PROCESS
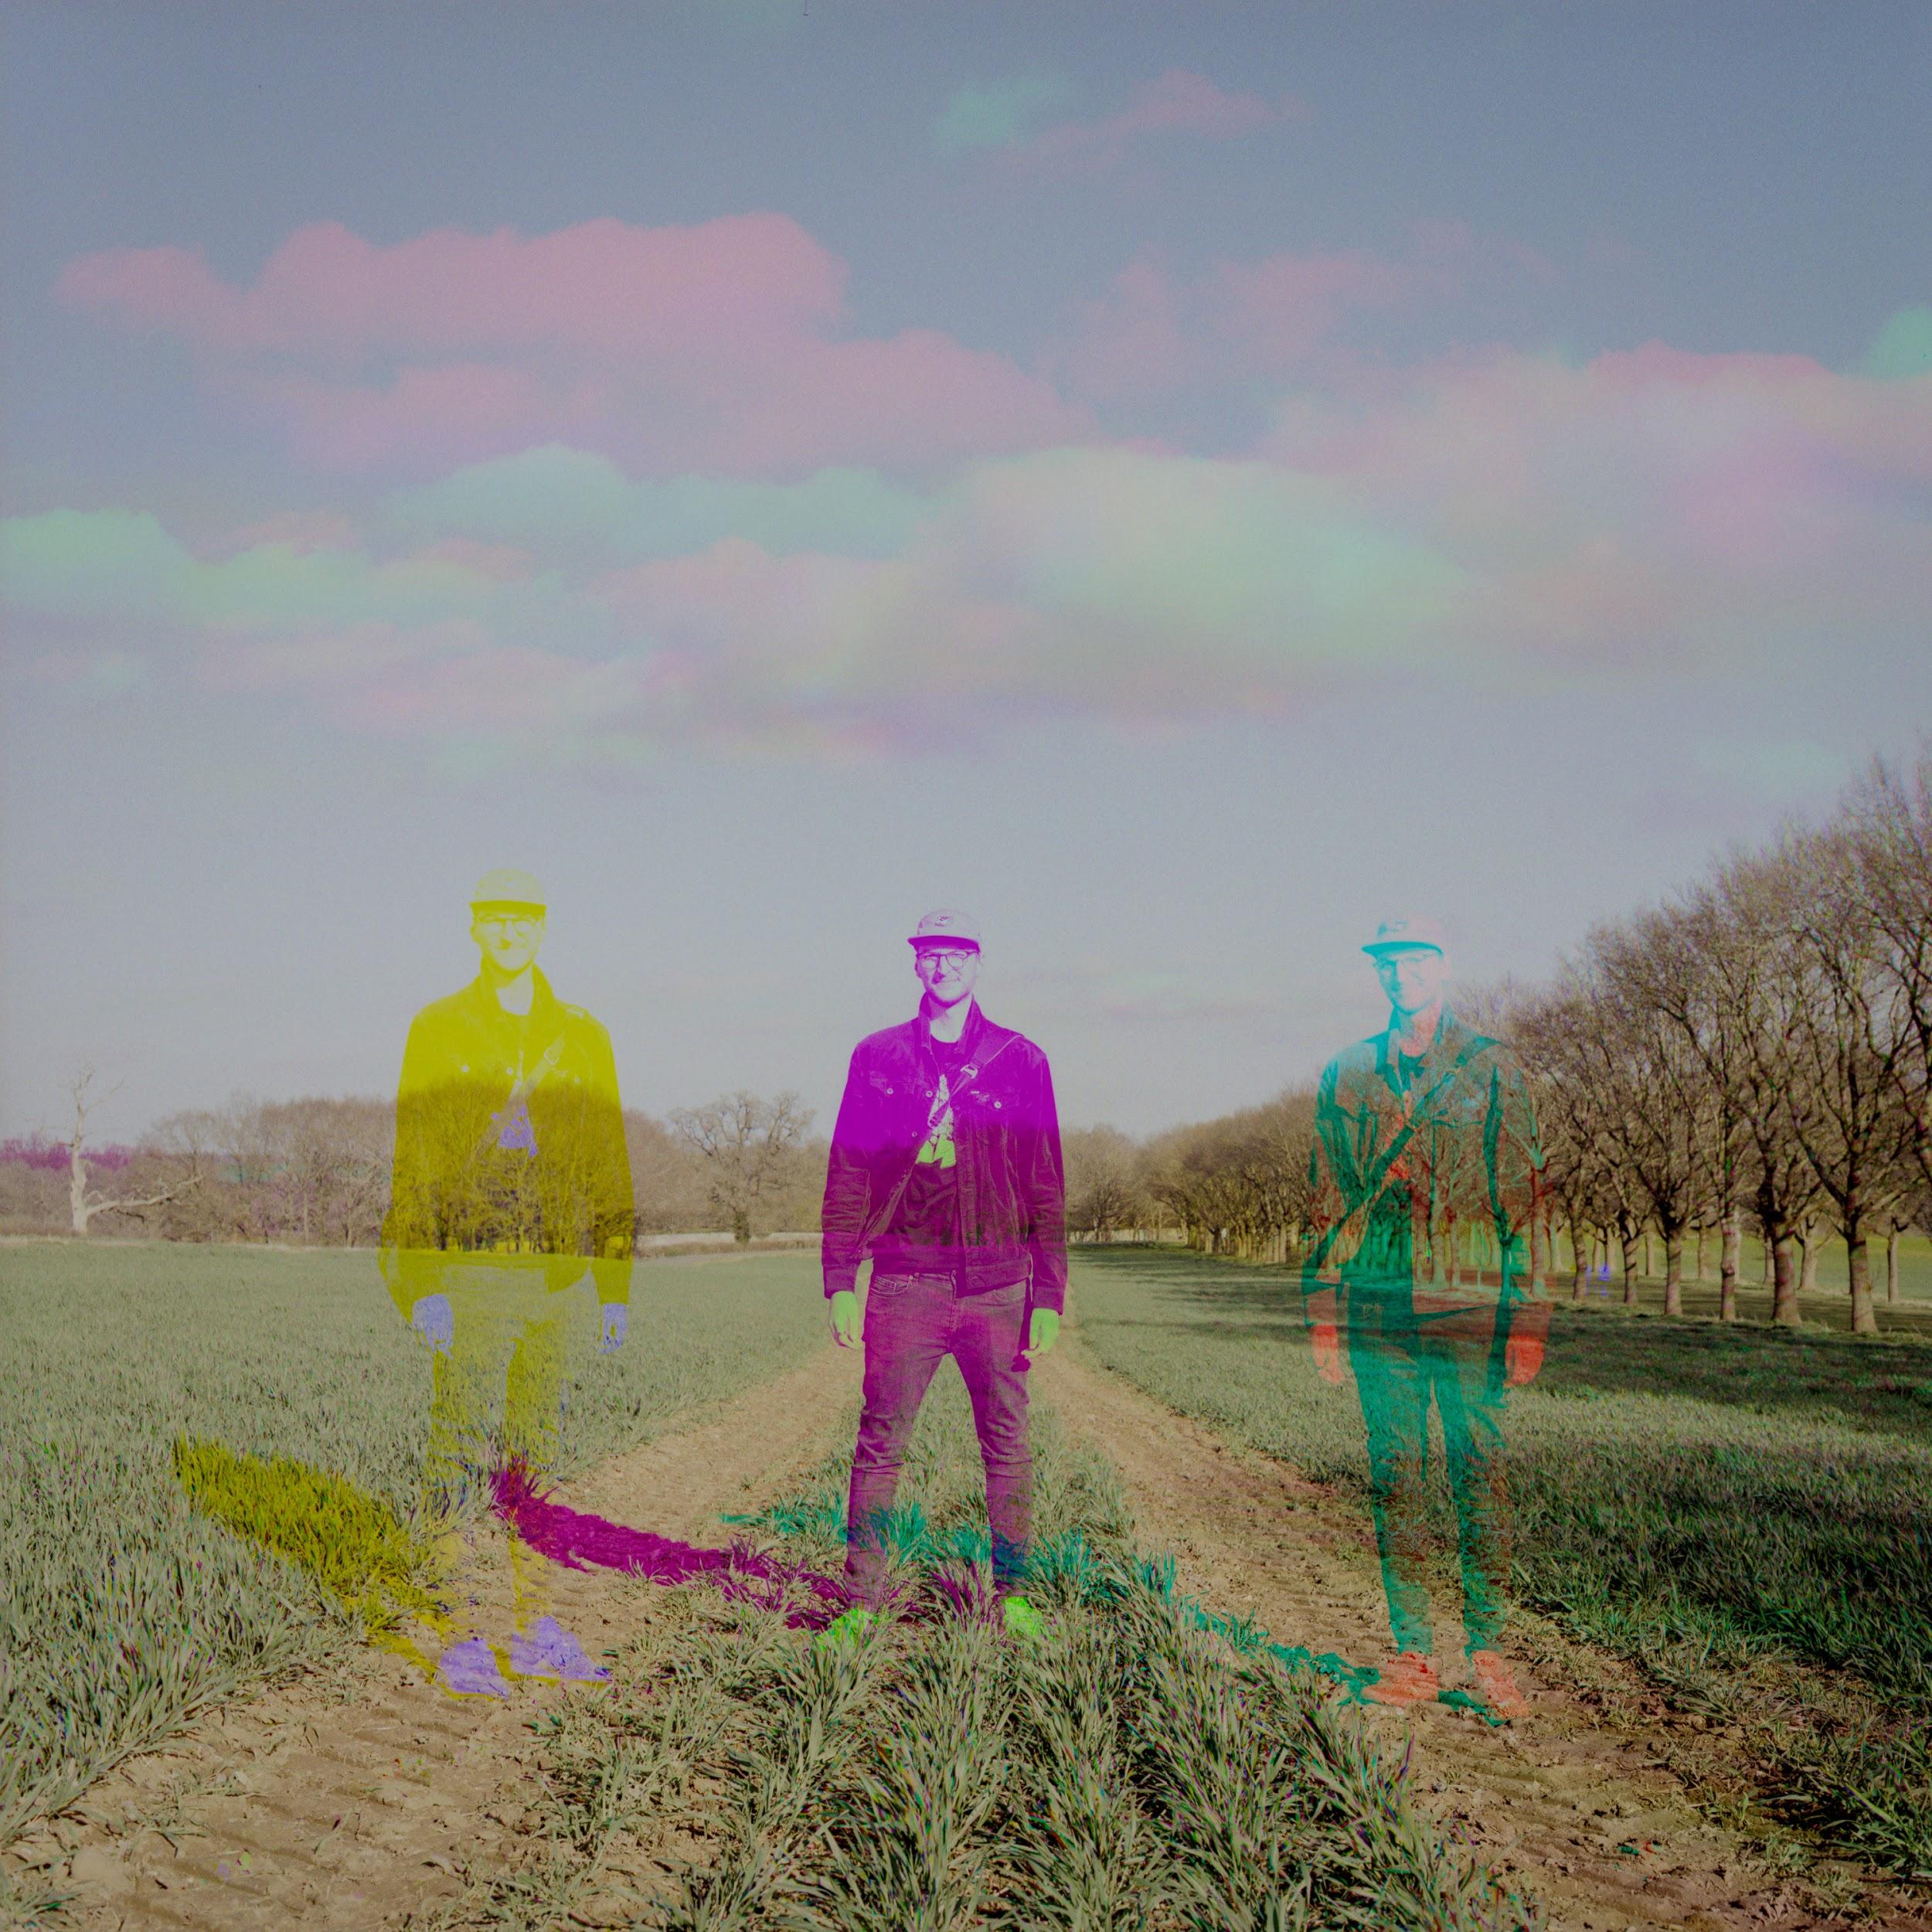
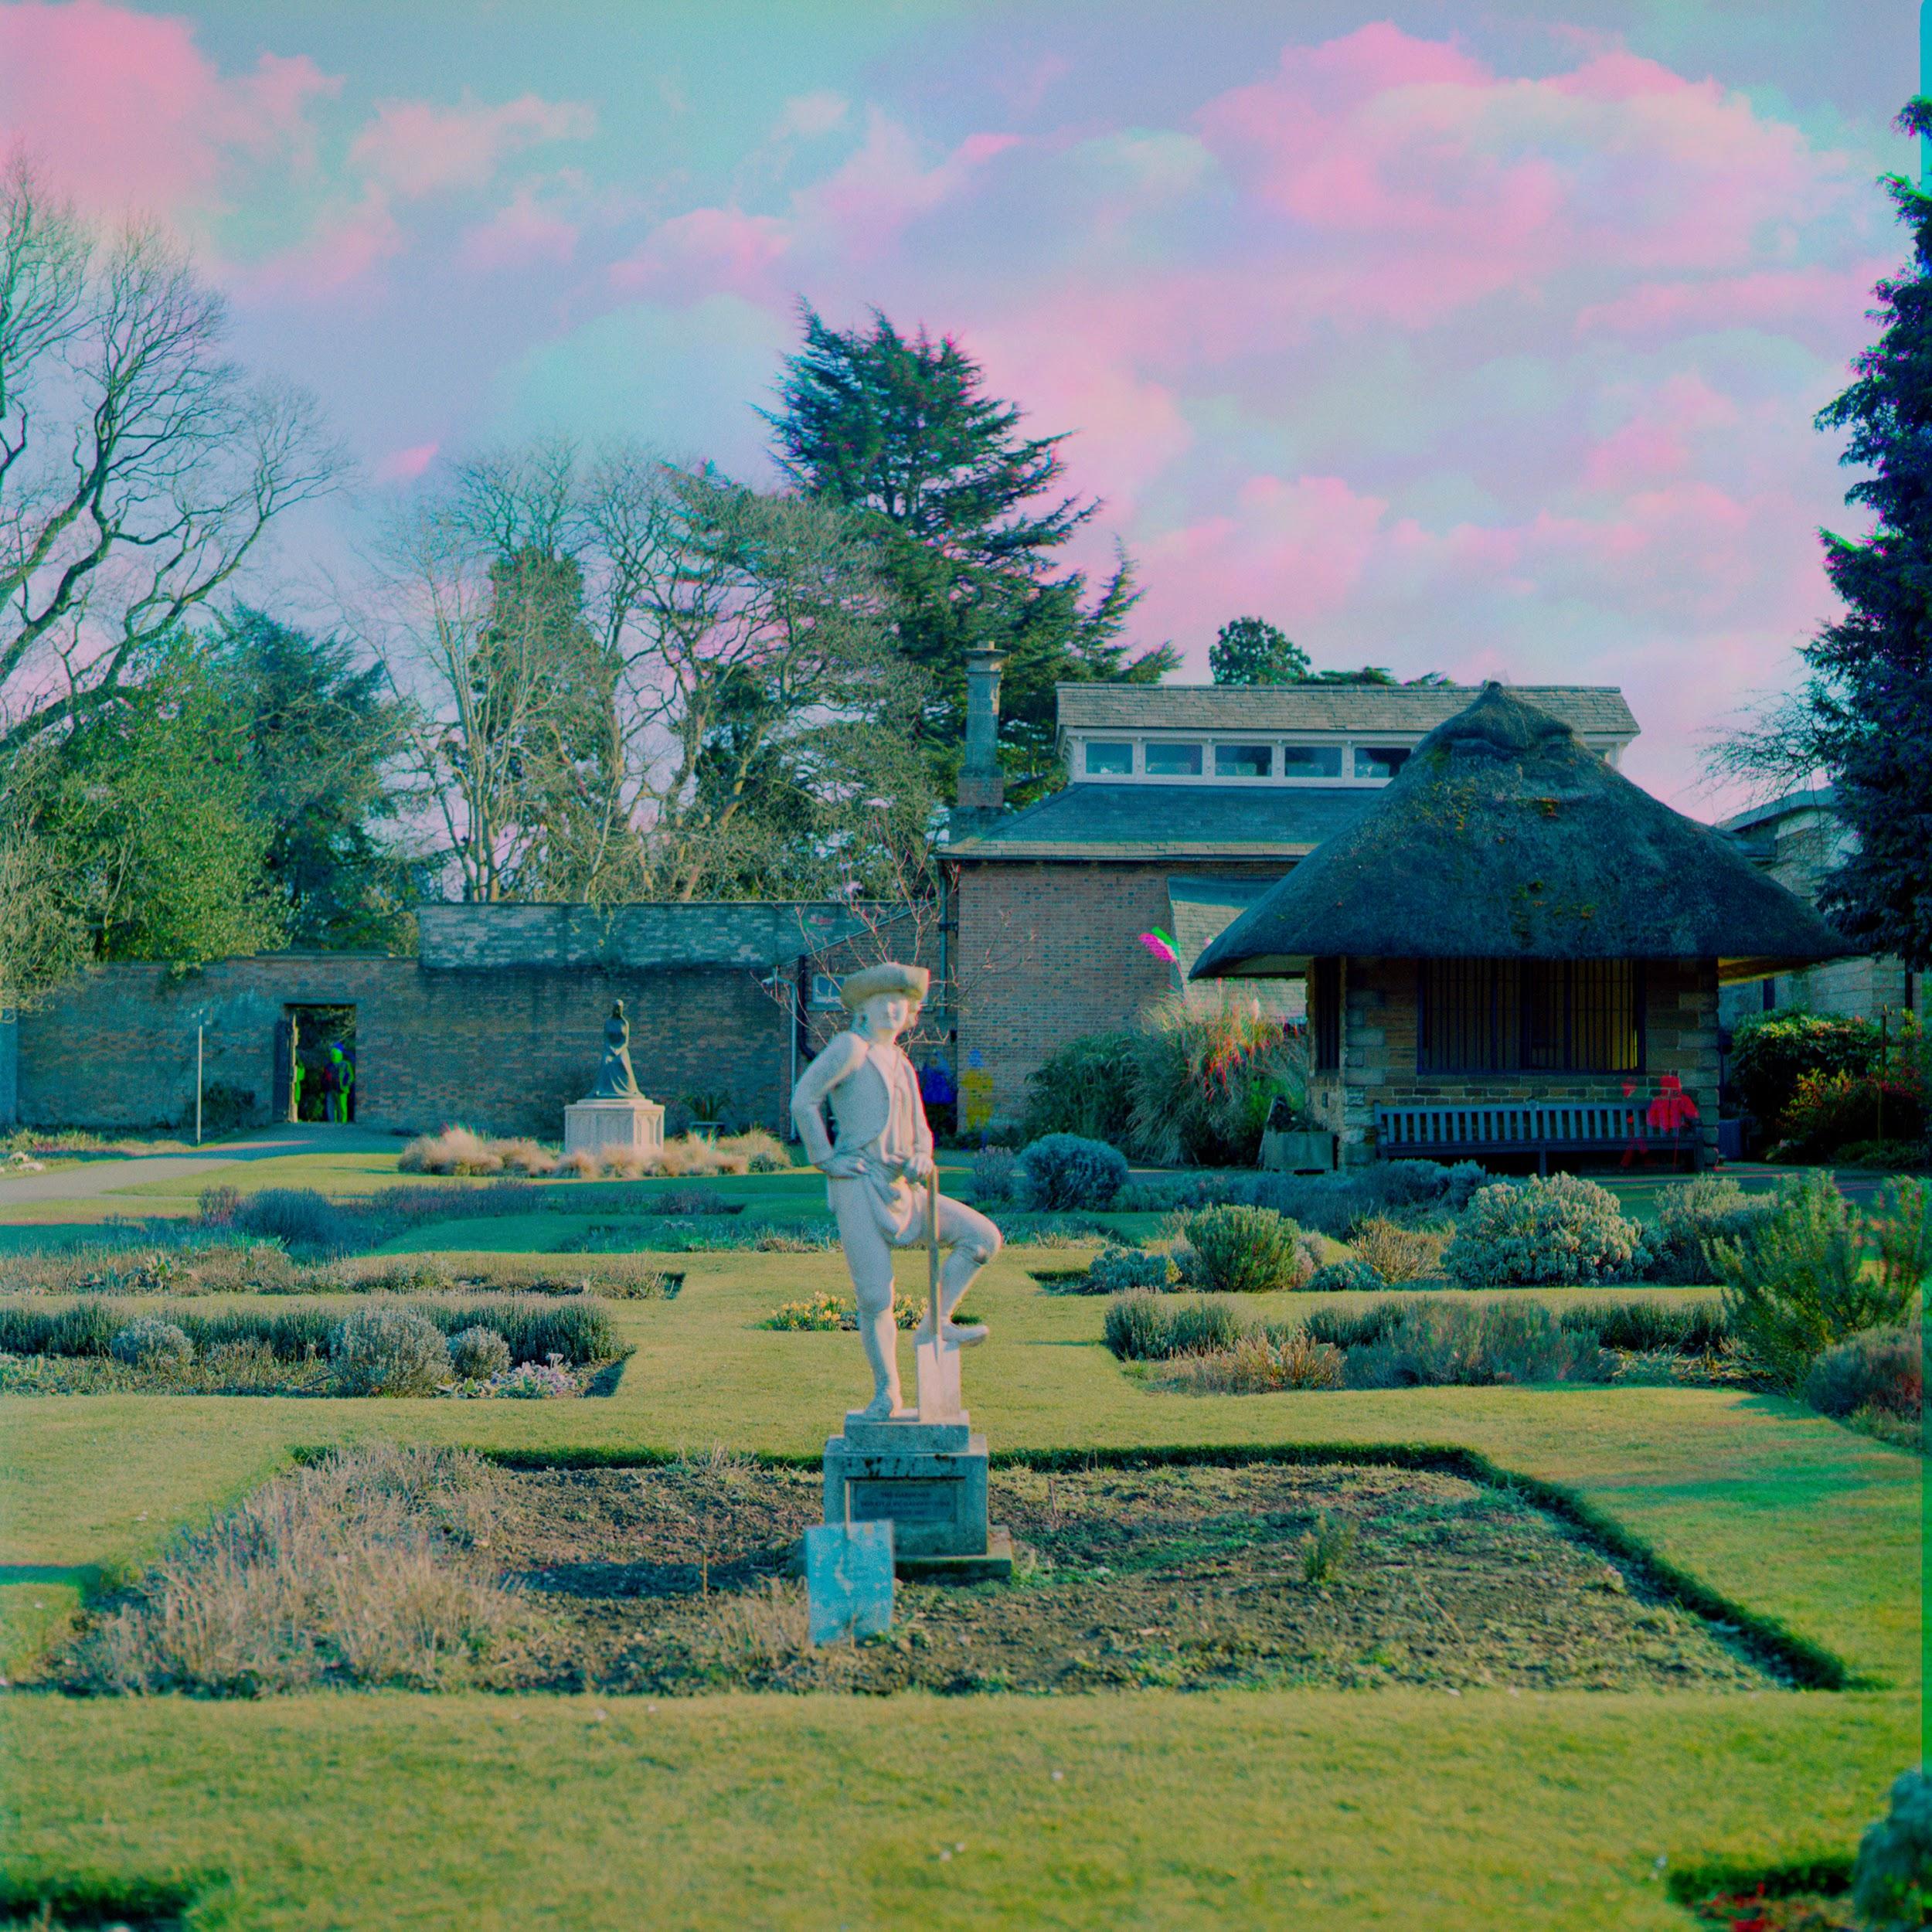
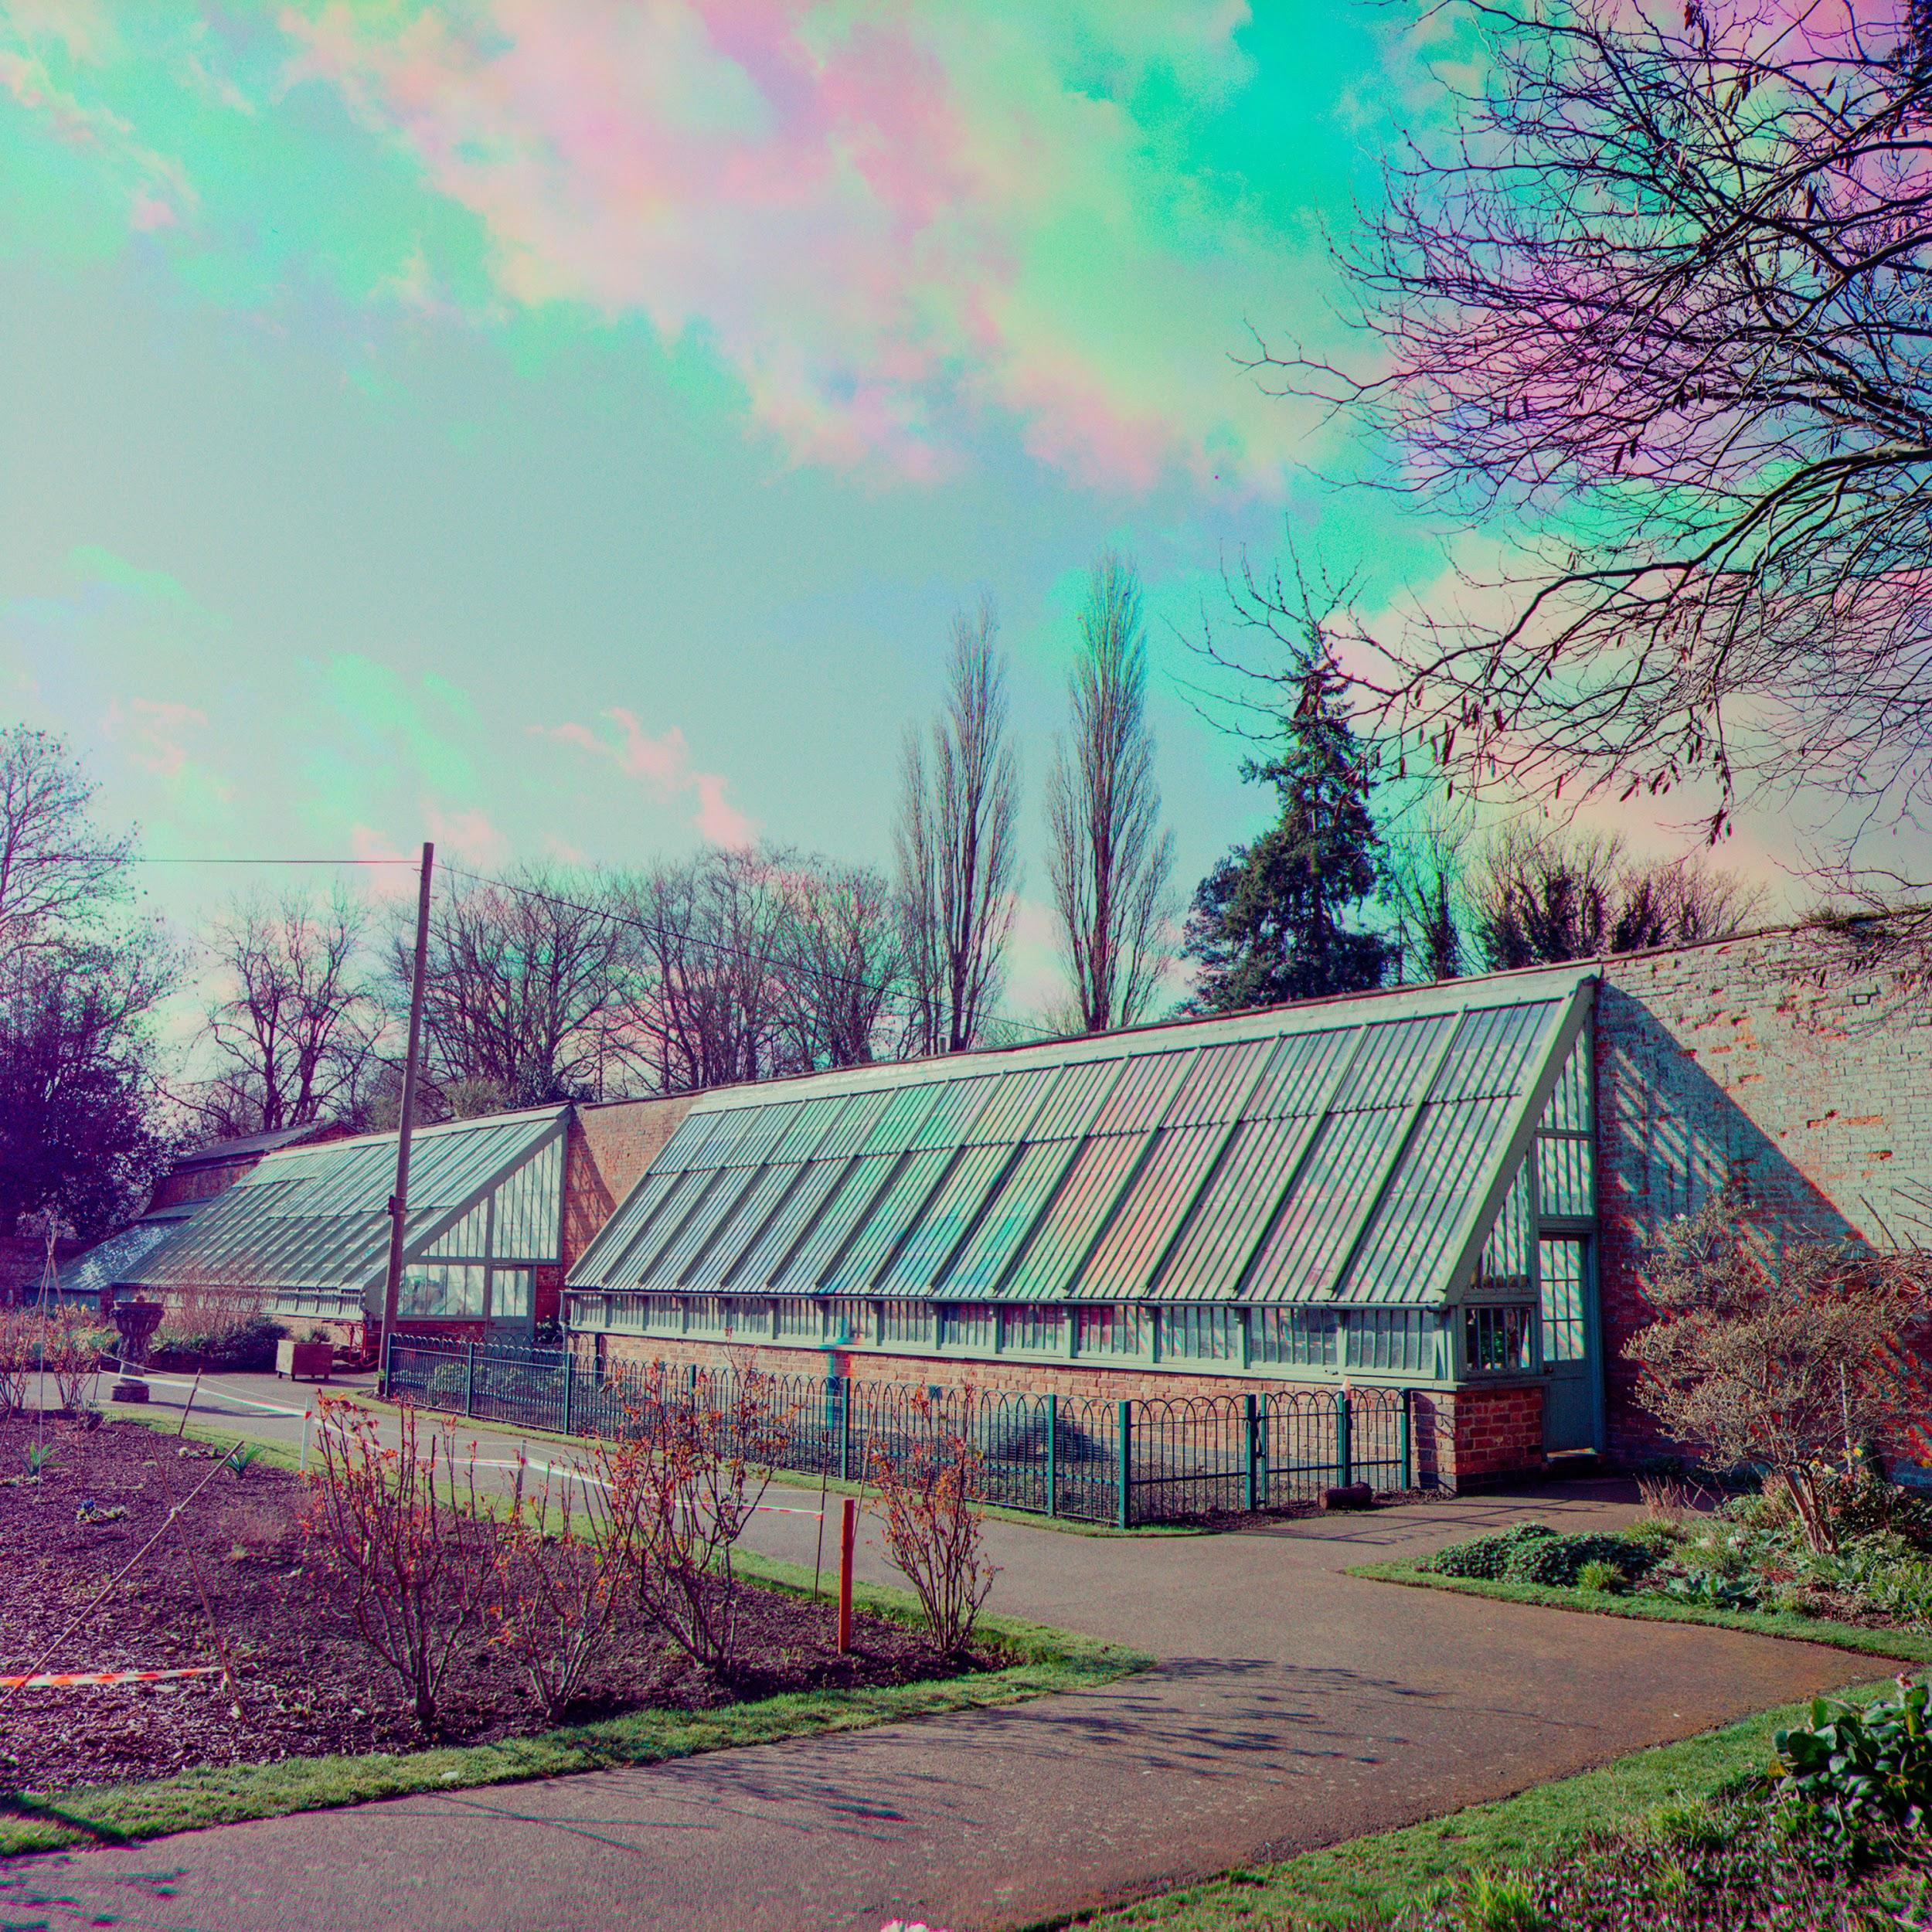
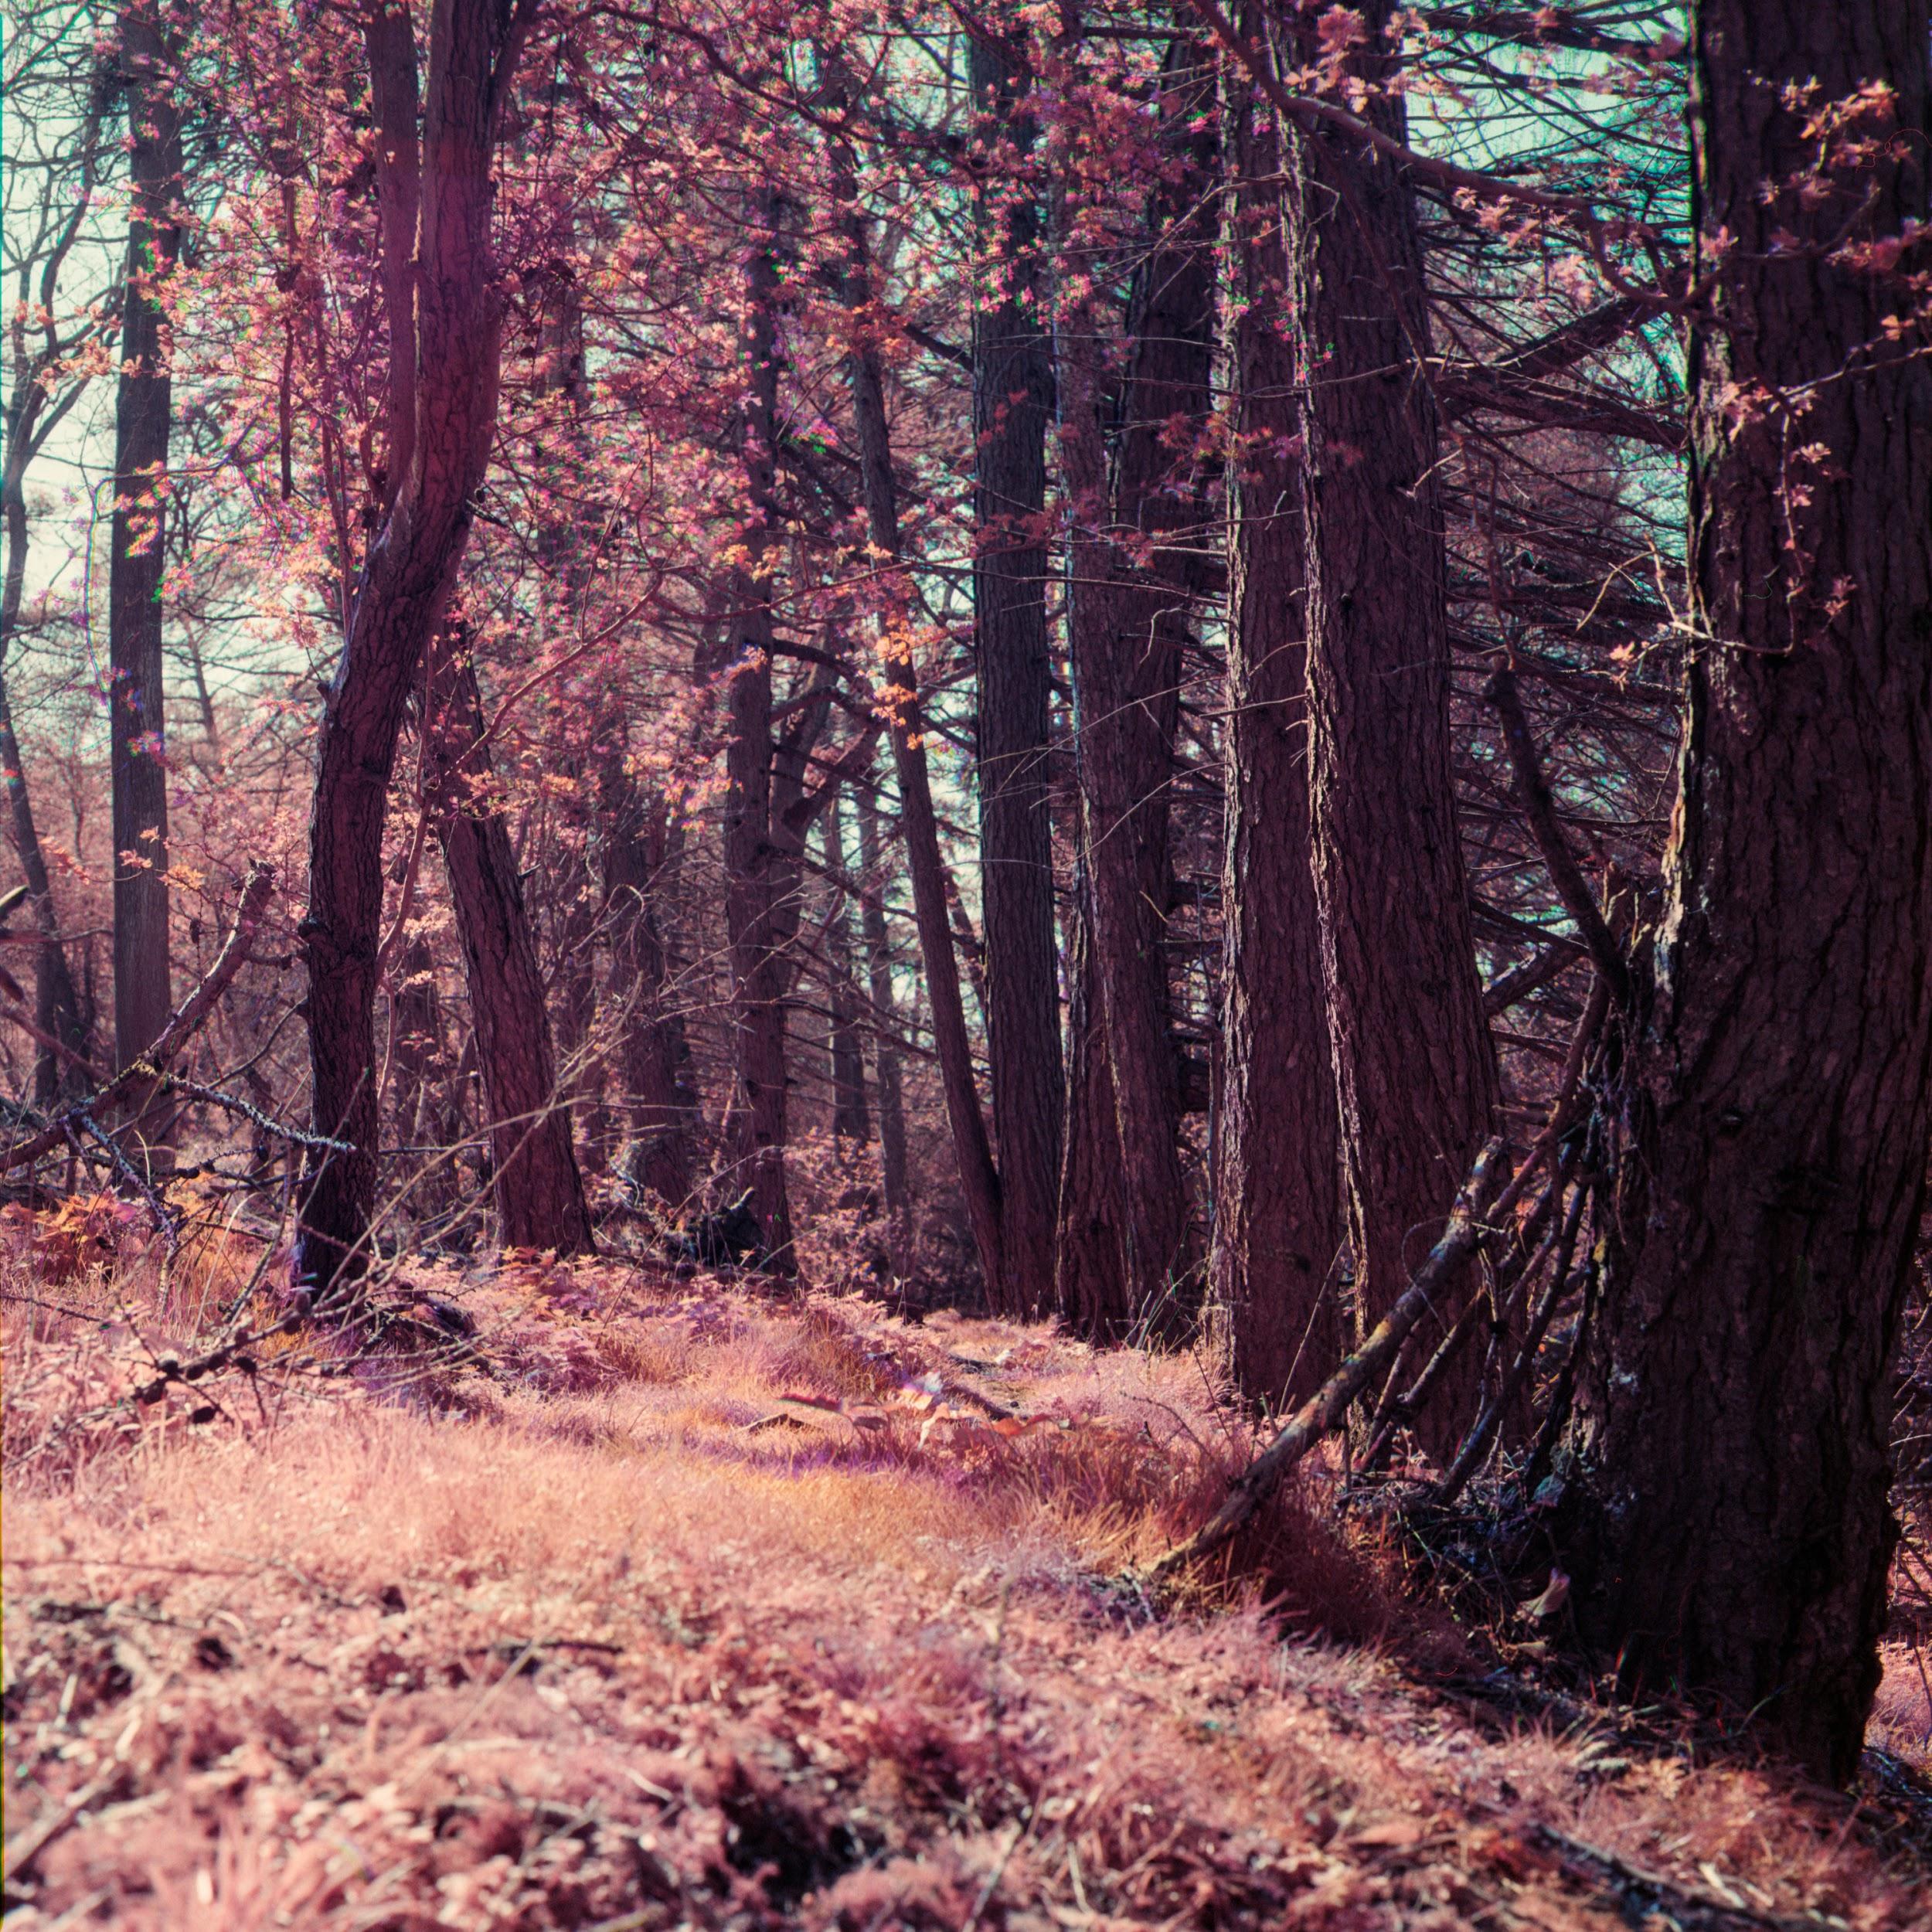
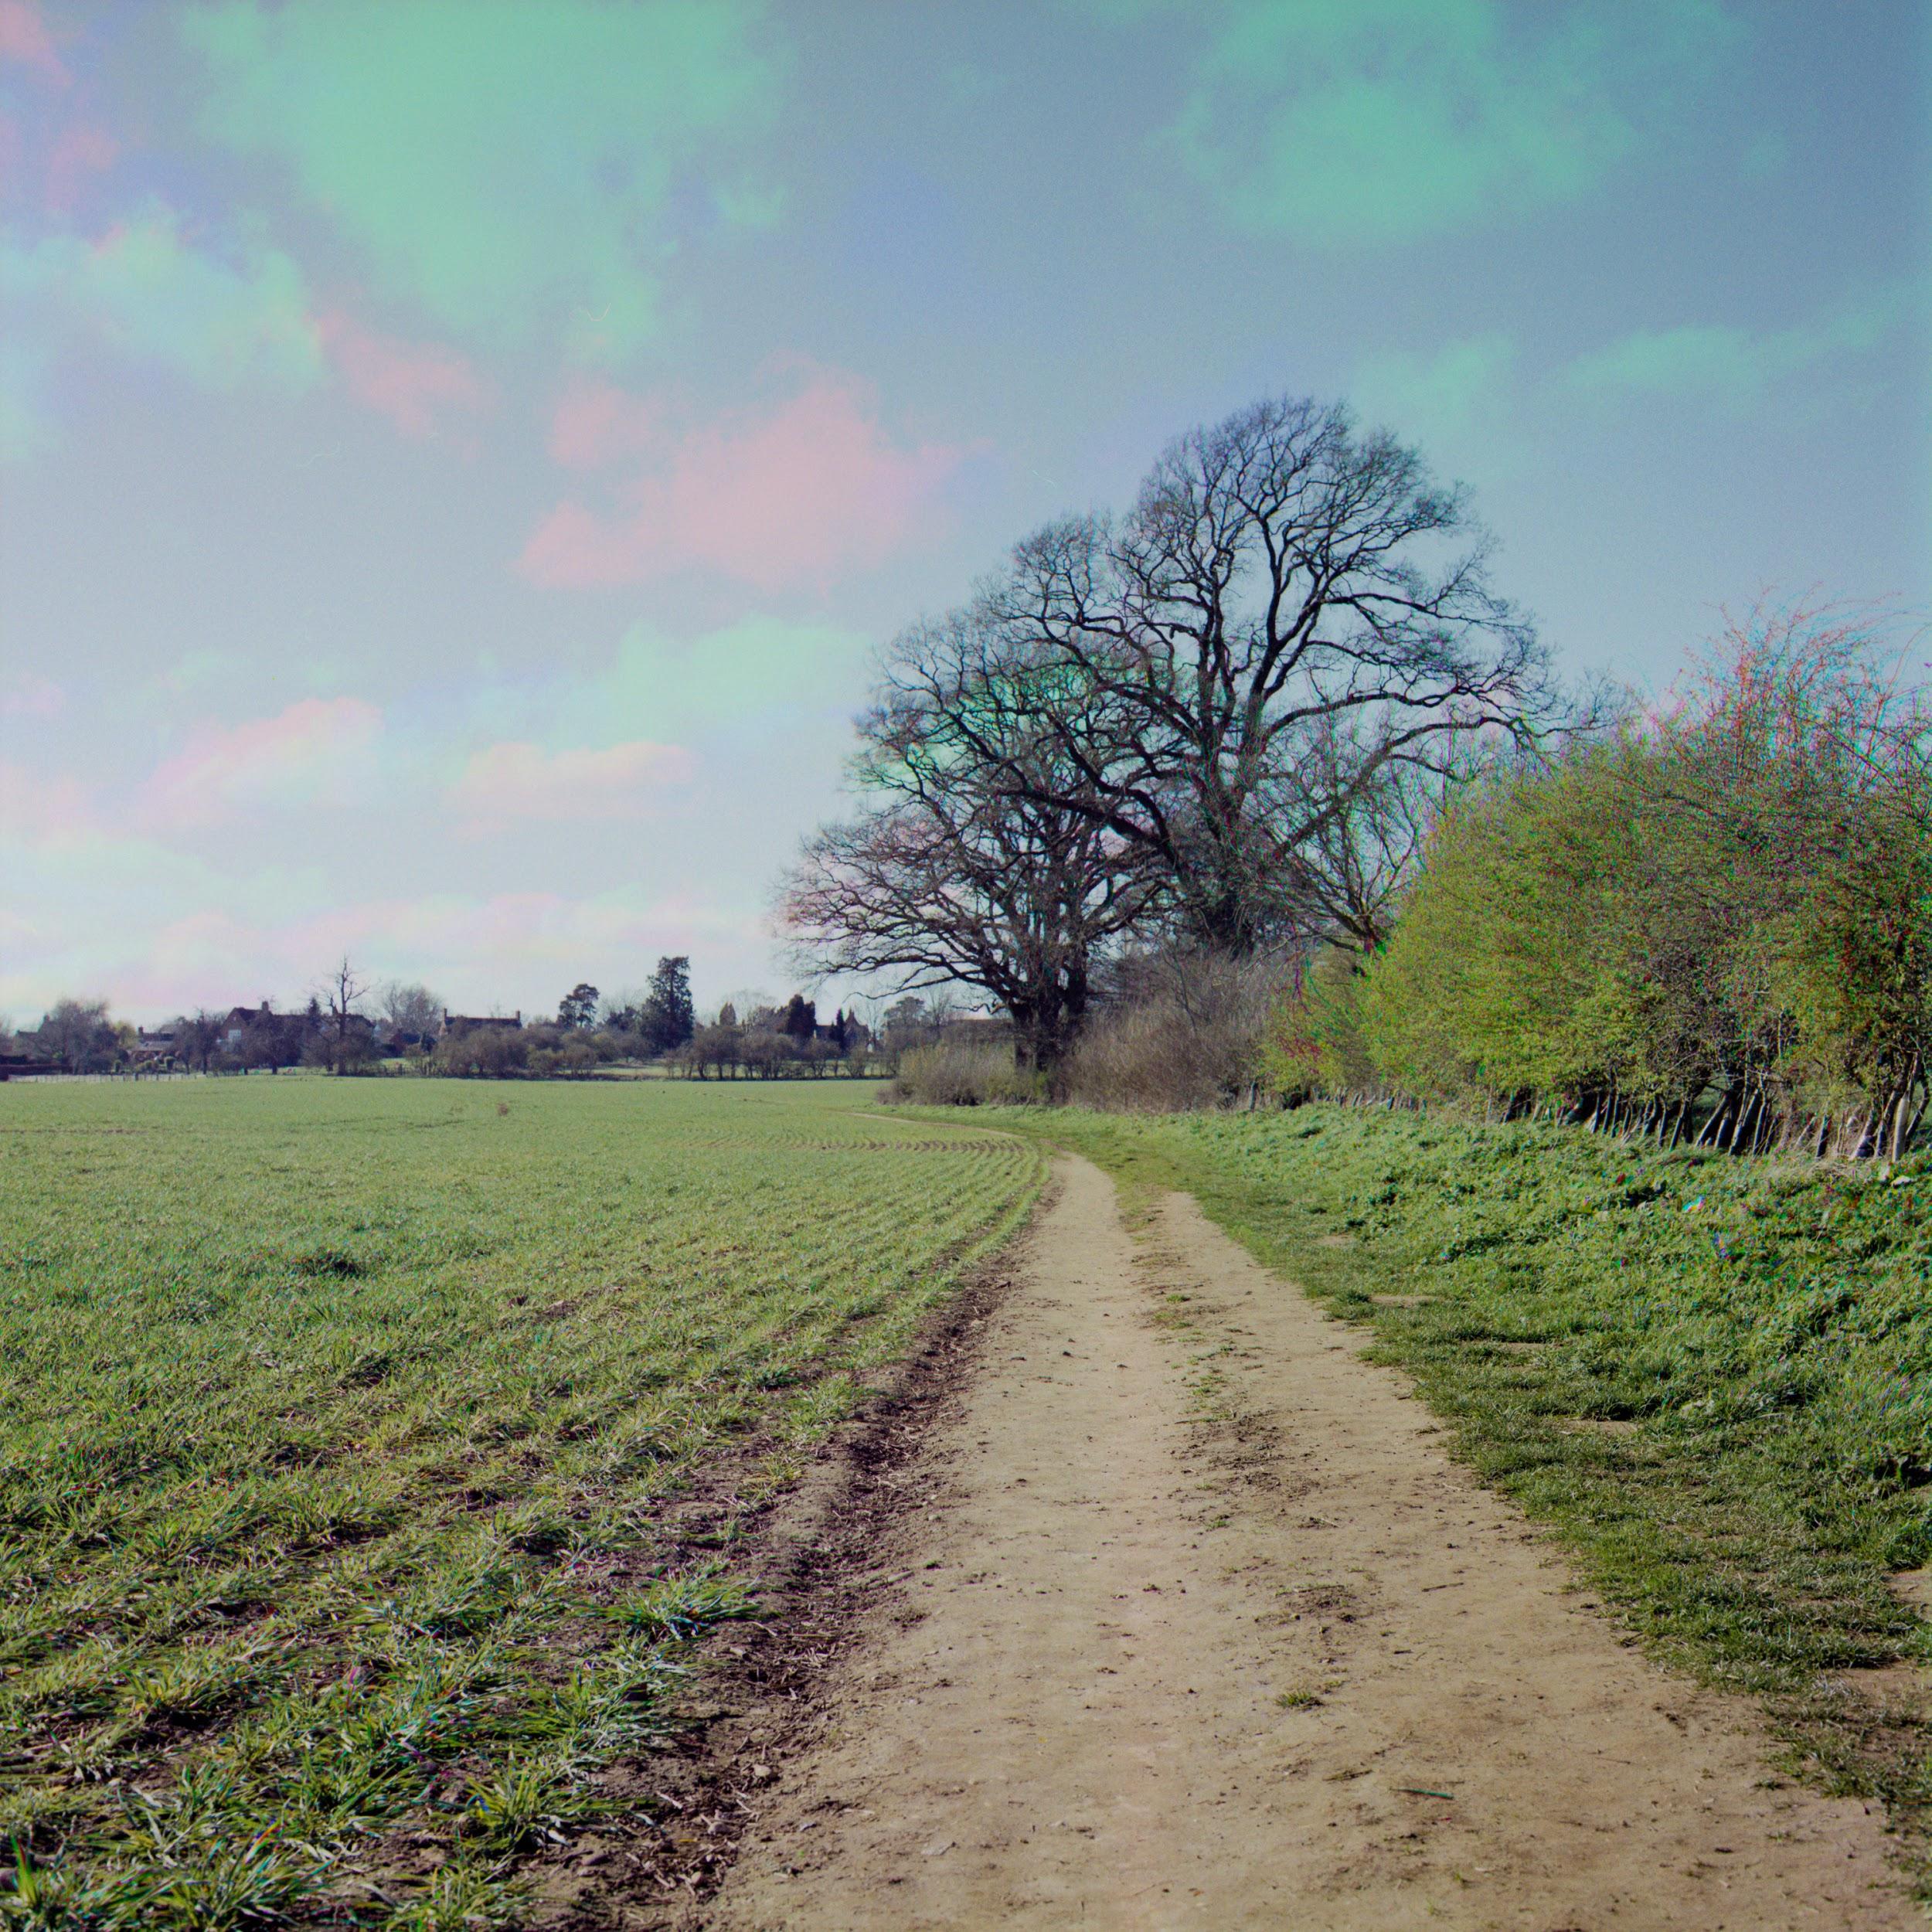
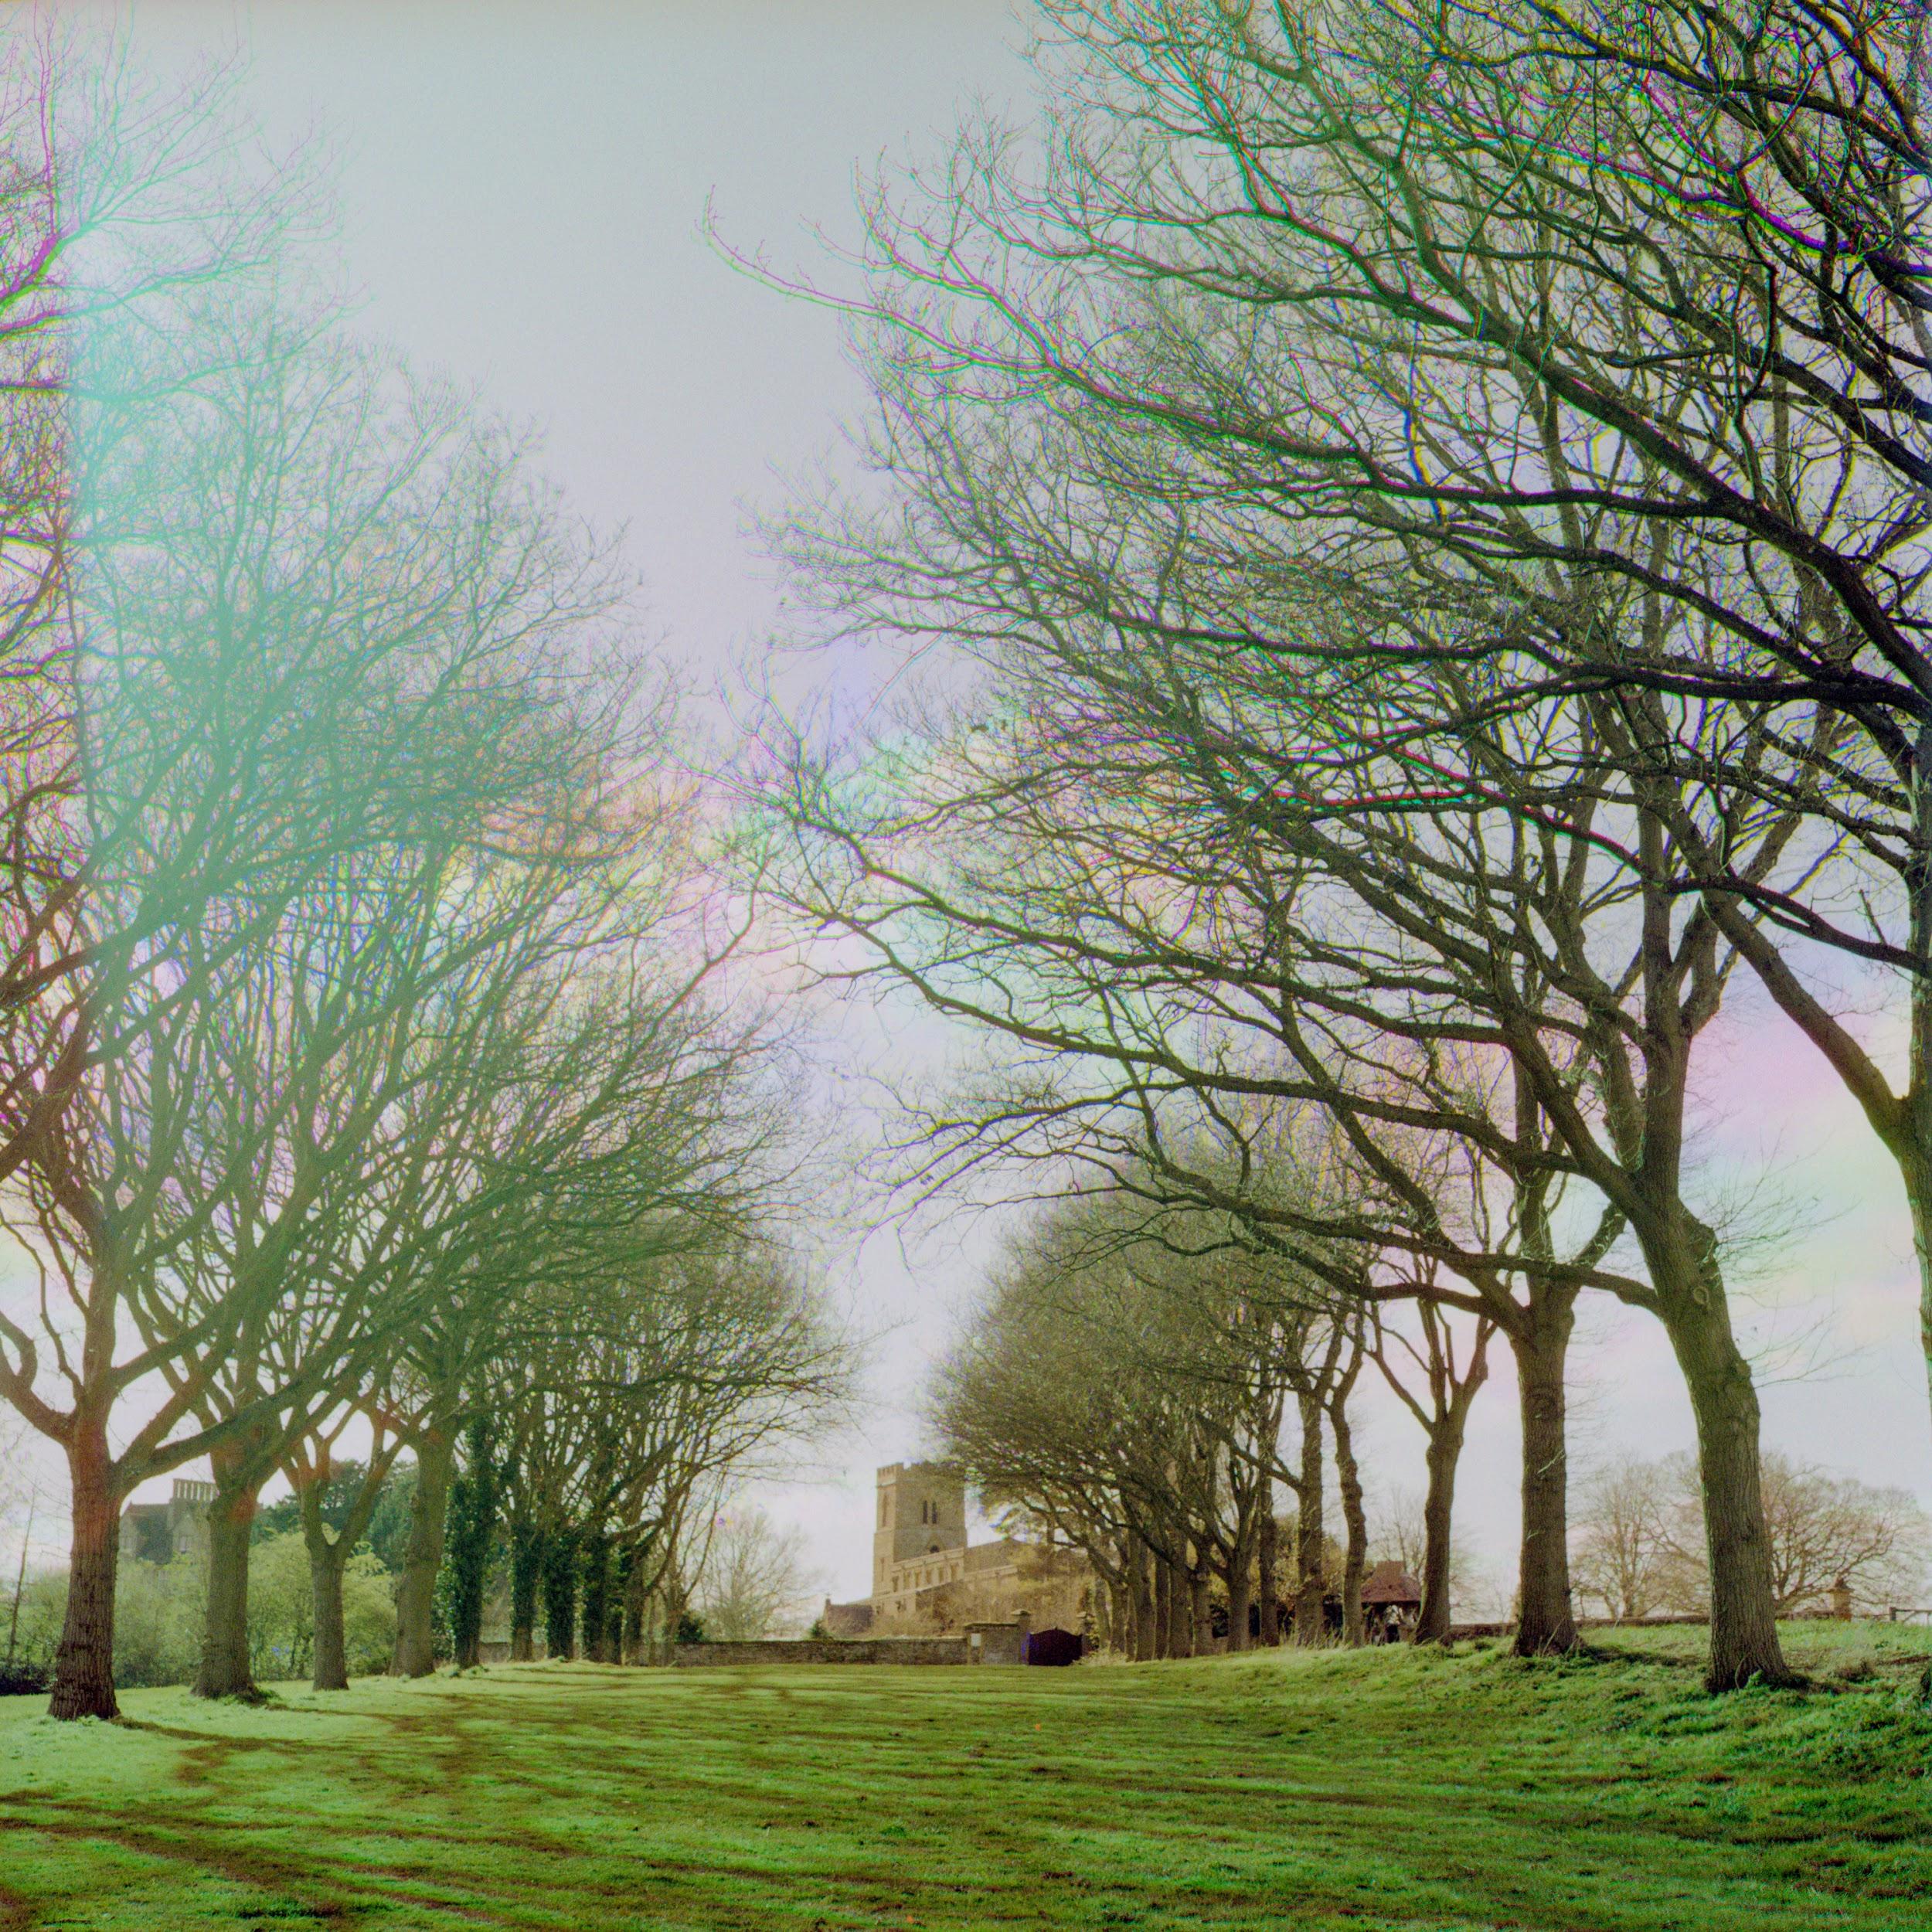
I have used a red, green and blue filter and some digital manipulation to create this effect.

The list of items you will need to create this effect, include:
A roll of film (any speed, orthochromatic film will not work as it is not sensitive to red light.)
A camera
A tripod
A light meter (or digital camera for meter reading)
Red, green and blue colour filters (sweet wrappers can and have been used)
Editing software

The key to this procedure is to take three identical images using all three of the filters.

COMPOSING THE IMAGE
My workflow follows these steps.

In my personal opinion I think that outdoor photographs are more interesting than indoor studio shots. I like to look for partially cloudy skies and foliage blowing in the wind, anything with movement. Slight movements of subjects create a Harris shutter type effect to the image.

METERING
Meter the scene, I recommend only taking a reading of a neutral colour object in the scene such as concrete, my reasoning for this is because it will not be affected by the colour filter. Subjects to avoid metering would be anything red, green or blue in colour. I can then apply my colour filter compensation in my case 3 stops for the red filter 2 for the green and 3 stops for the blue filter. Before taking my images I would double check my reading with all filters to make sure that all my readings are accurate. If any of the exposures are off you may end up with weird colour shifts much like the one below. These can be corrected in the editing process but take time.

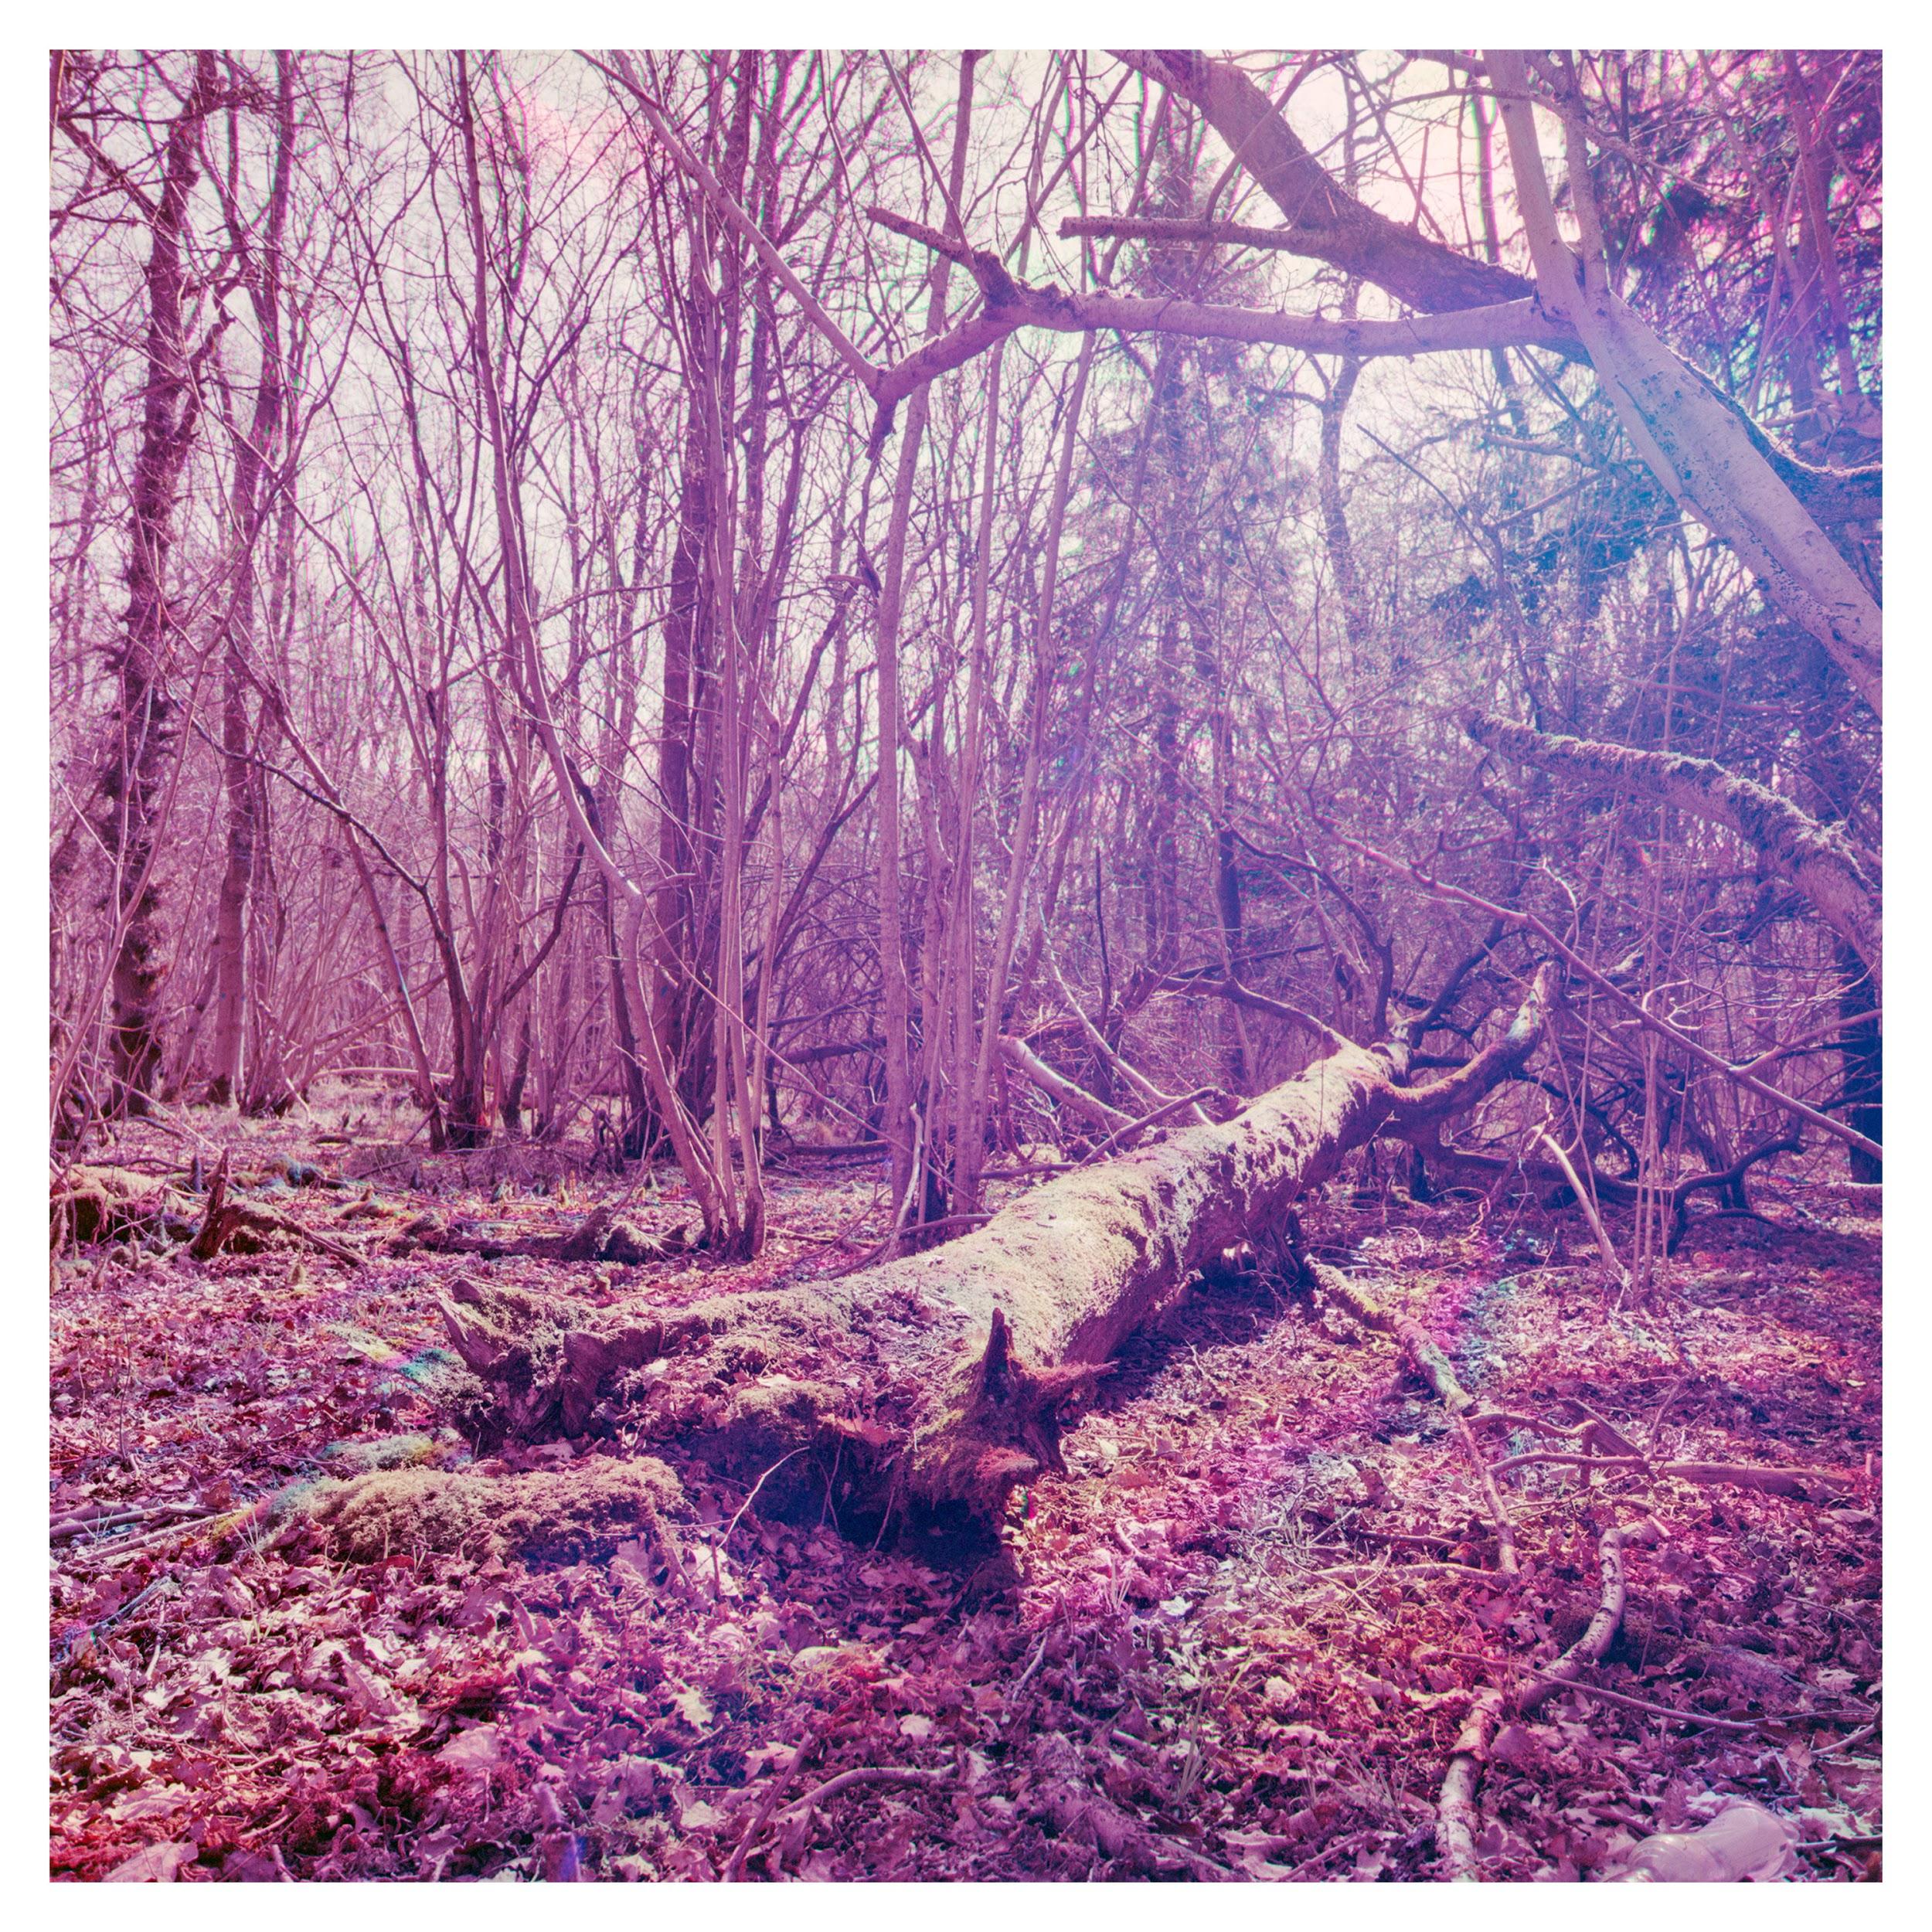
Incorrect exposure on all filters Very Lomography Purple

It is important to remember which filter you used on each frame number. The order in which I take my images are RGB only because of the abbreviation of RGB in camera sensors televisions and online image publishing.

SCANNING AND MANIPULATING THE IMAGES.
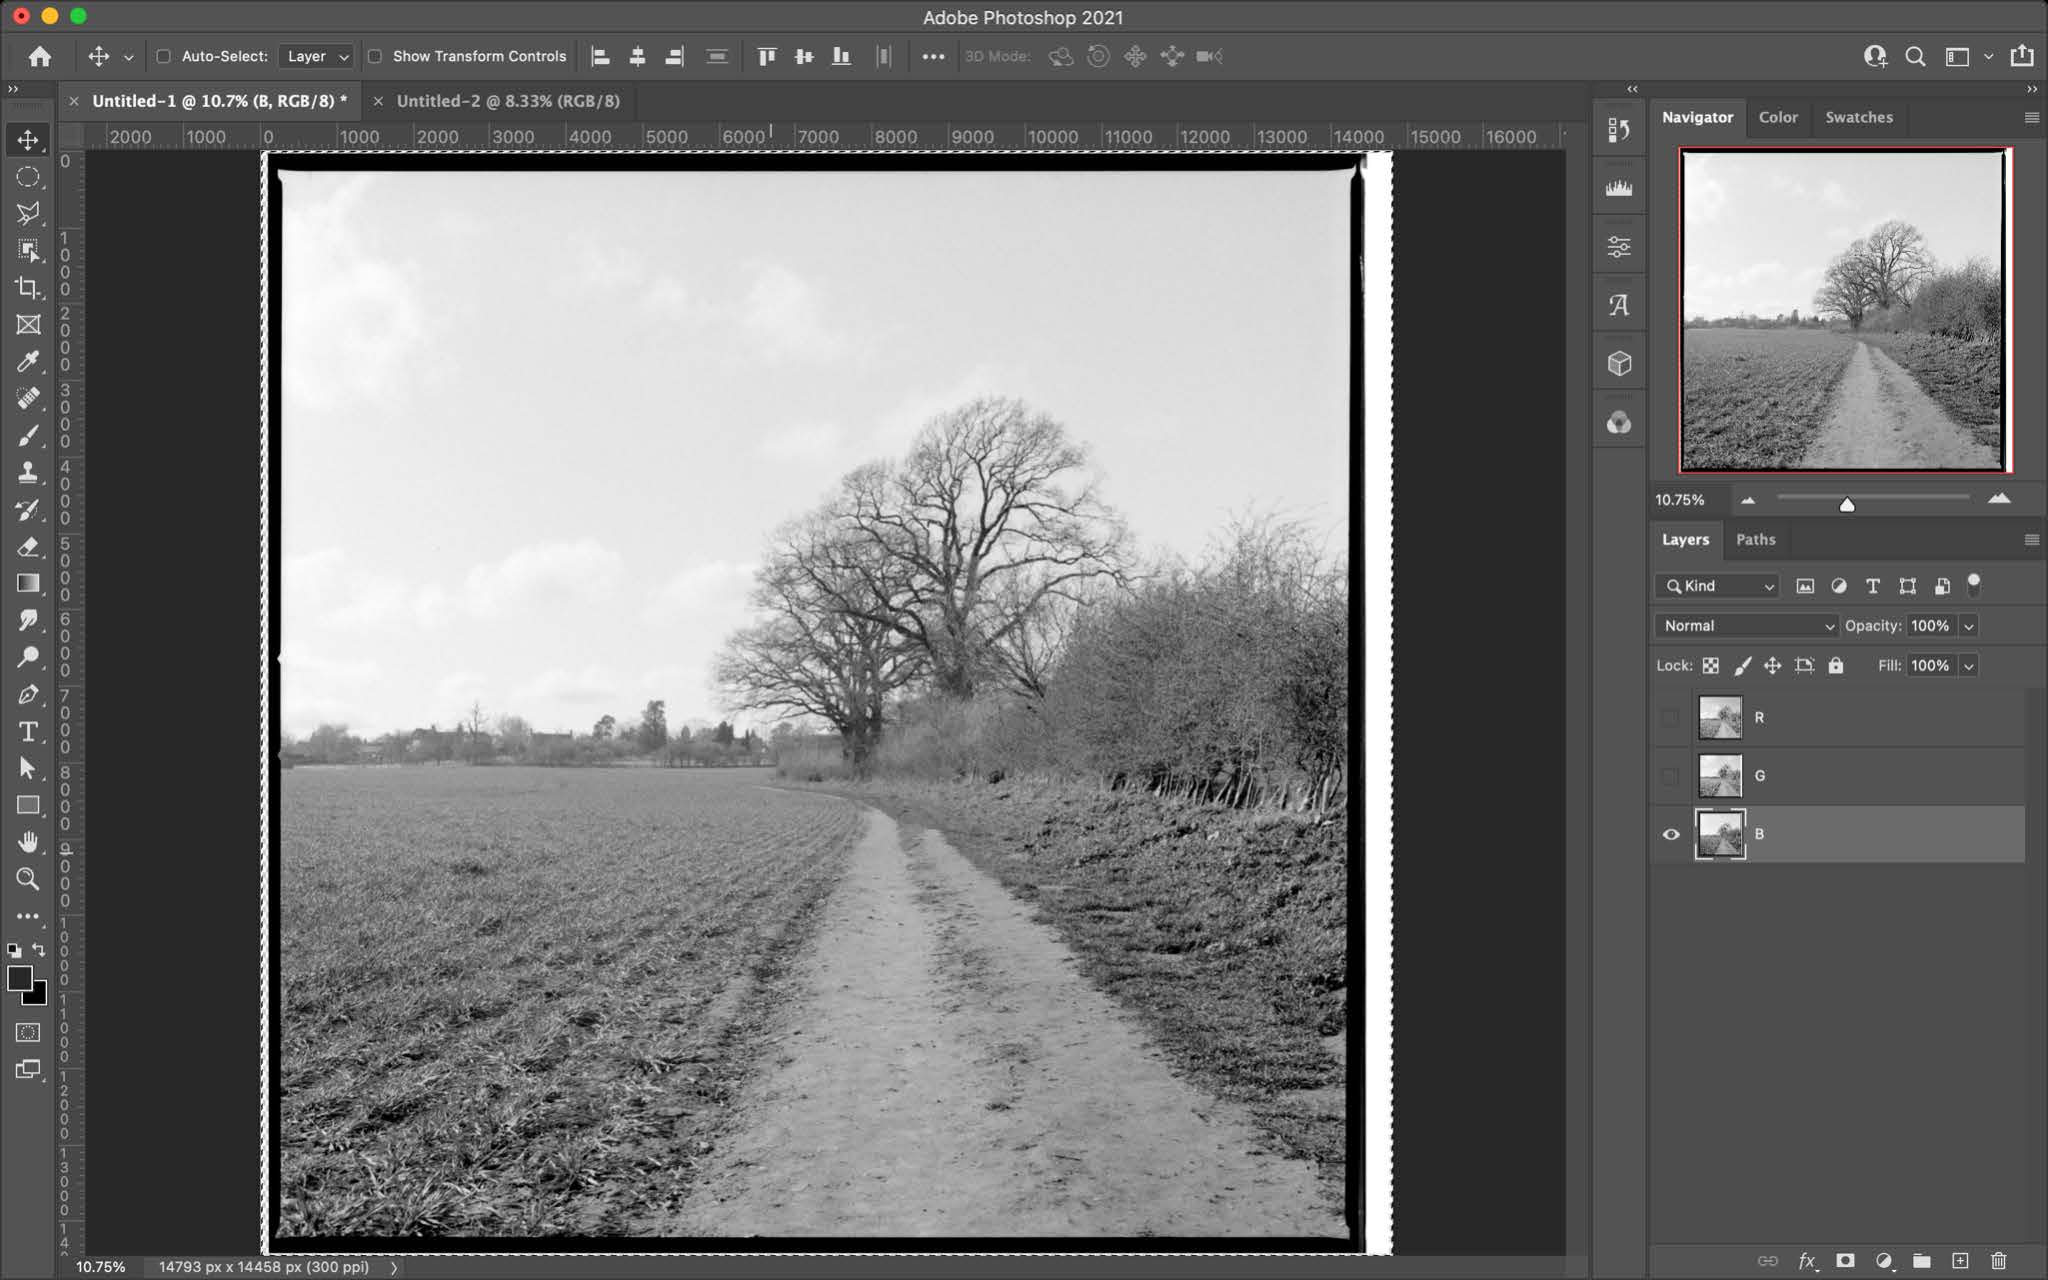
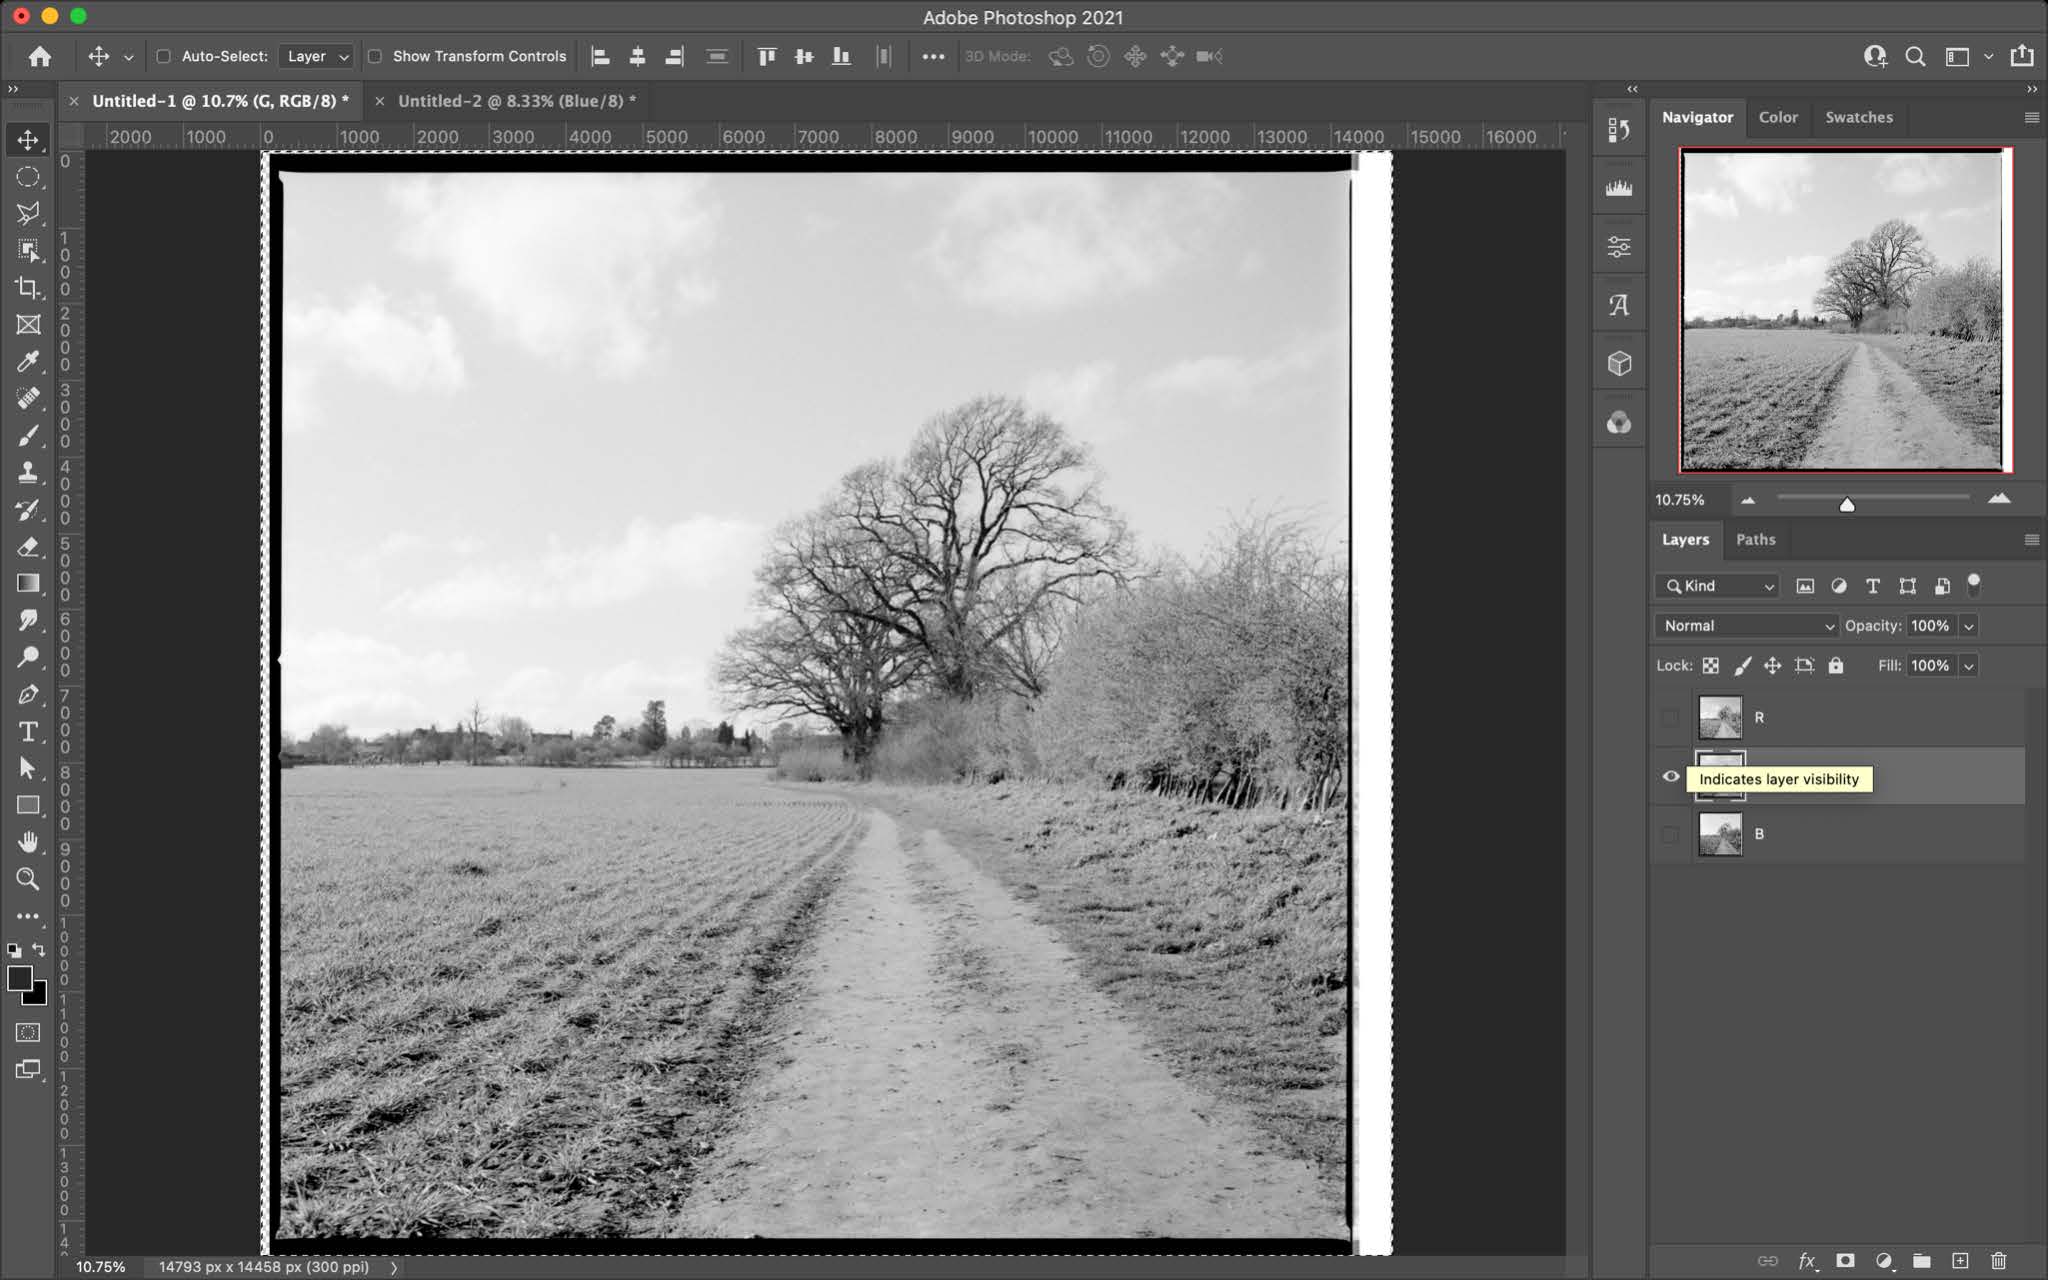
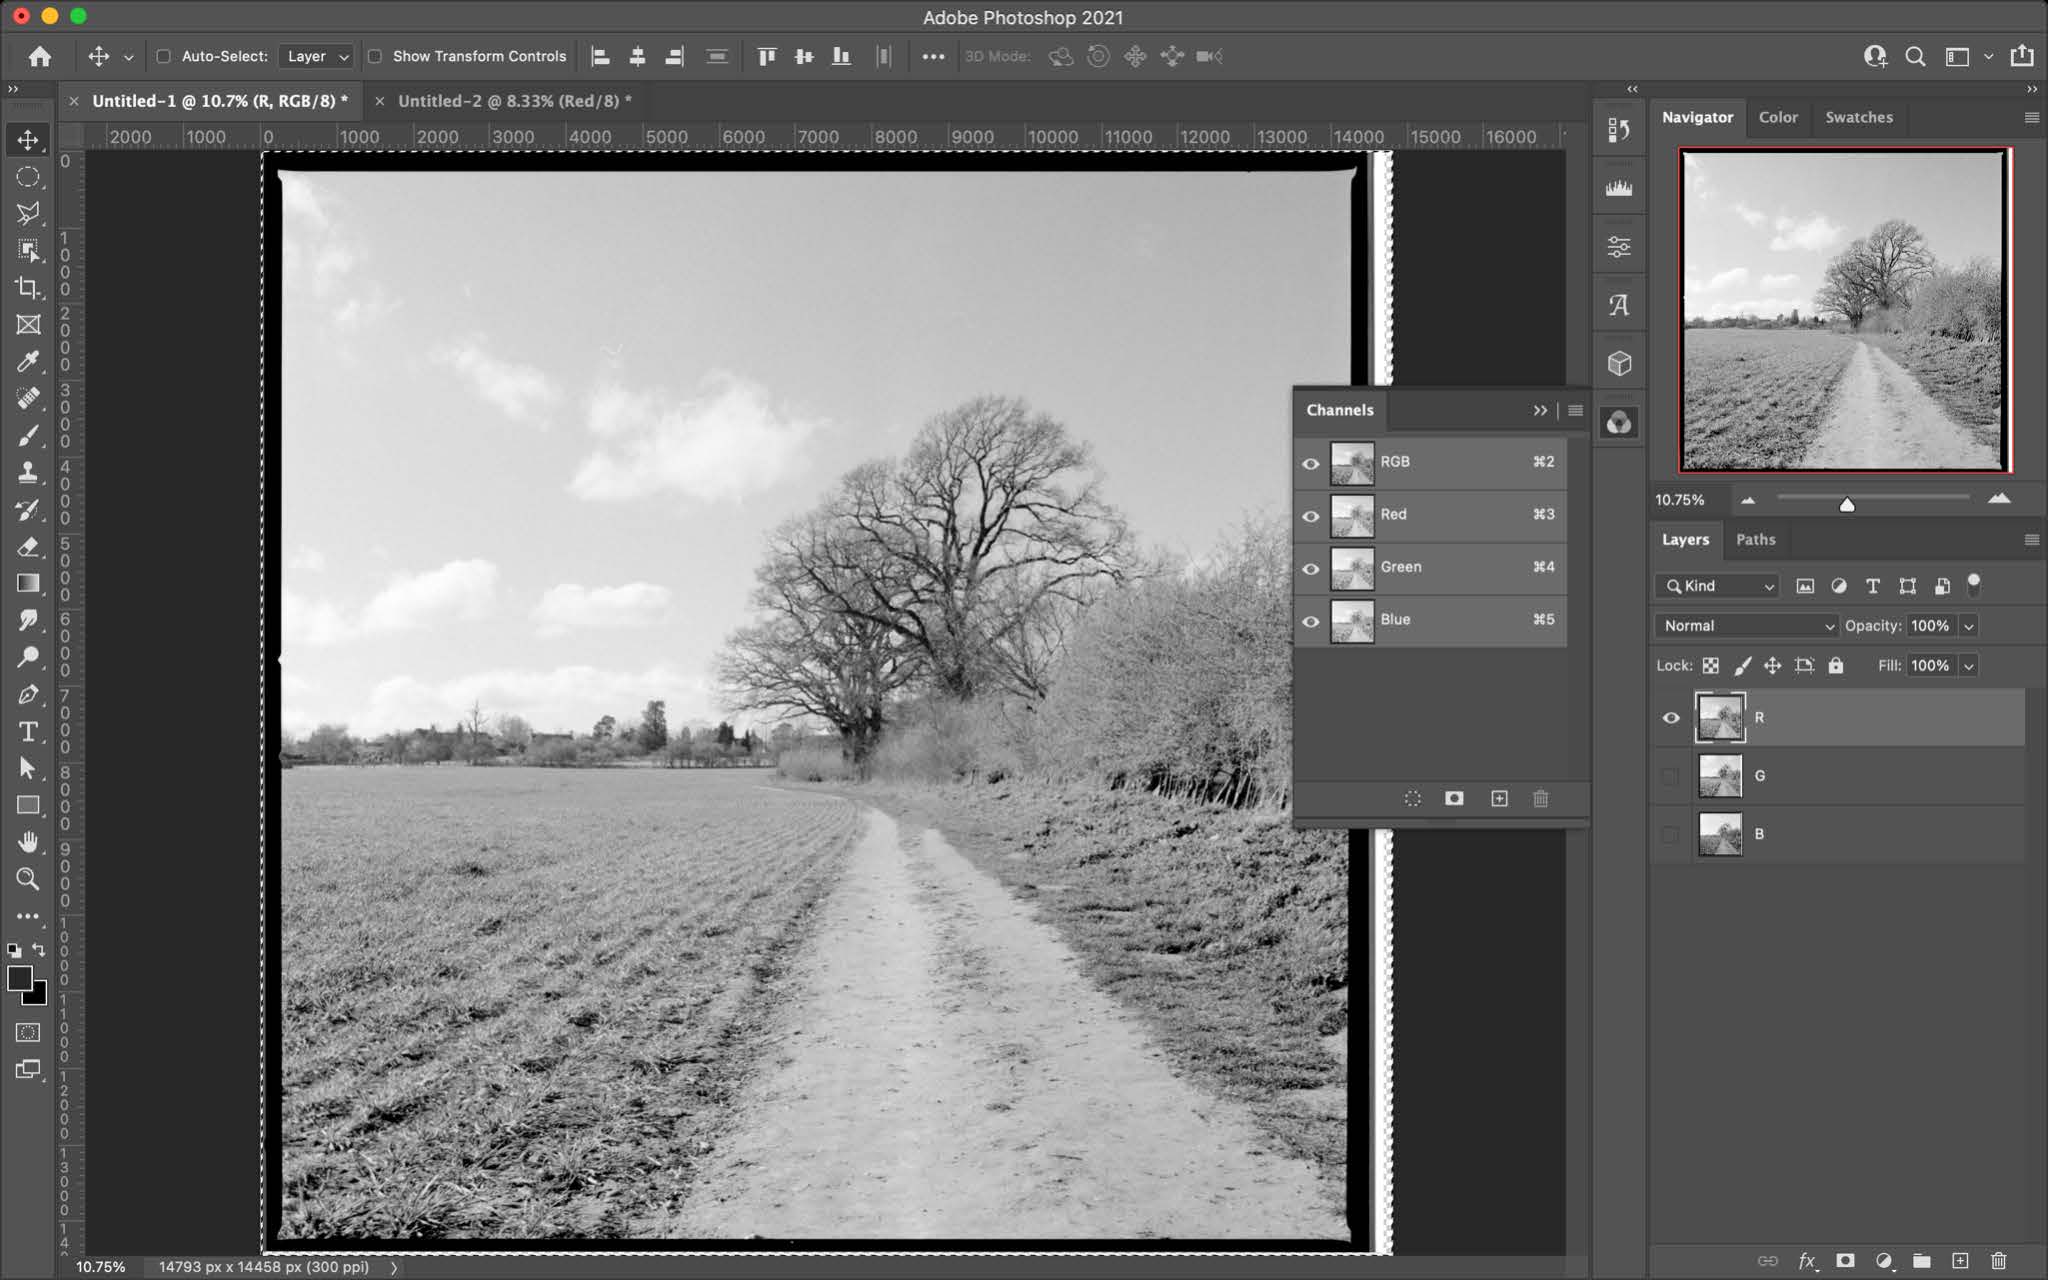
You can develop your negatives as normal, in my case I used ID-11. Once developed and scanned you can bring them into photoshop and combine all to the images. Once all three images are open in photoshop navigate to File>Scripts> Load Files into Stack… From here click add open files and check the box “Attempt to Automatically Align Source Images. Failure to do so will result in a more extreme Harris shutter effect on the final image. Depending on the size of your files this may take a minute or two. Once they are fully loaded you can rename each layer red green and blue. I order my layers red on top green in the middle and blue on the bottom.

From here there are two methods of combining the images.

METHOD 1
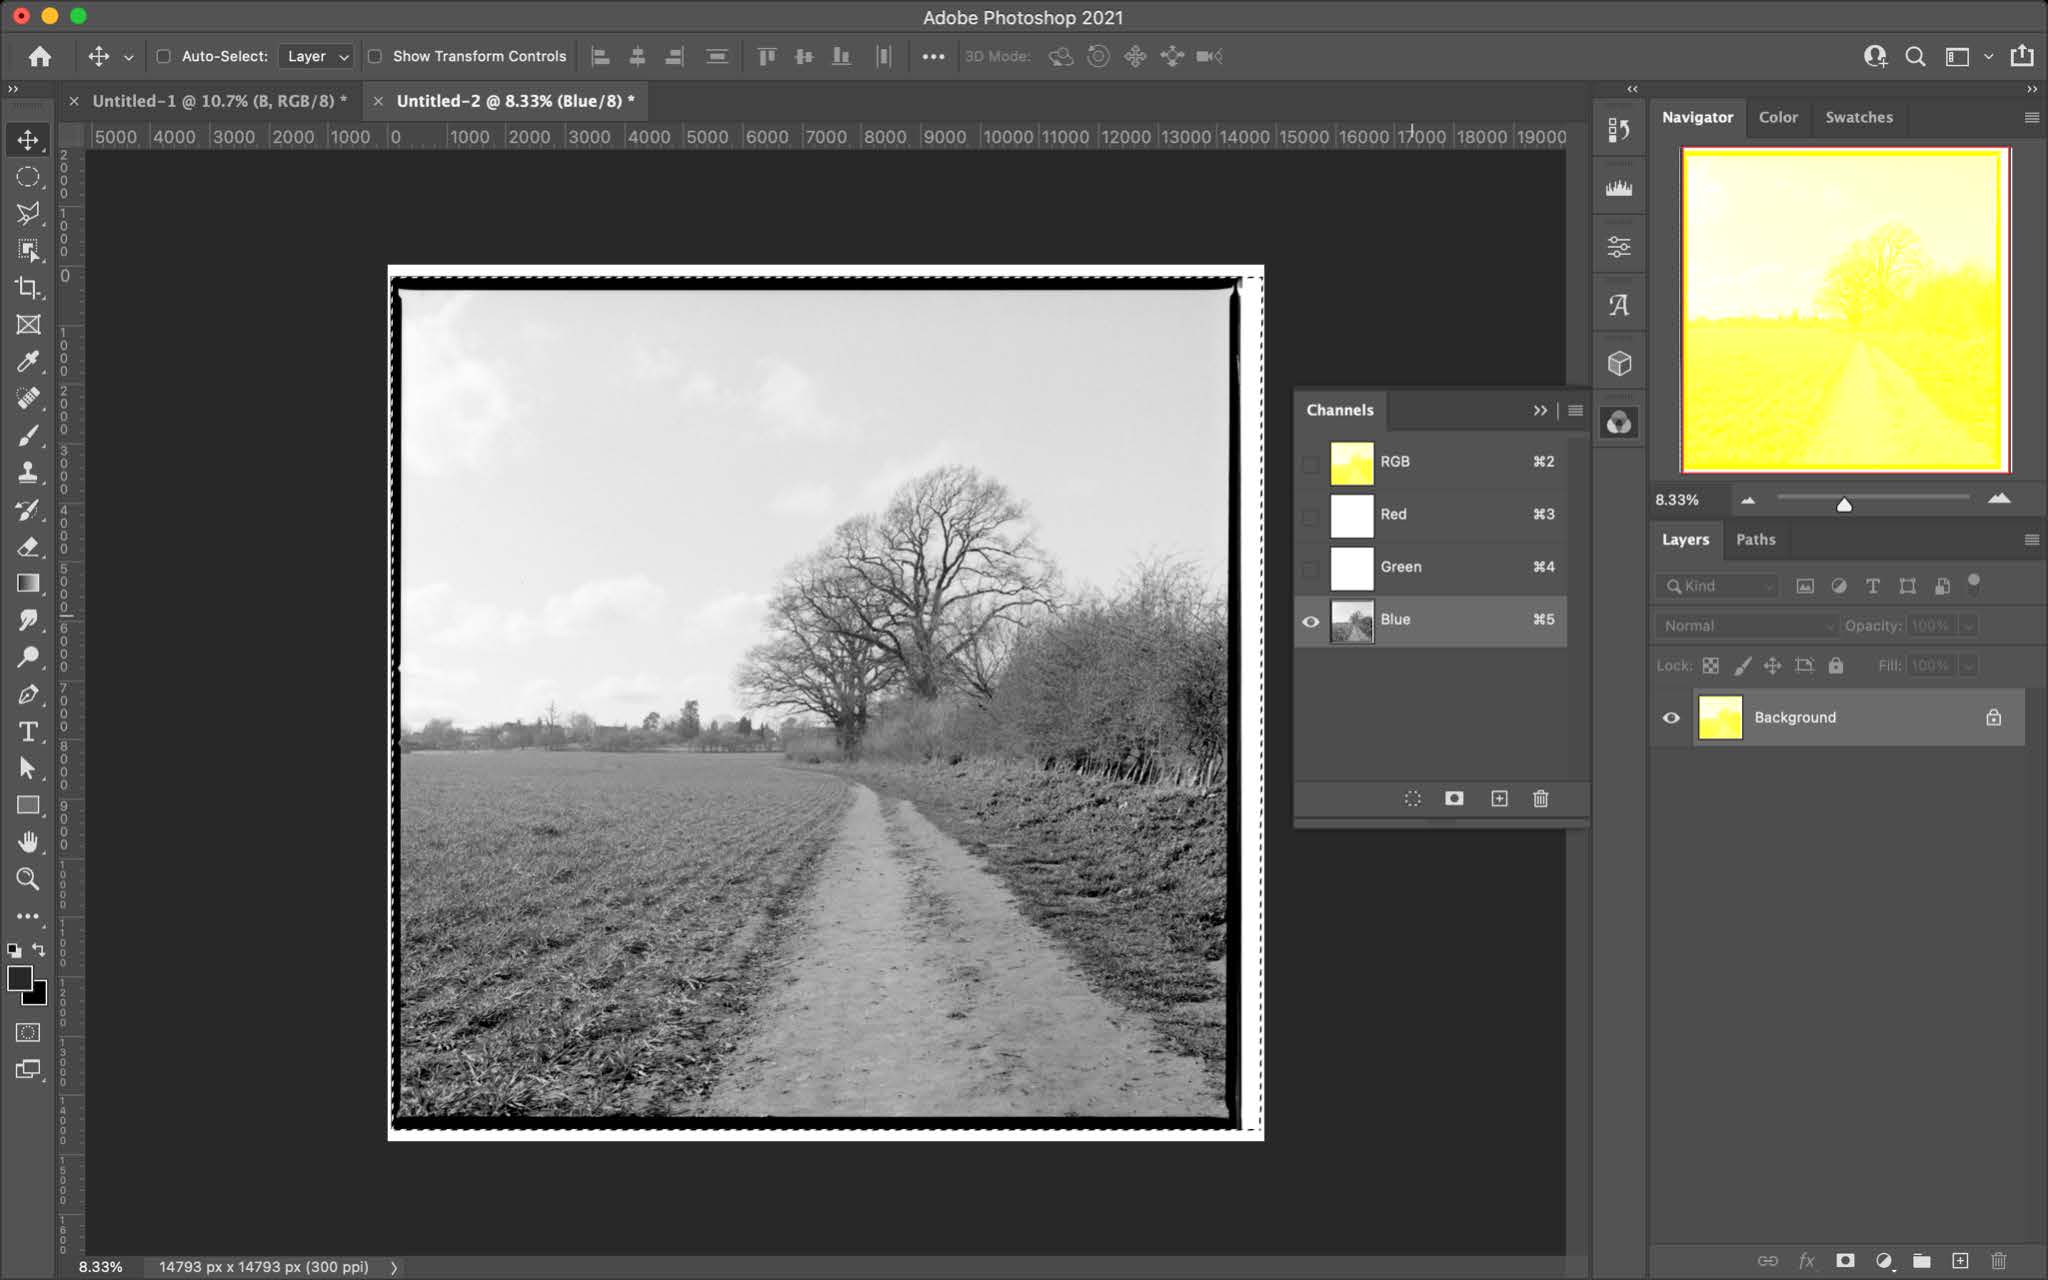
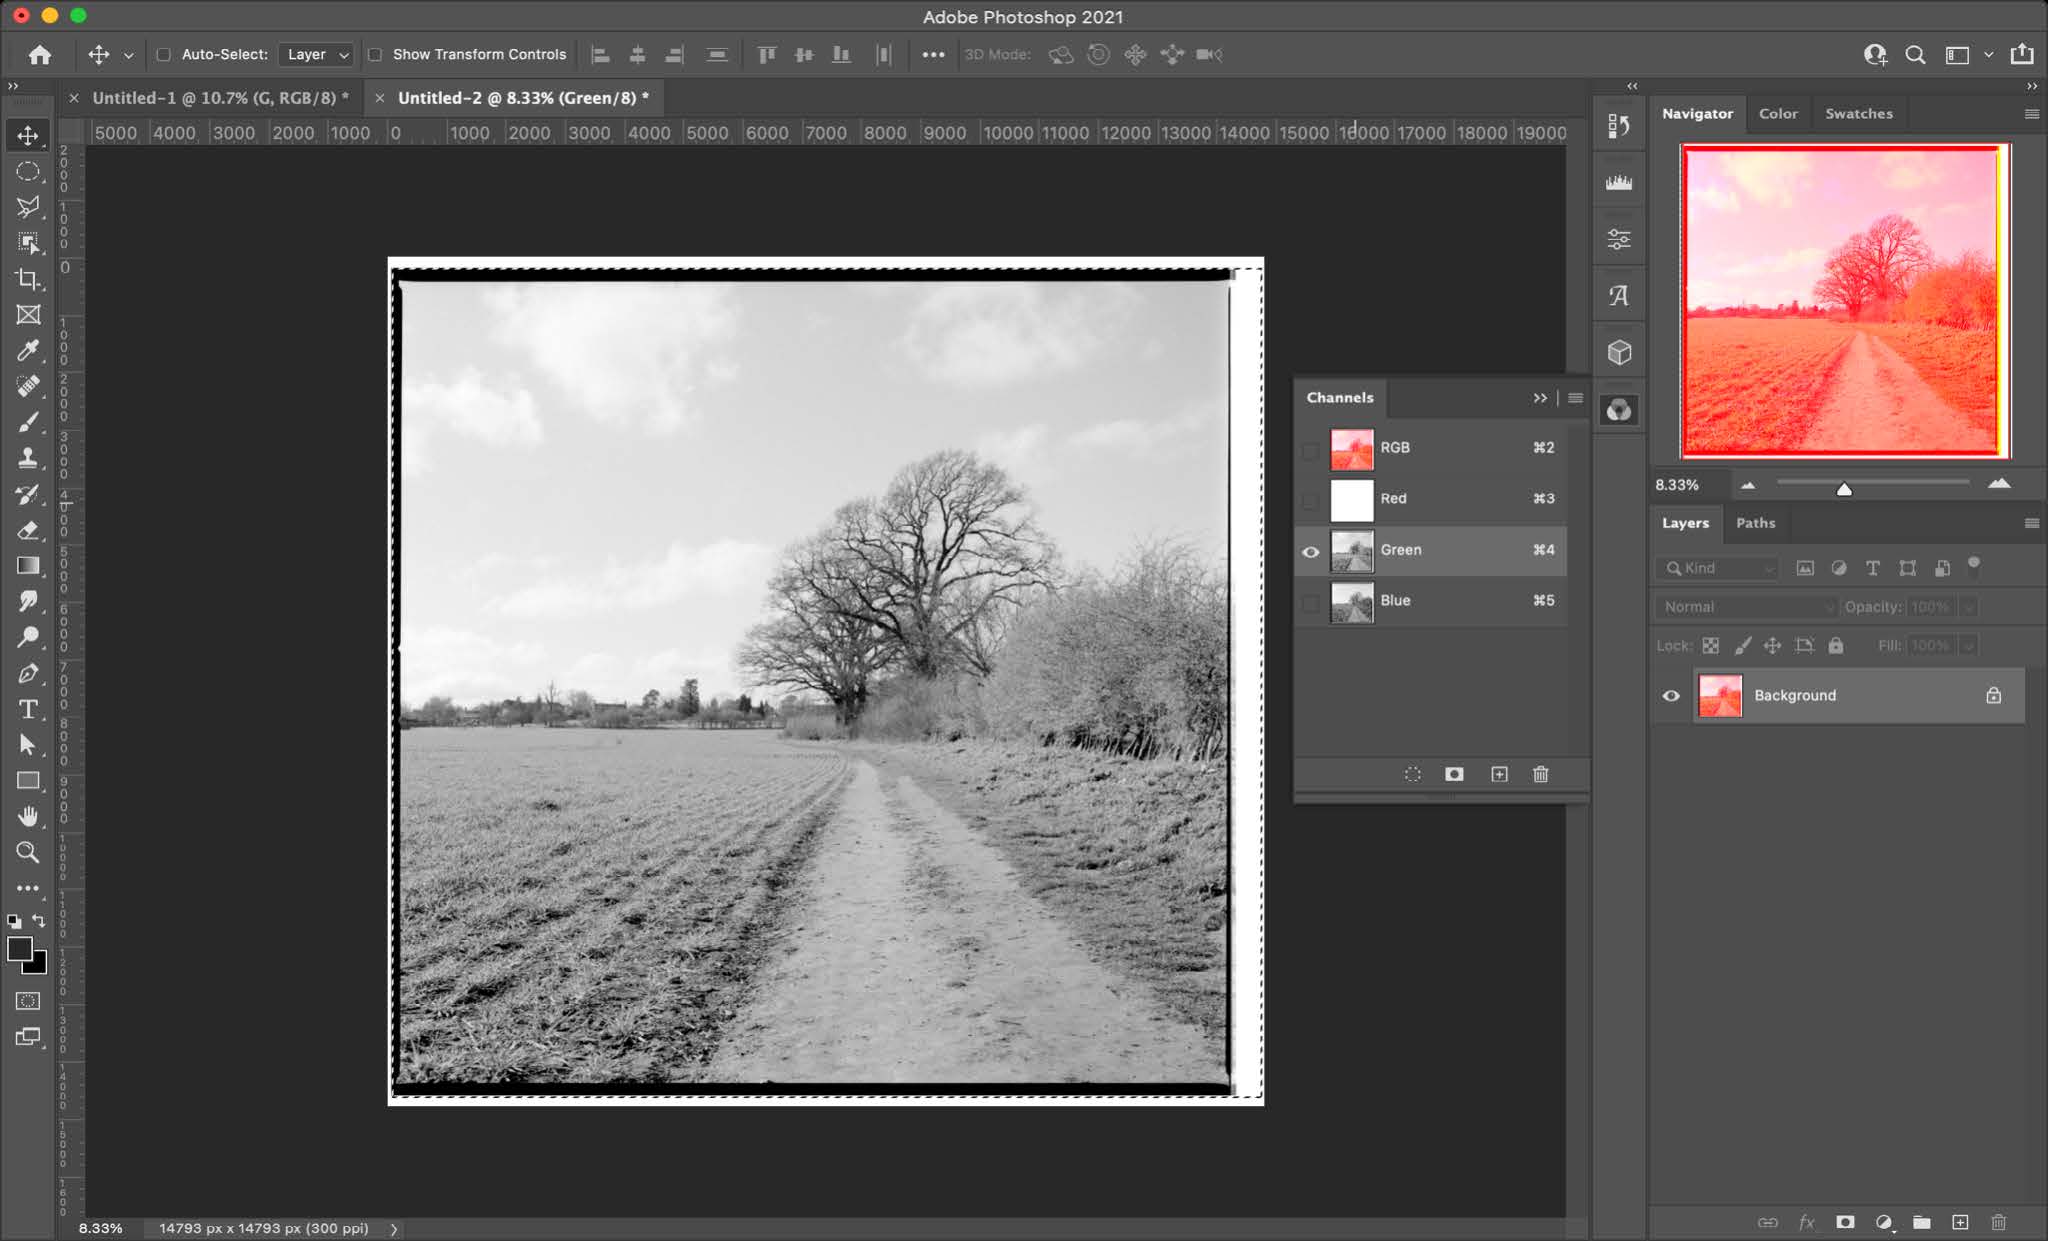
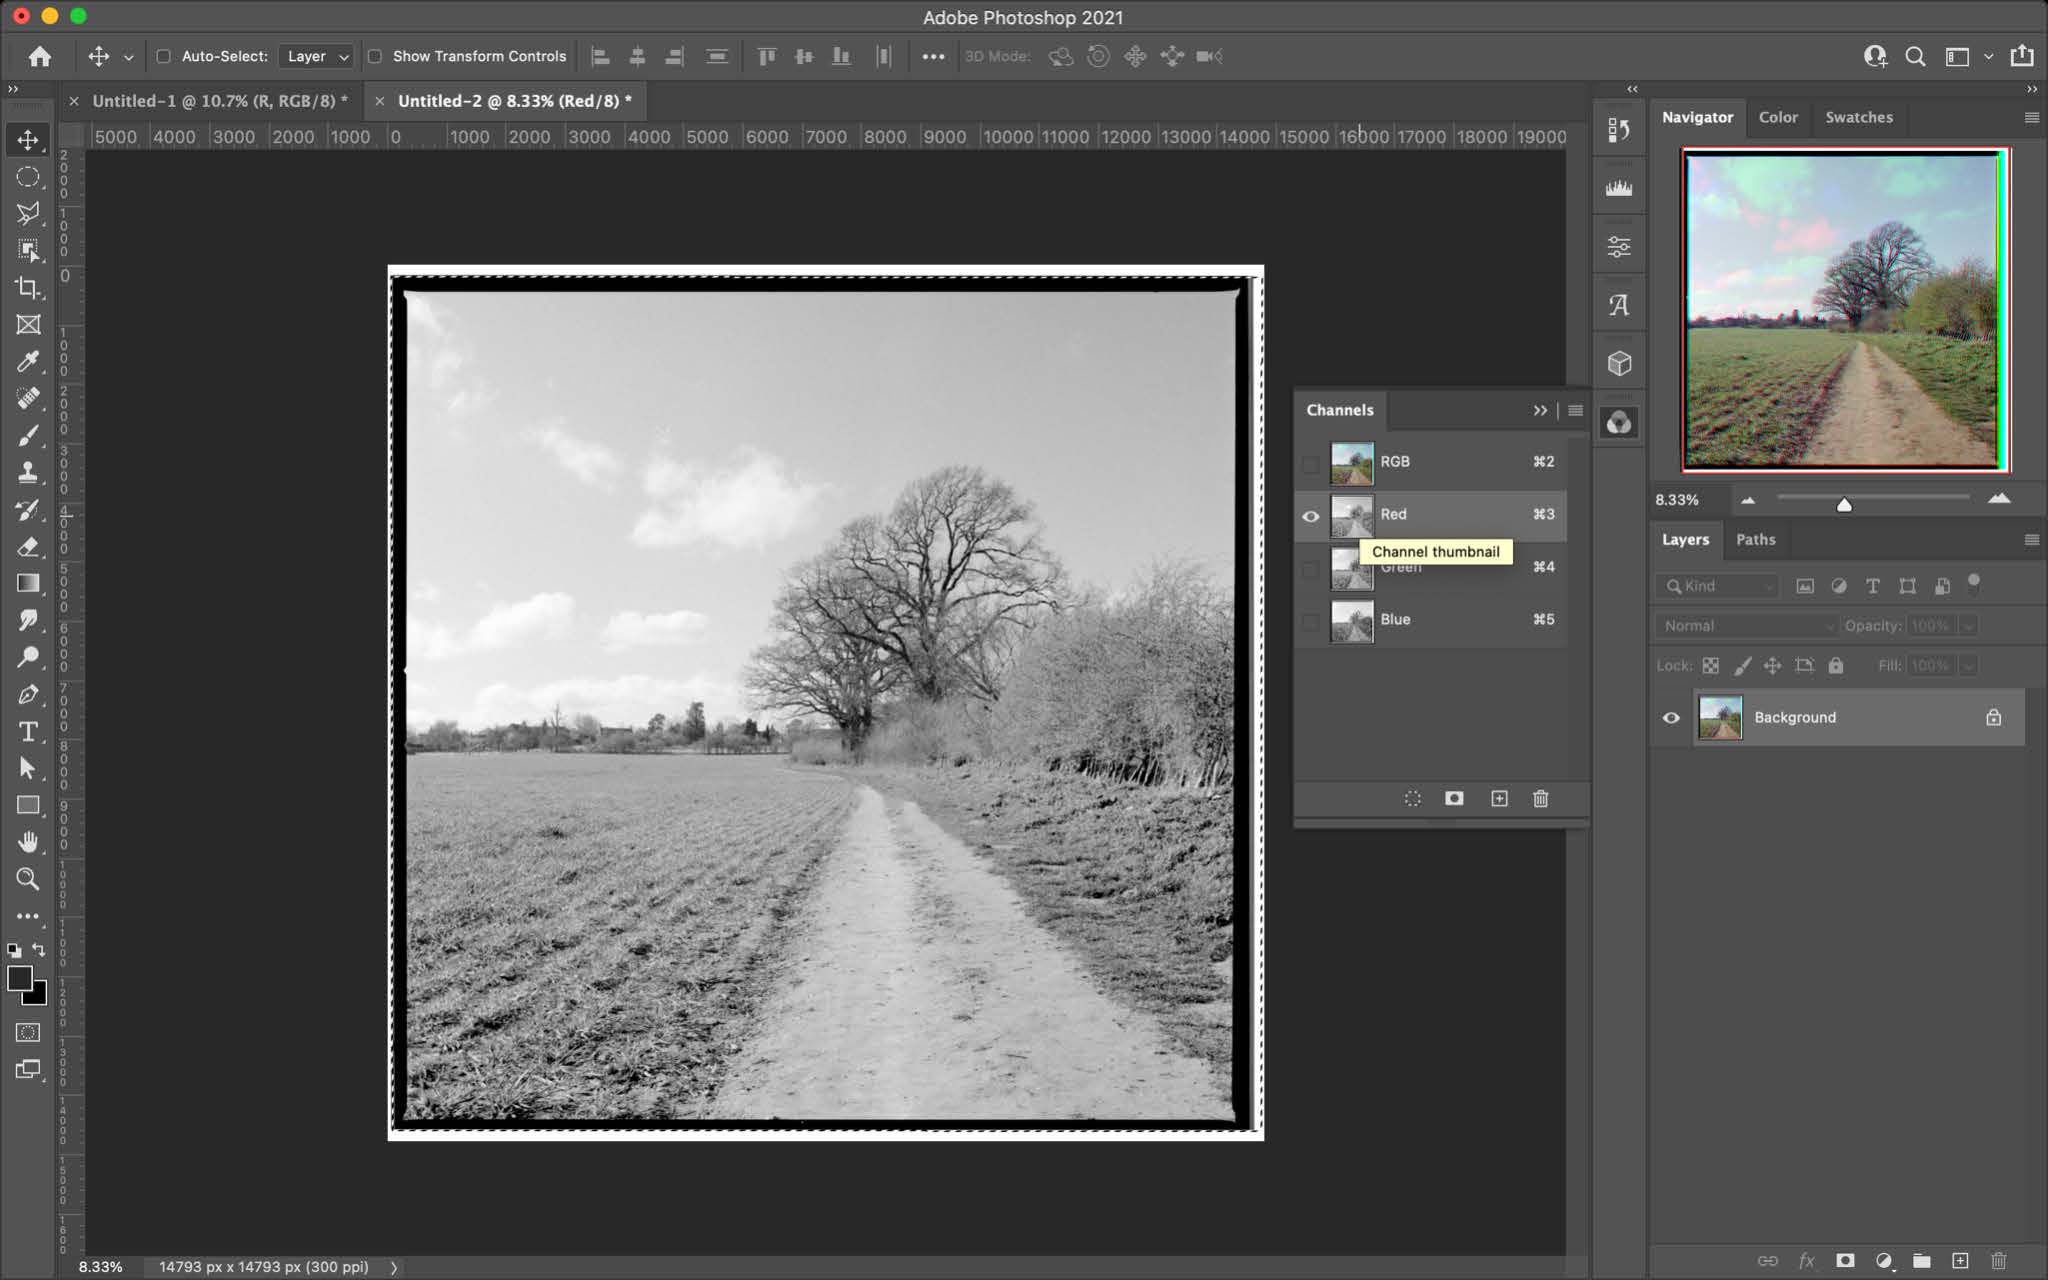
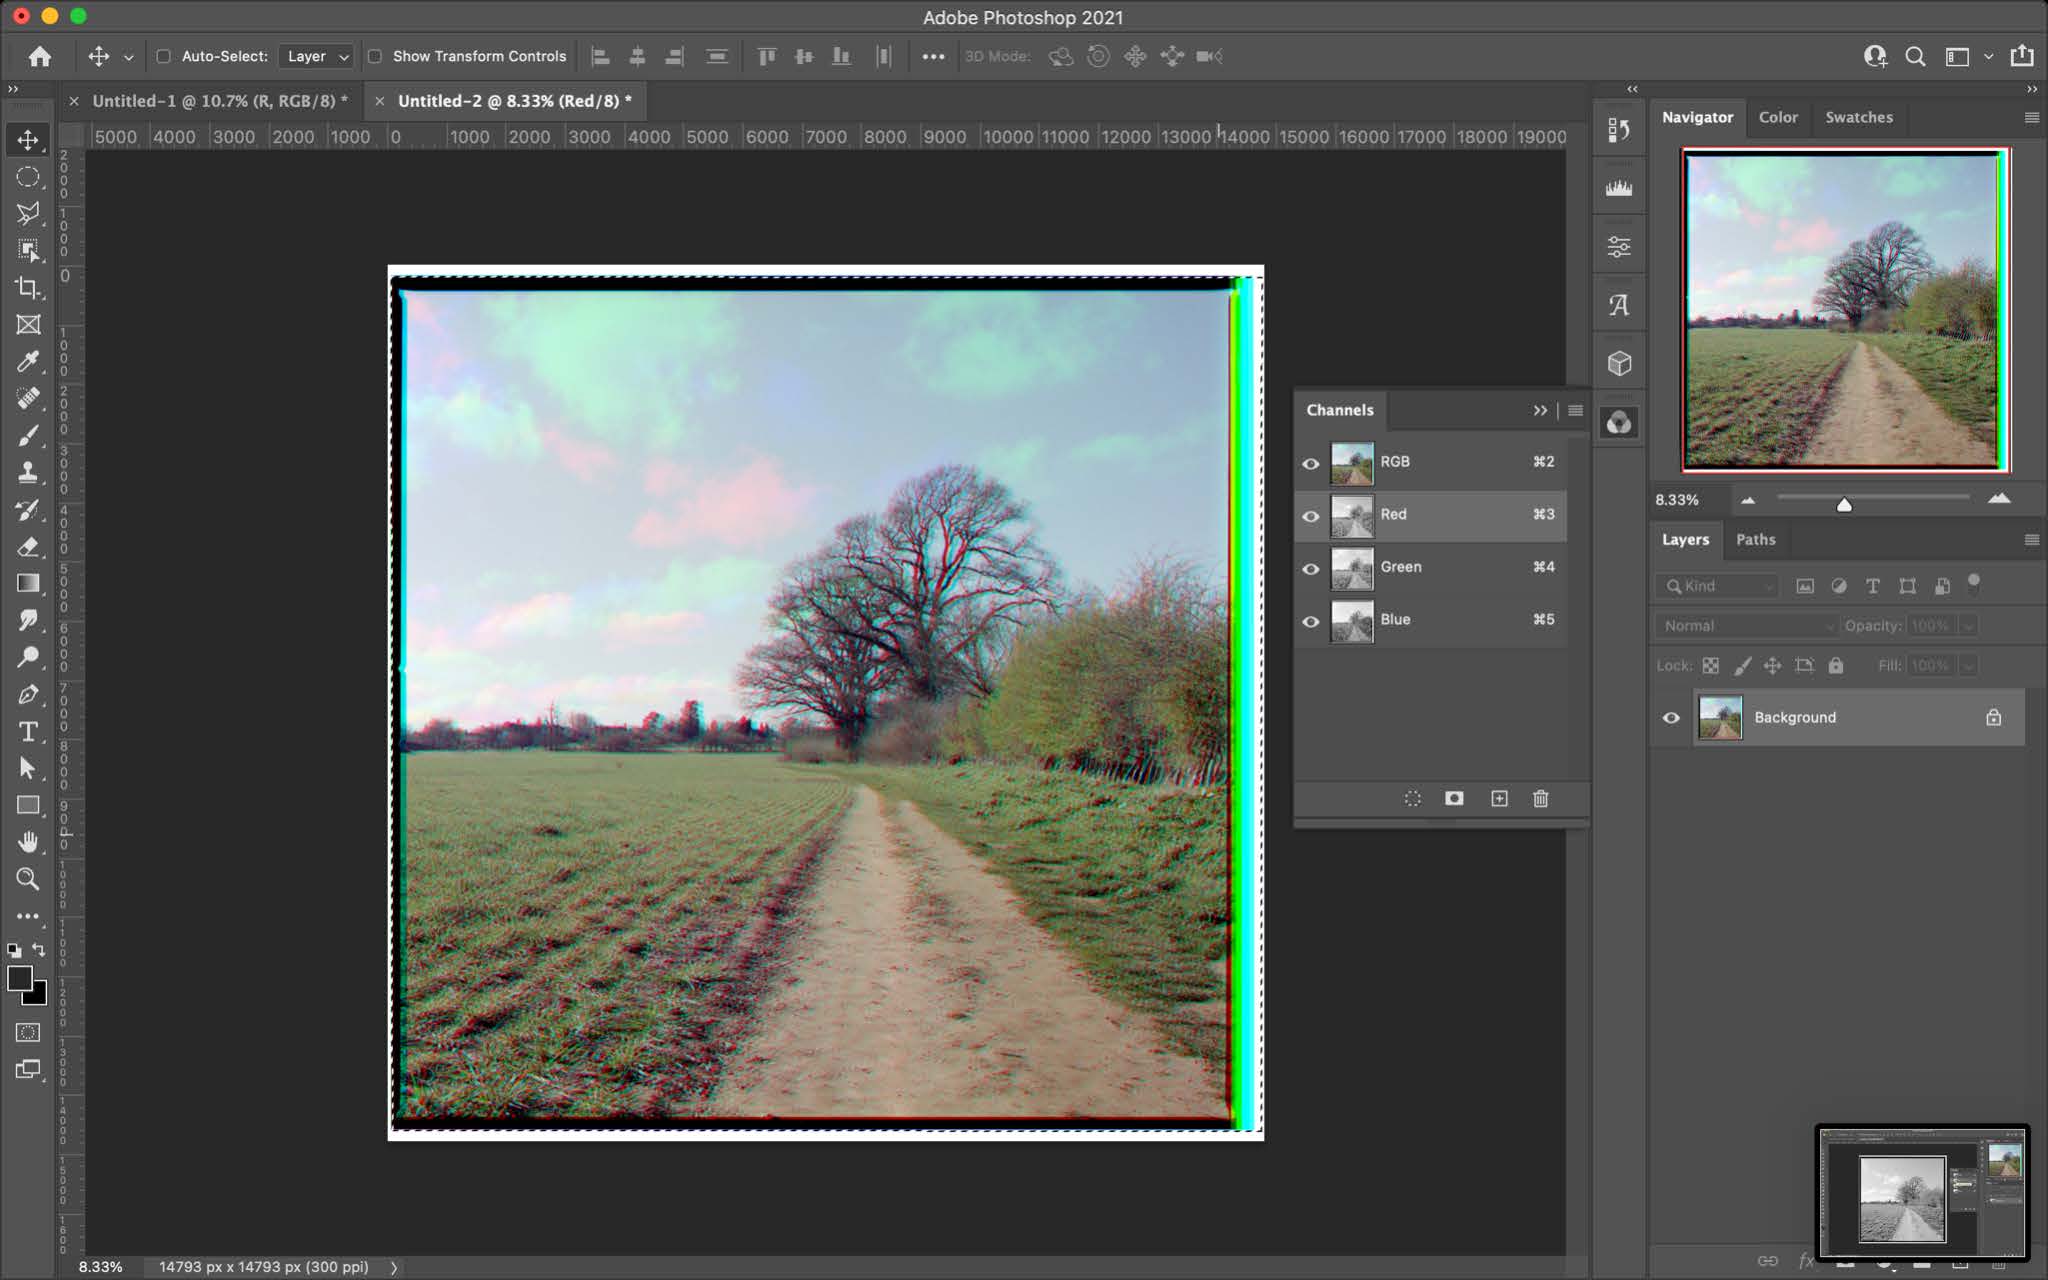
Create a new canvas. Be sure to make the size of the new canvas the same size as the stacked images and open the channel panel.

Go back to the stacked images and show only your blue layer, select all and copy. Now go back into your new file and go to the channel panel and select only the blue channel and hit paste.

Repeat this for the green and red channels and you should have a colour image.


METHOD 2
You will then need to convert each layer into a smart object. This step isn’t necessary but helps with any adjustments you need to make later on.

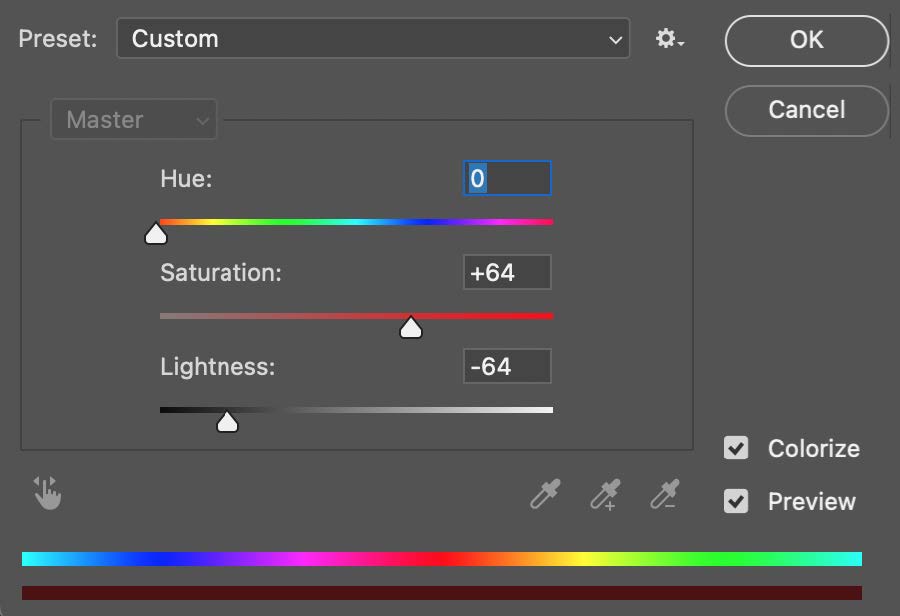
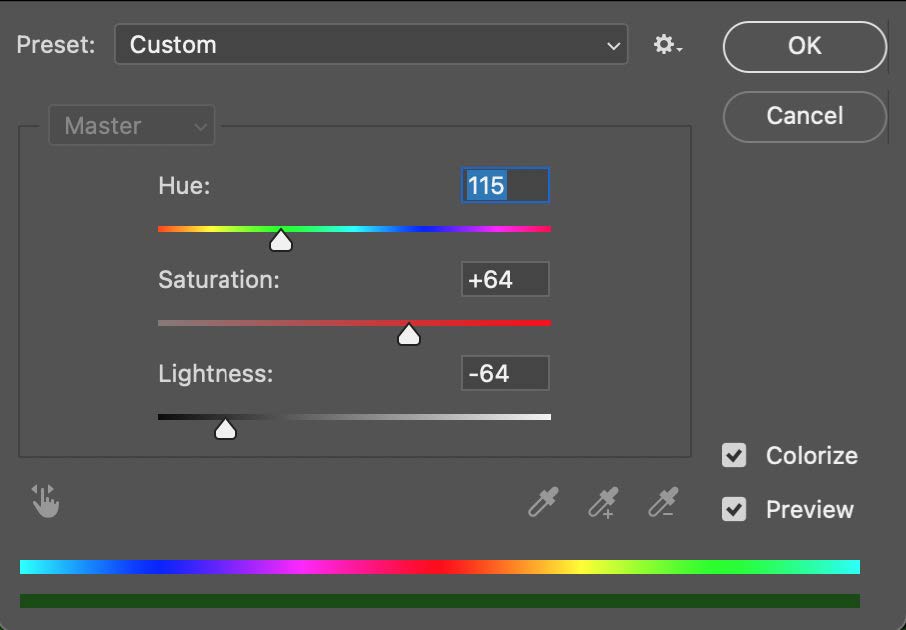
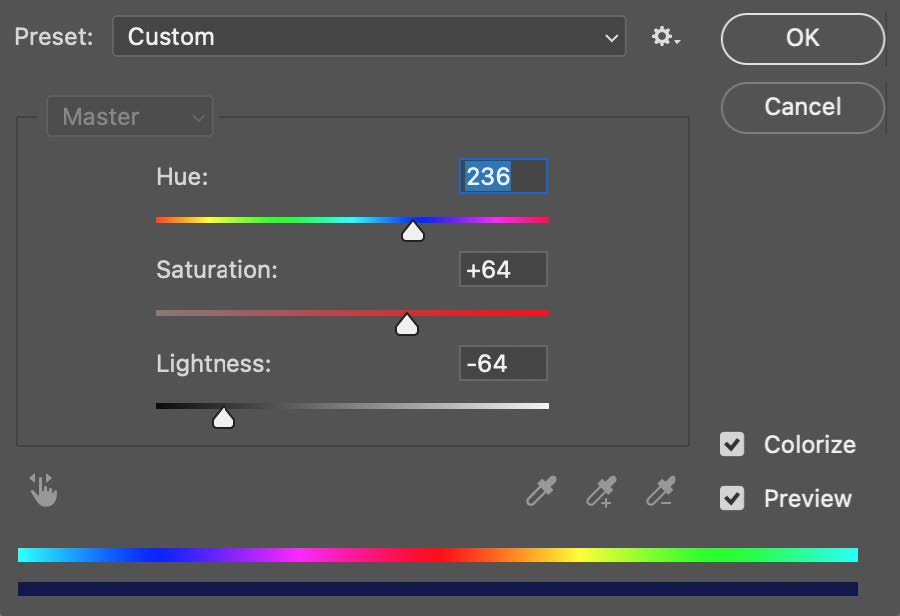
Selecting one layer at a time, then using the shortcut cmd+u/crl+u. This should bring up the Hue/Saturation box. You need to click the colorize box. Slide the top slider to the corresponding colour of the named layer, eg: the image shot with the red filter needs to be red.

I have found through experimentation that the saturation slider position has to be in a positive number whereas the lightness slider has to be in a negative position.

The following is a good starting base that I have found for my images.

RedGreenBlue


Once all the layers are colour coordinated the magic can begin!

Select all the layers and change the blending mode to Lighten. Et Voila! You should see a colour image.

FINAL TOUCHES
The reason for converting each layer into a smart object in method 2 is so if needed, the hue saturation and brightness of each later can be adjusted. I typically like to add a gentle S curve, brightness adjustment layer and do some general adjustments to taste.

That's how to shoot colour photos with black and white film.

ODDITIES
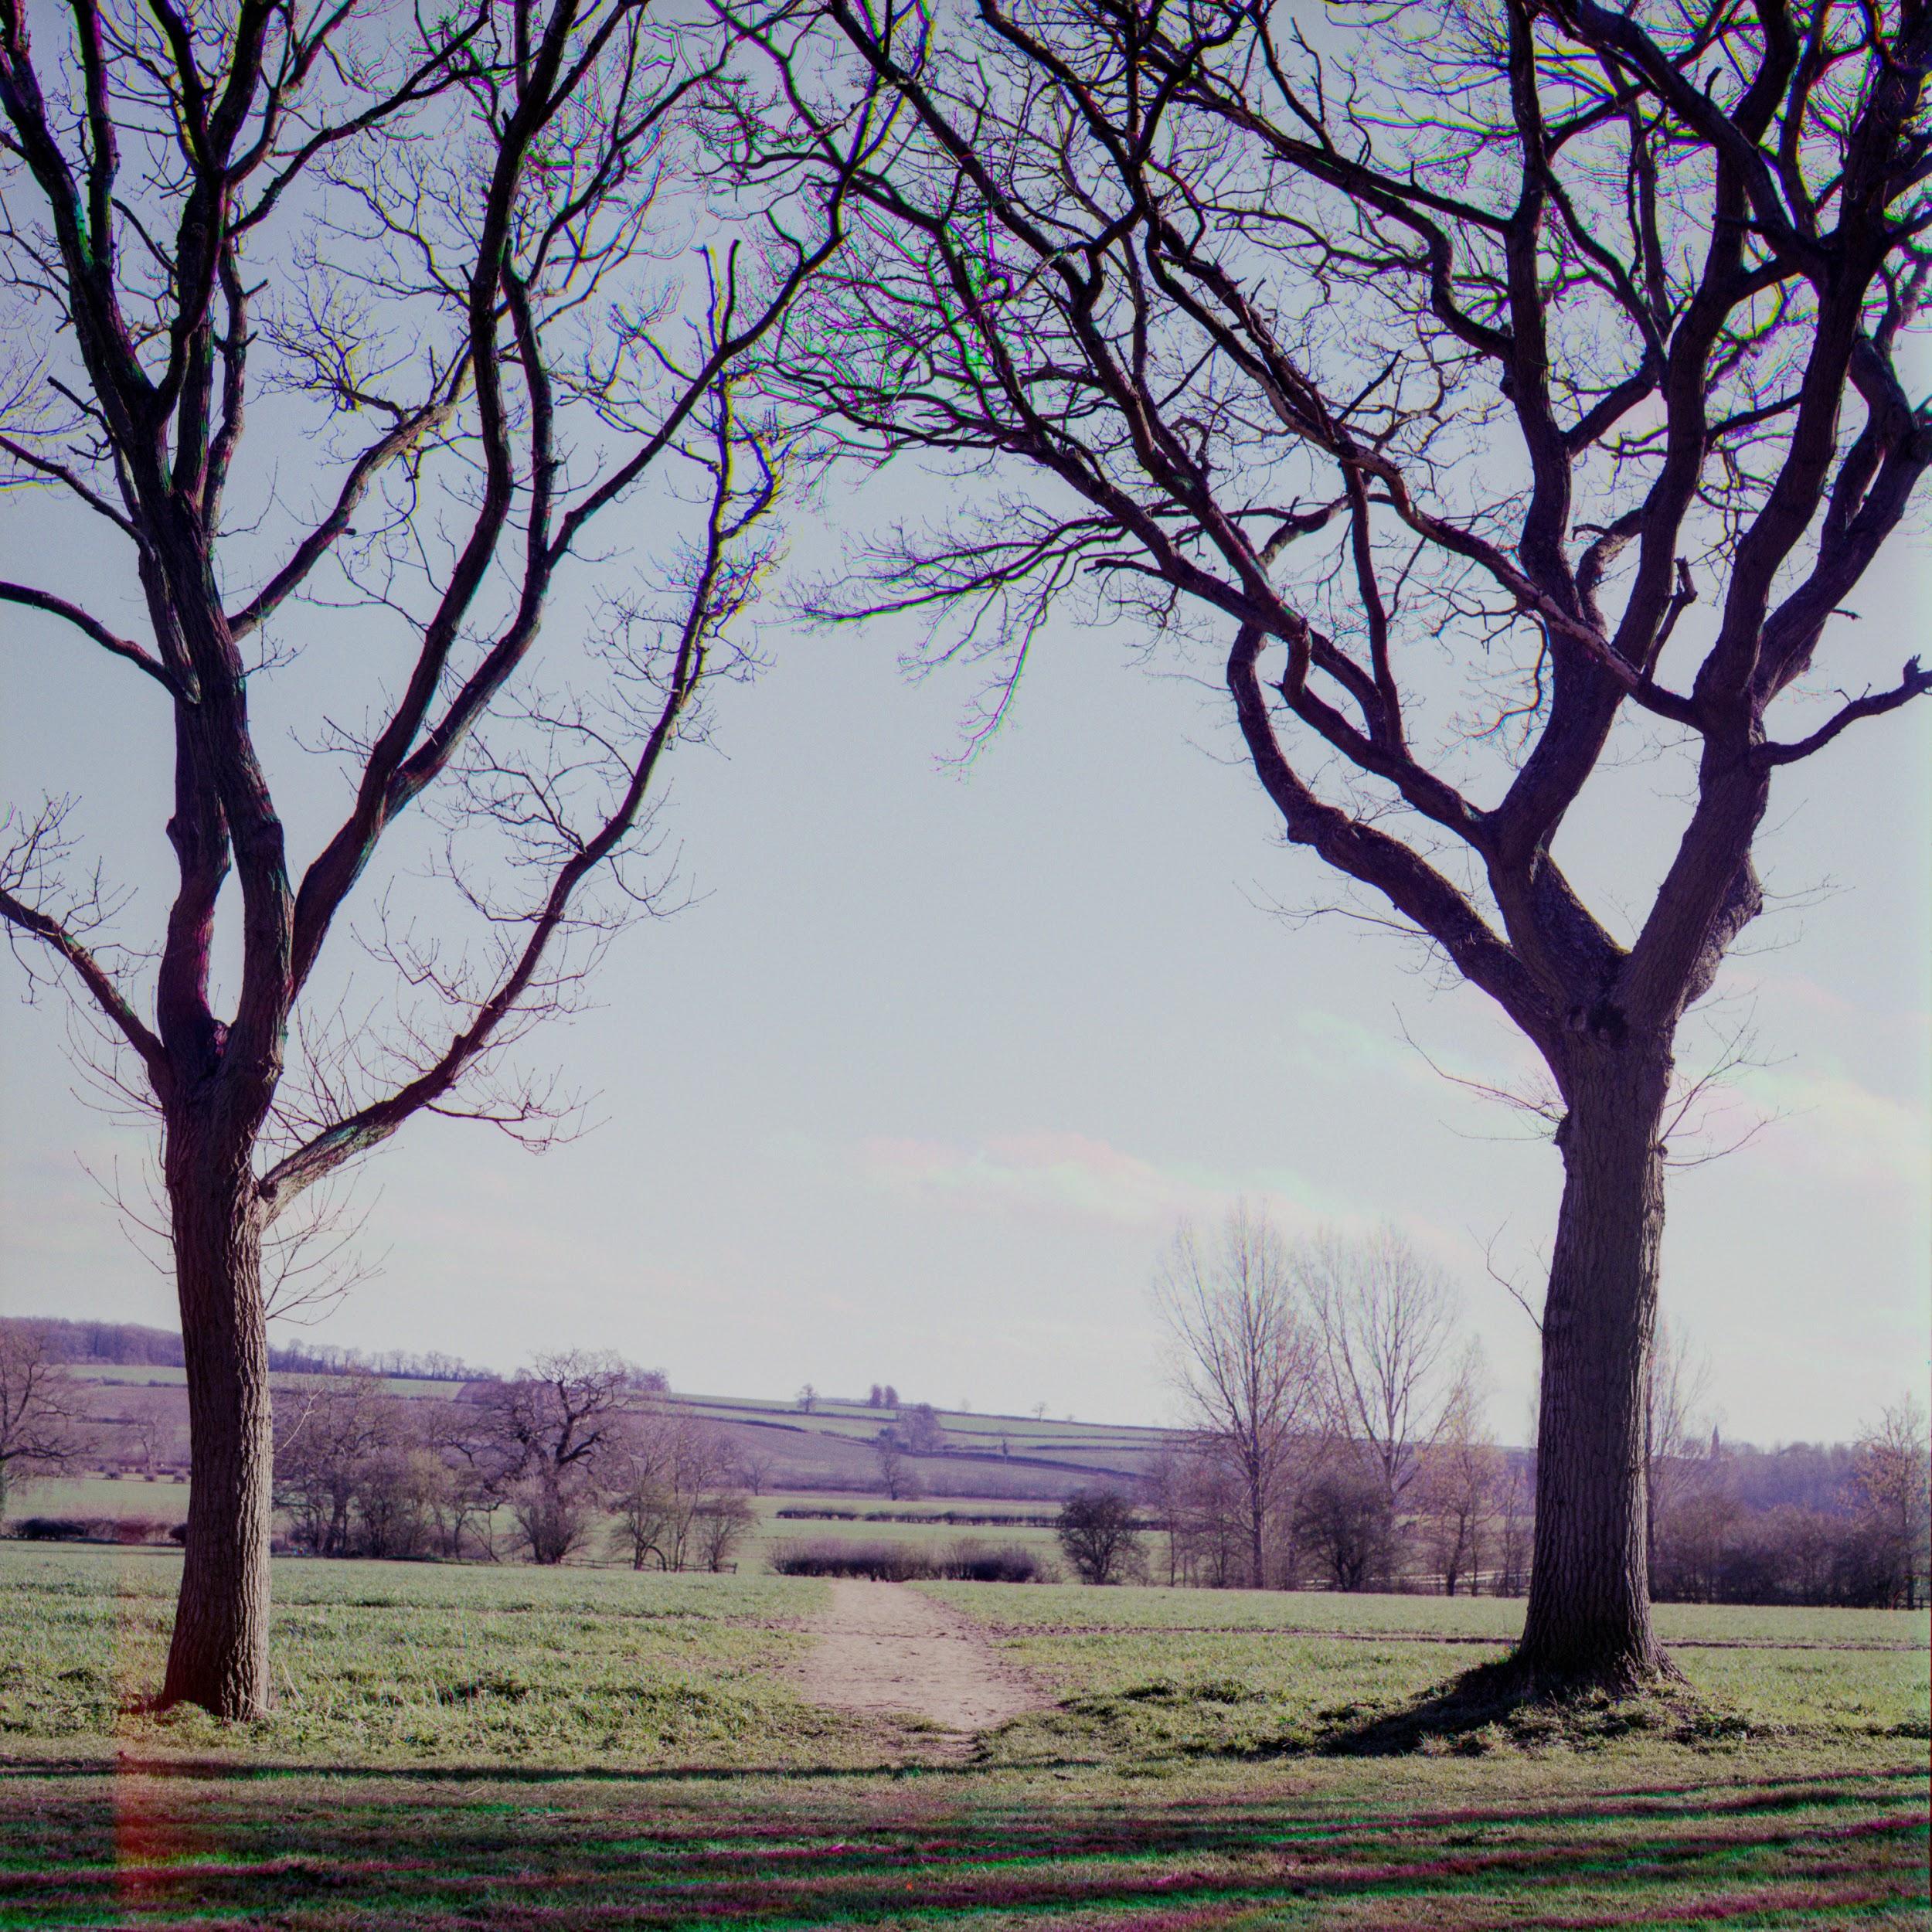
Don’t be disheartened if your images are not the correct colour. On overcast days I have found that images come through really purple so I reduce the saturation of the blue and red layers and shift the blue slightly more towards cyan.

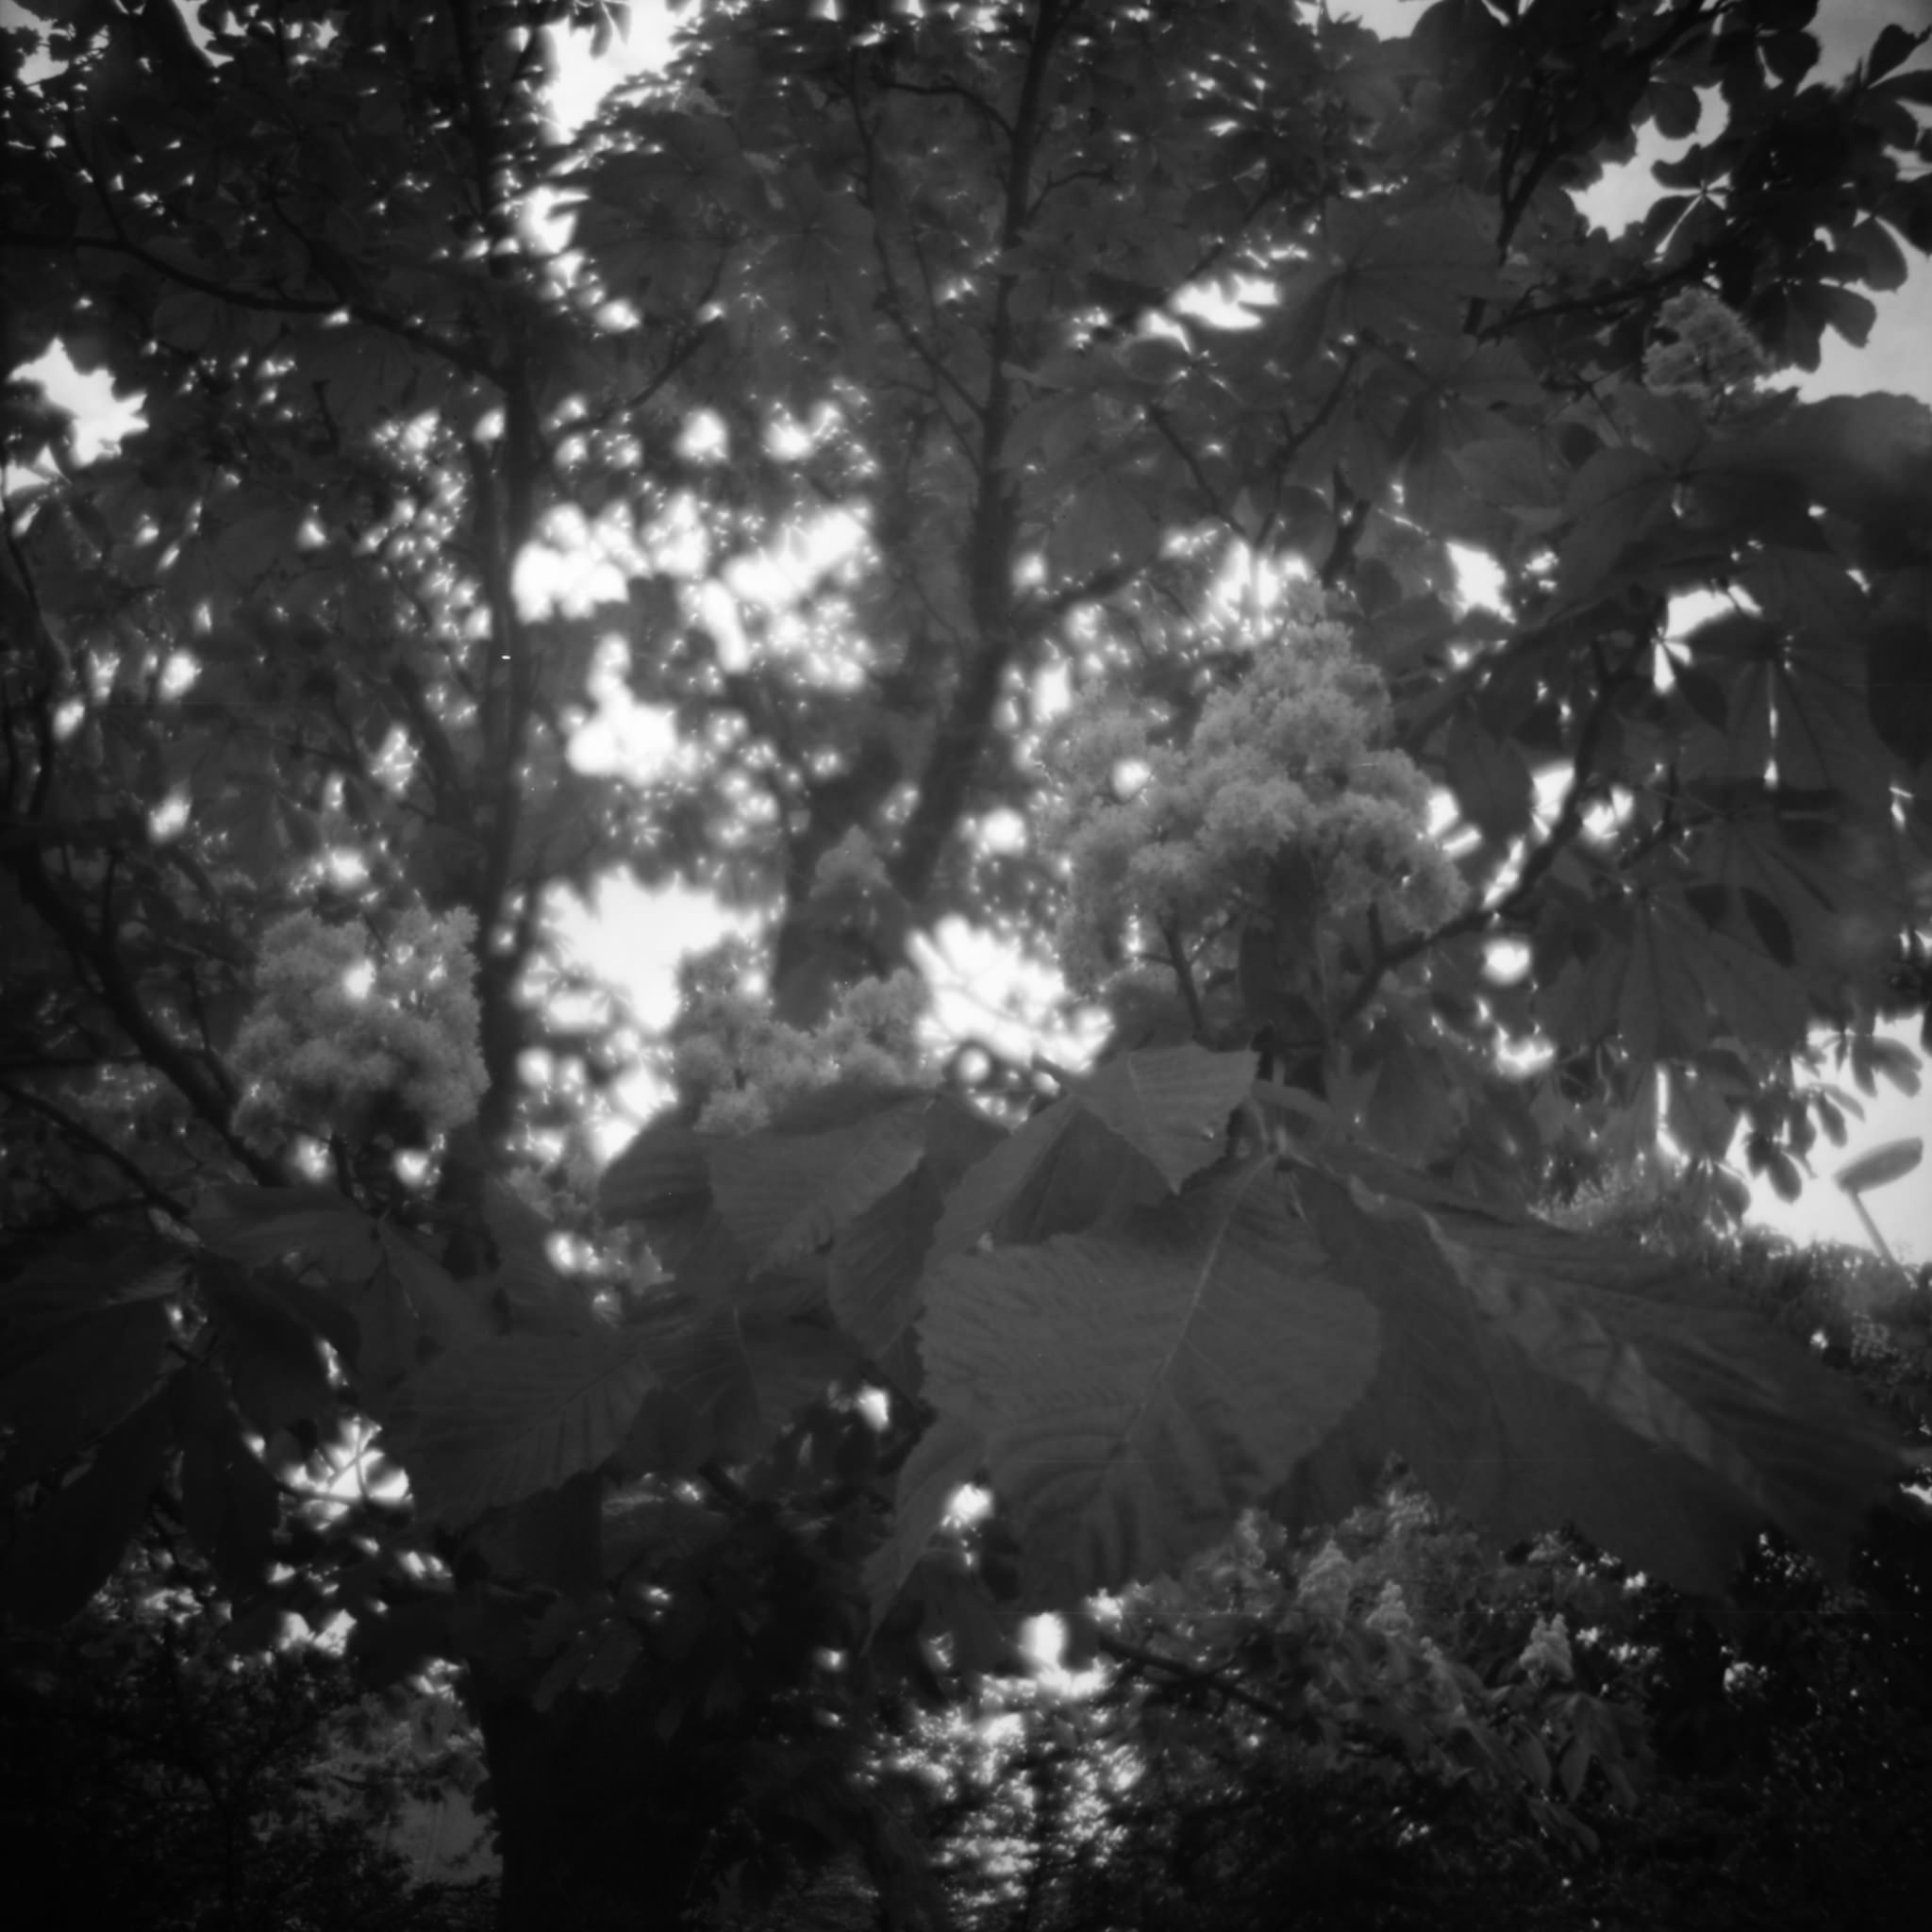
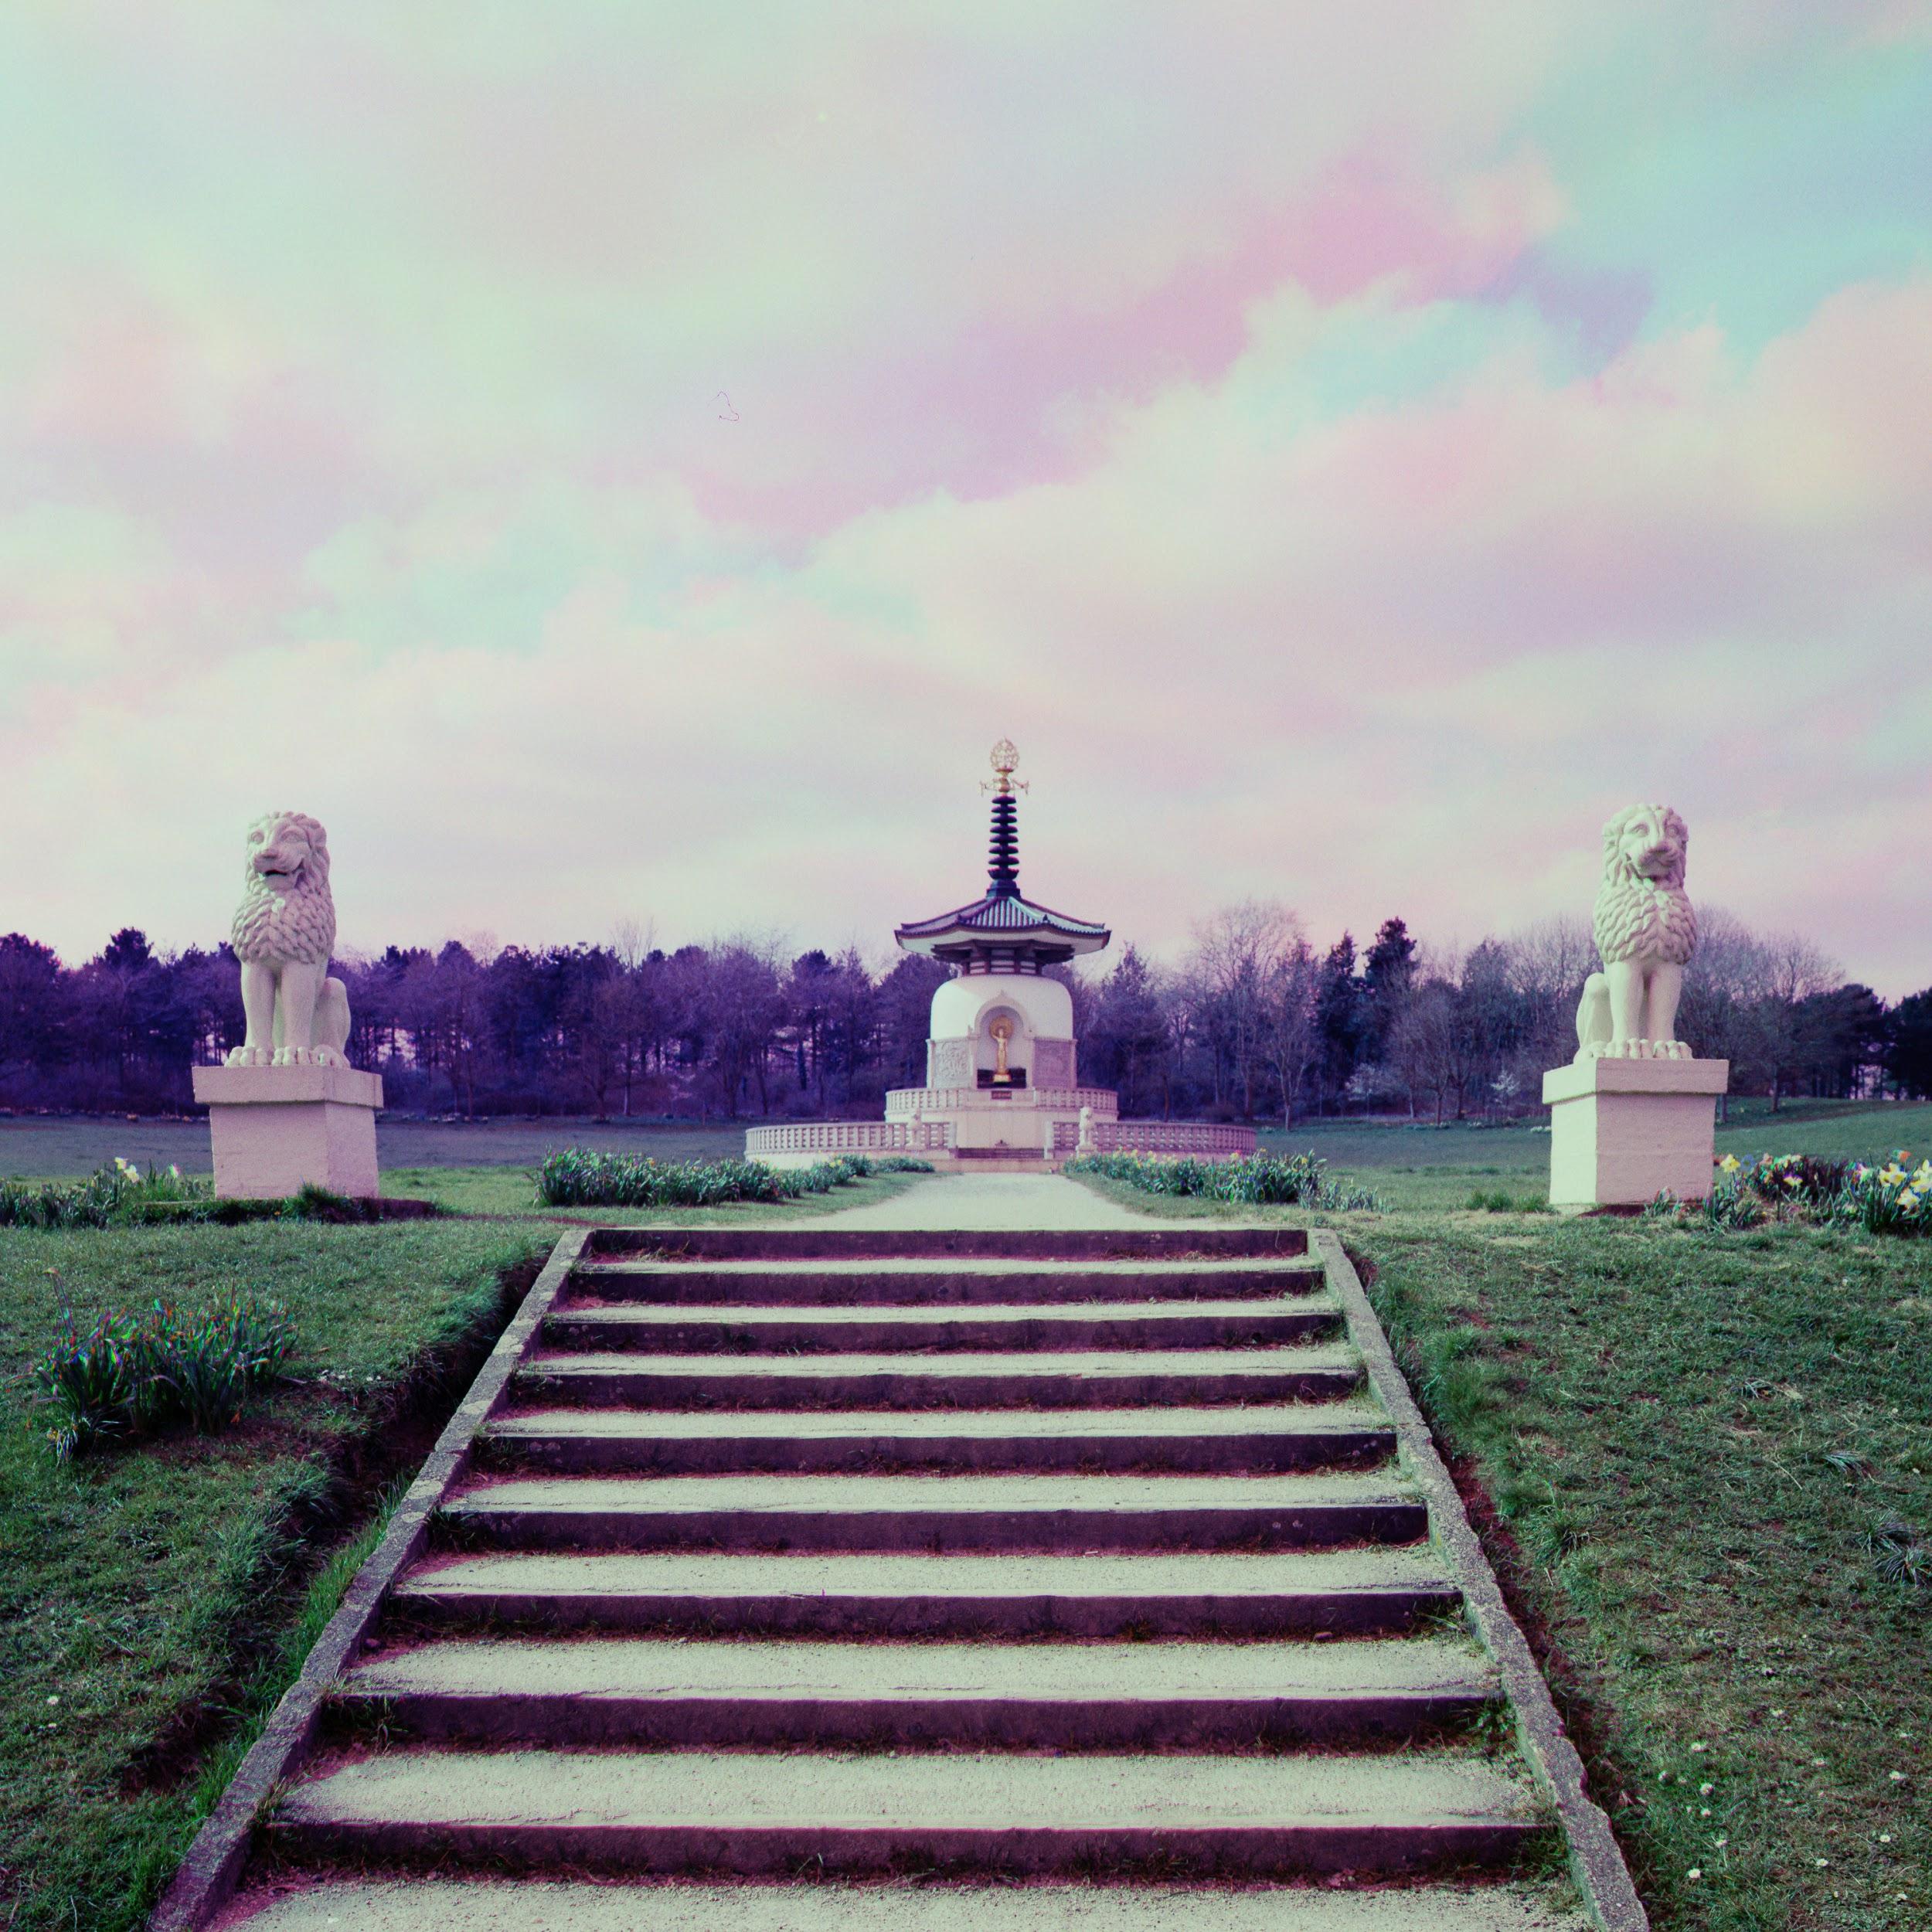
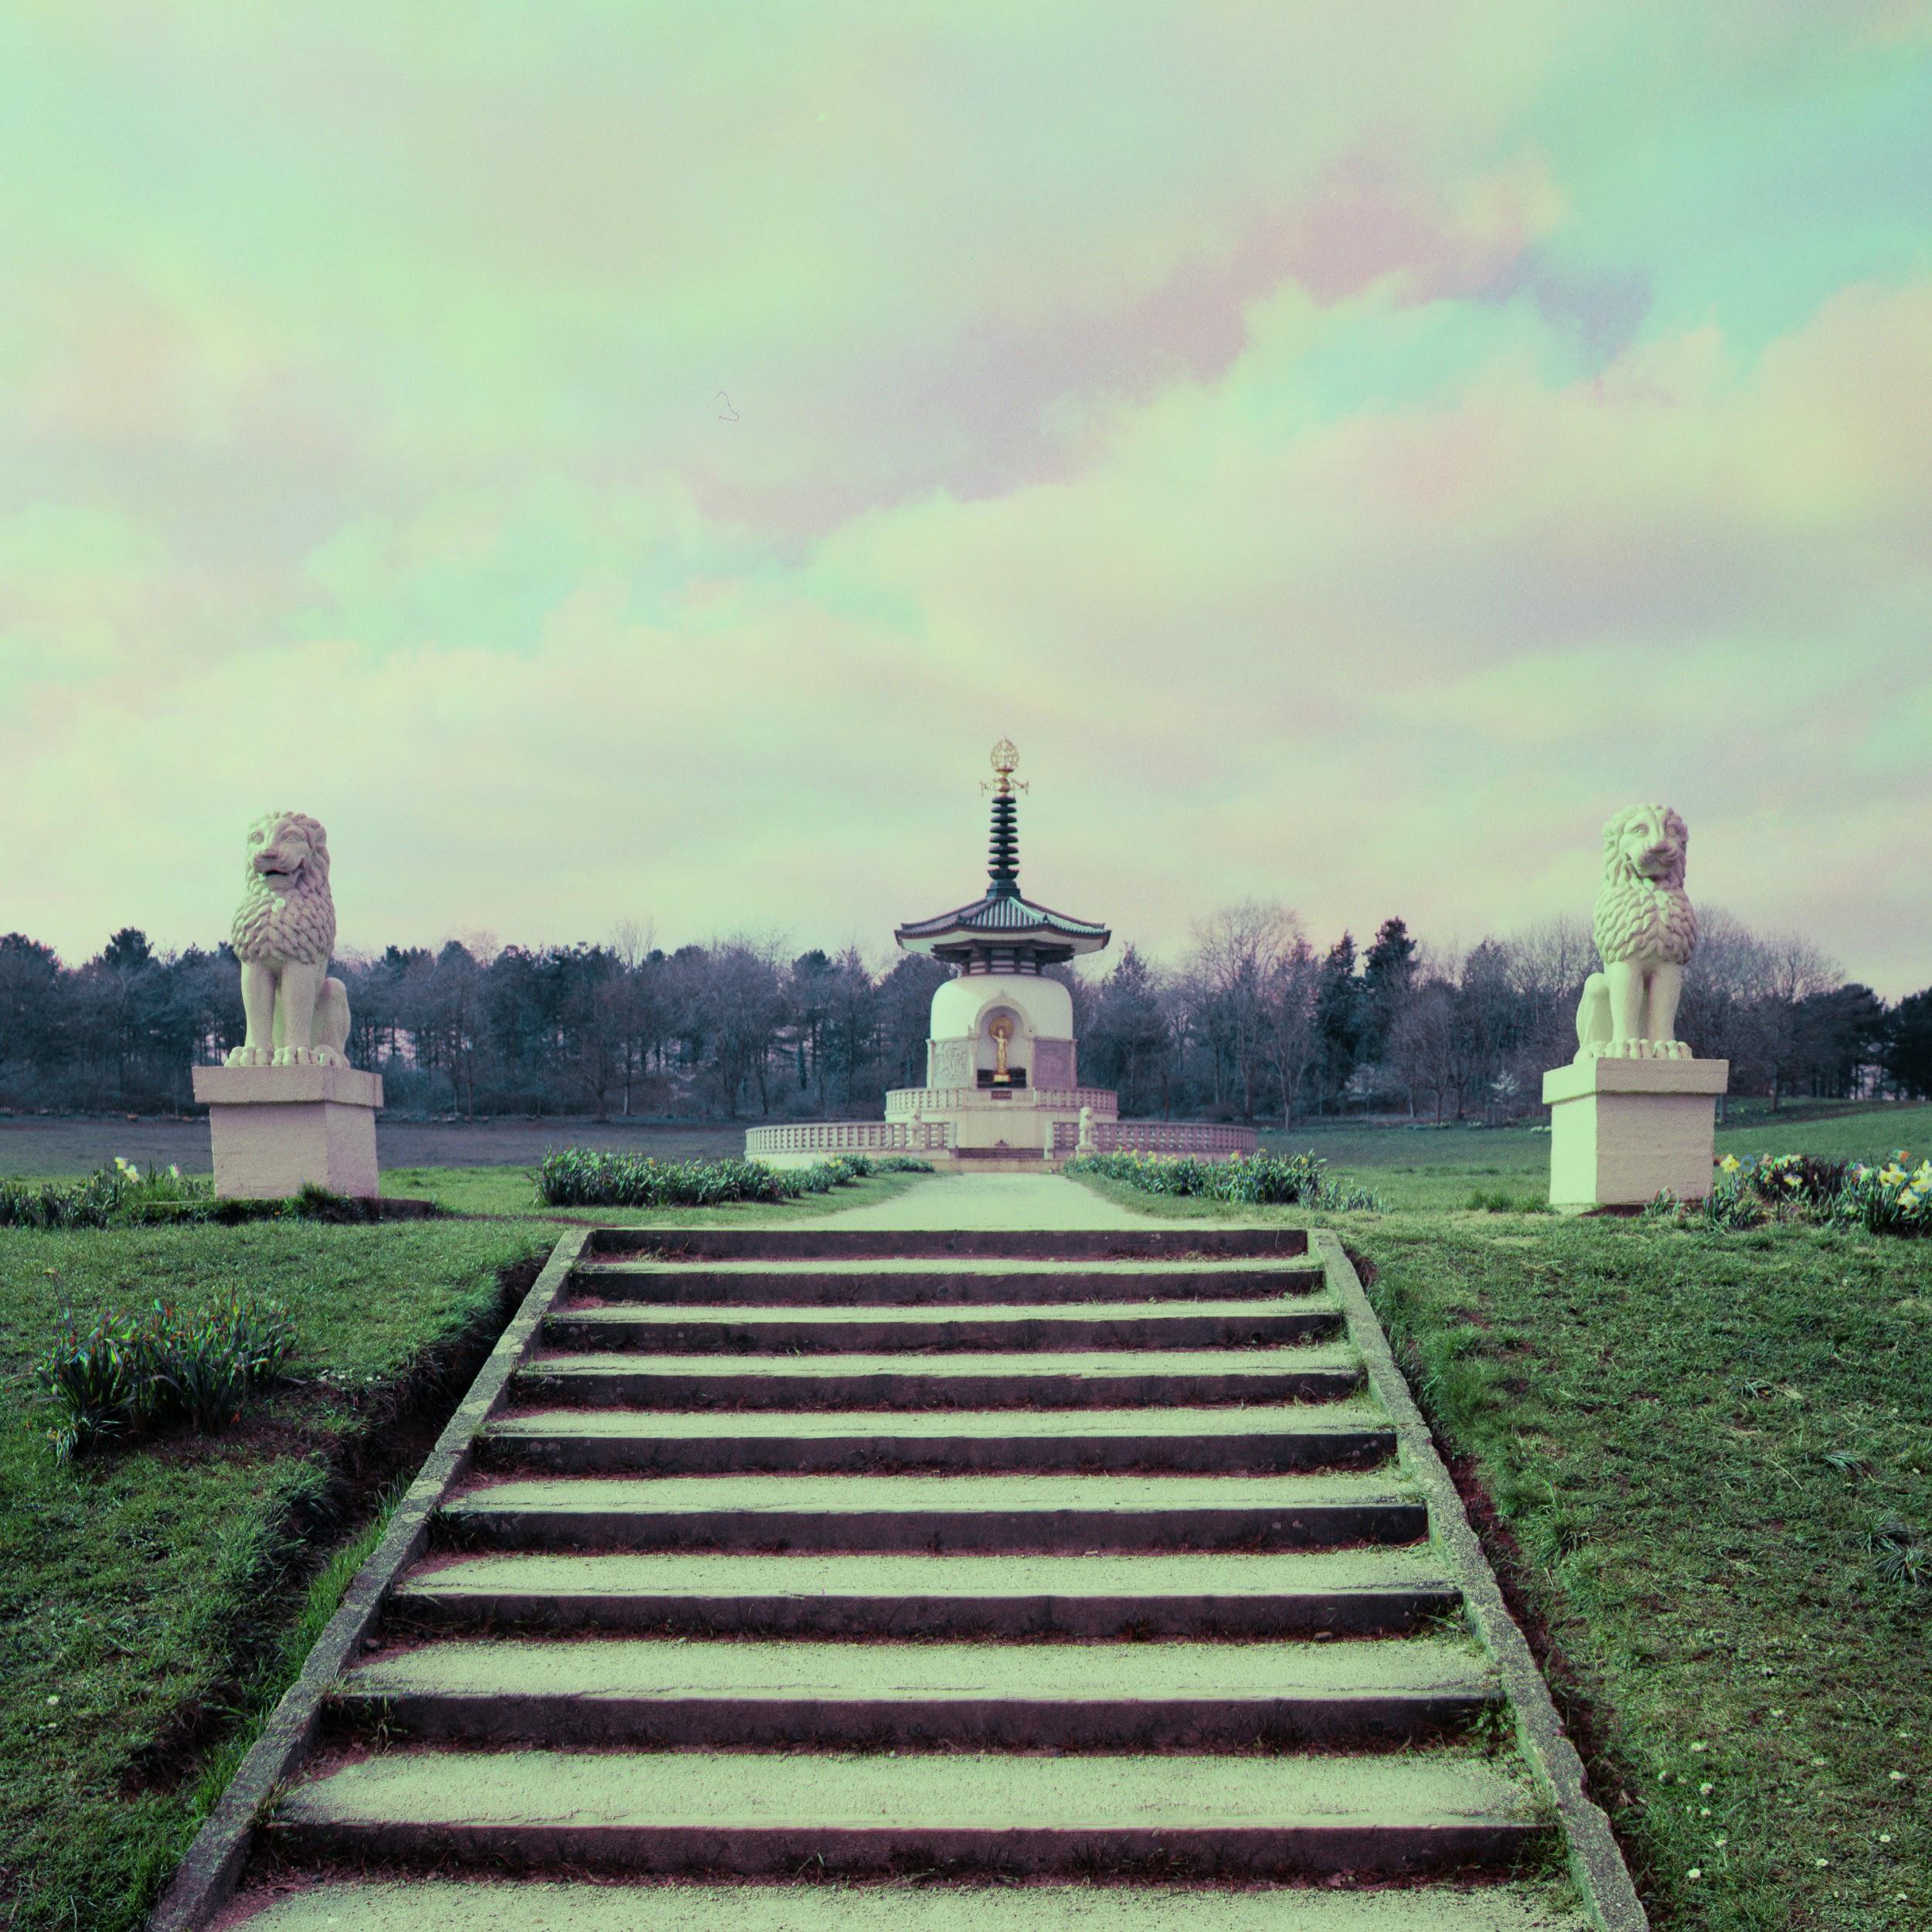
On the left the bare trees in the background are more purple.


On the right I reduced the saturation and shifted red and blue hues


Taken with HP5 and Zeiss Distagon 50mm FLE

PRIMARILY A BLACK AND WHITE SHOOTER
I am primarily a black and white shooter and I dislike colour correction so I am sure someone with more experience could get a better result than I did. In a way I prefer the more abstractpurple shot but at the end of the day it is all down to personal taste.

You will also get strange harris shutter-esque banding arising in certain areas. This may be down to the cloud coverage or light changing whilst swapping filters.

SFX 80mm Planar

IN CONCLUSION
This is a very long and laborious way of taking a colour image but at the same time it's exciting and experimental.That being said it is not a very economical process, you get less images on a roll of film, in my case four 6x6 colour images from a roll of 120 or 12 colour images on a 36
exposure film.

I shot with both HP5 and SFX and found I had the best results with the HP5. This might be down to the fact that SFX has an extended sensitivity to red wavelength of light but I found that the majority of my images became harder to control.

SFX 80mm Planar

At the start of this article I mentioned that this process is over 150 years old. I stumbled across it a few years ago but I only experimented with it when I purchased a new camera system and wanted to standardise the size of my filters. Jasper Fforde wrote an article on his website which I read and referenced before trying the process of myself.


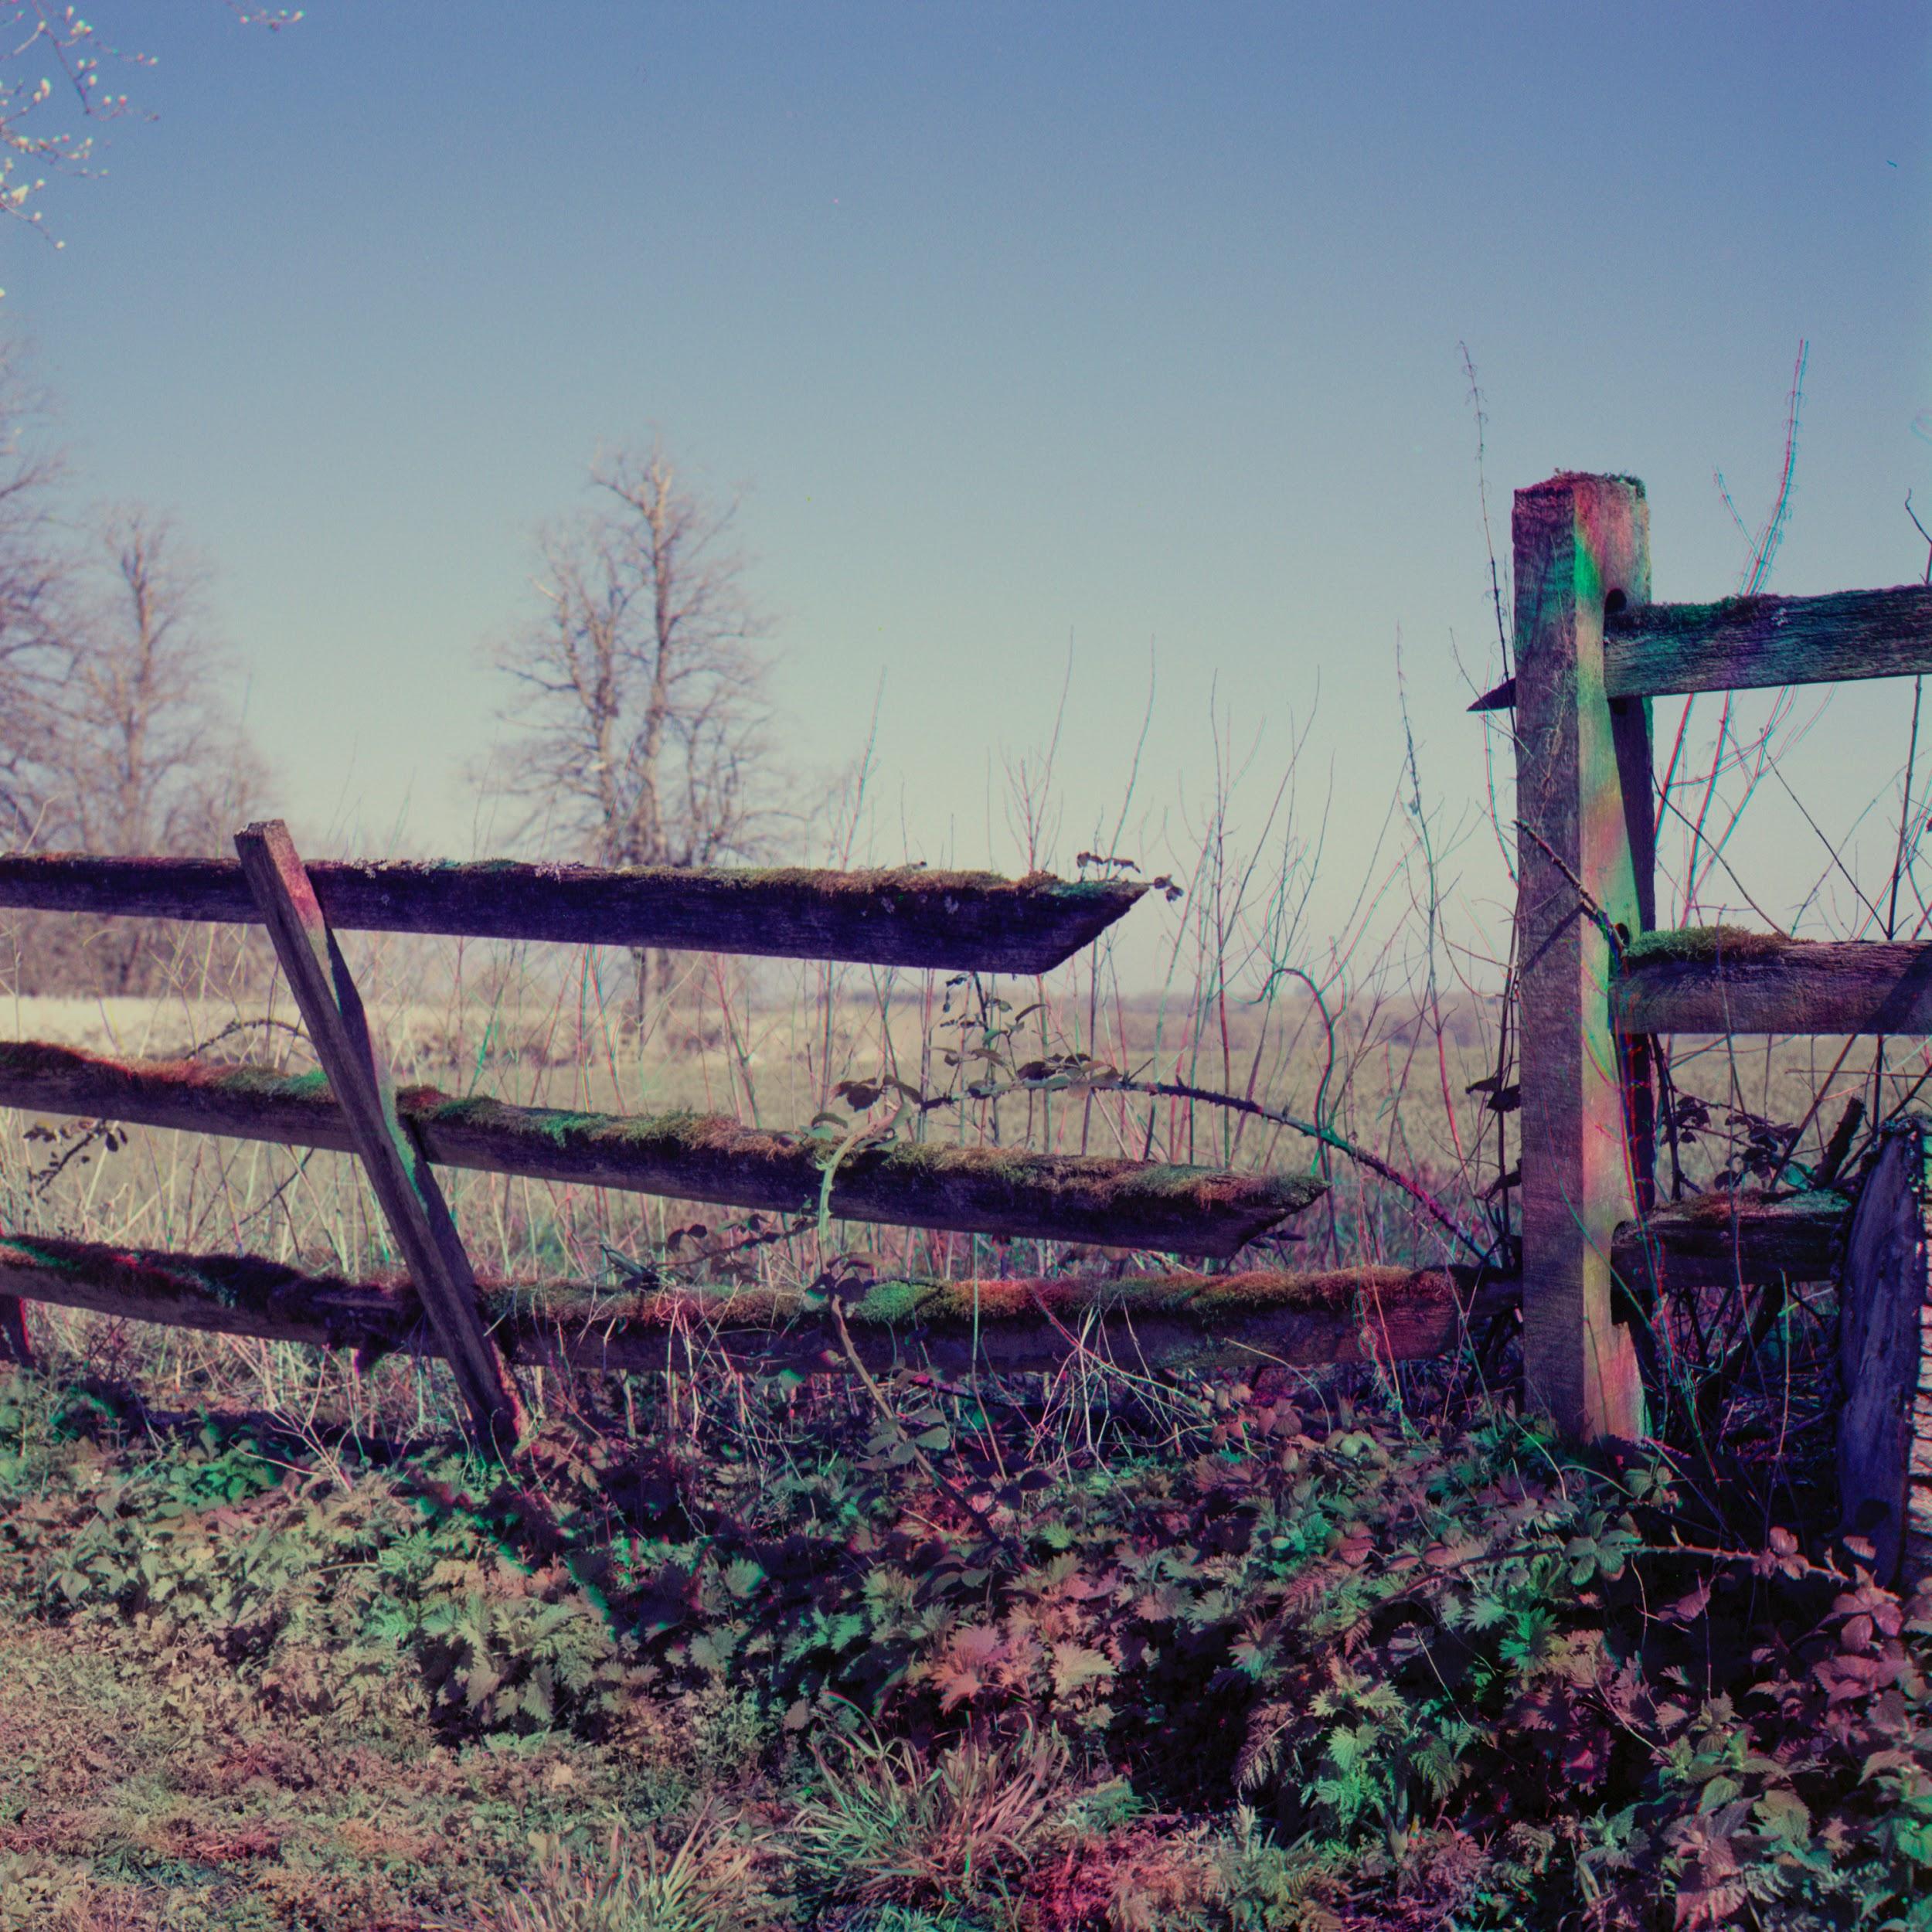
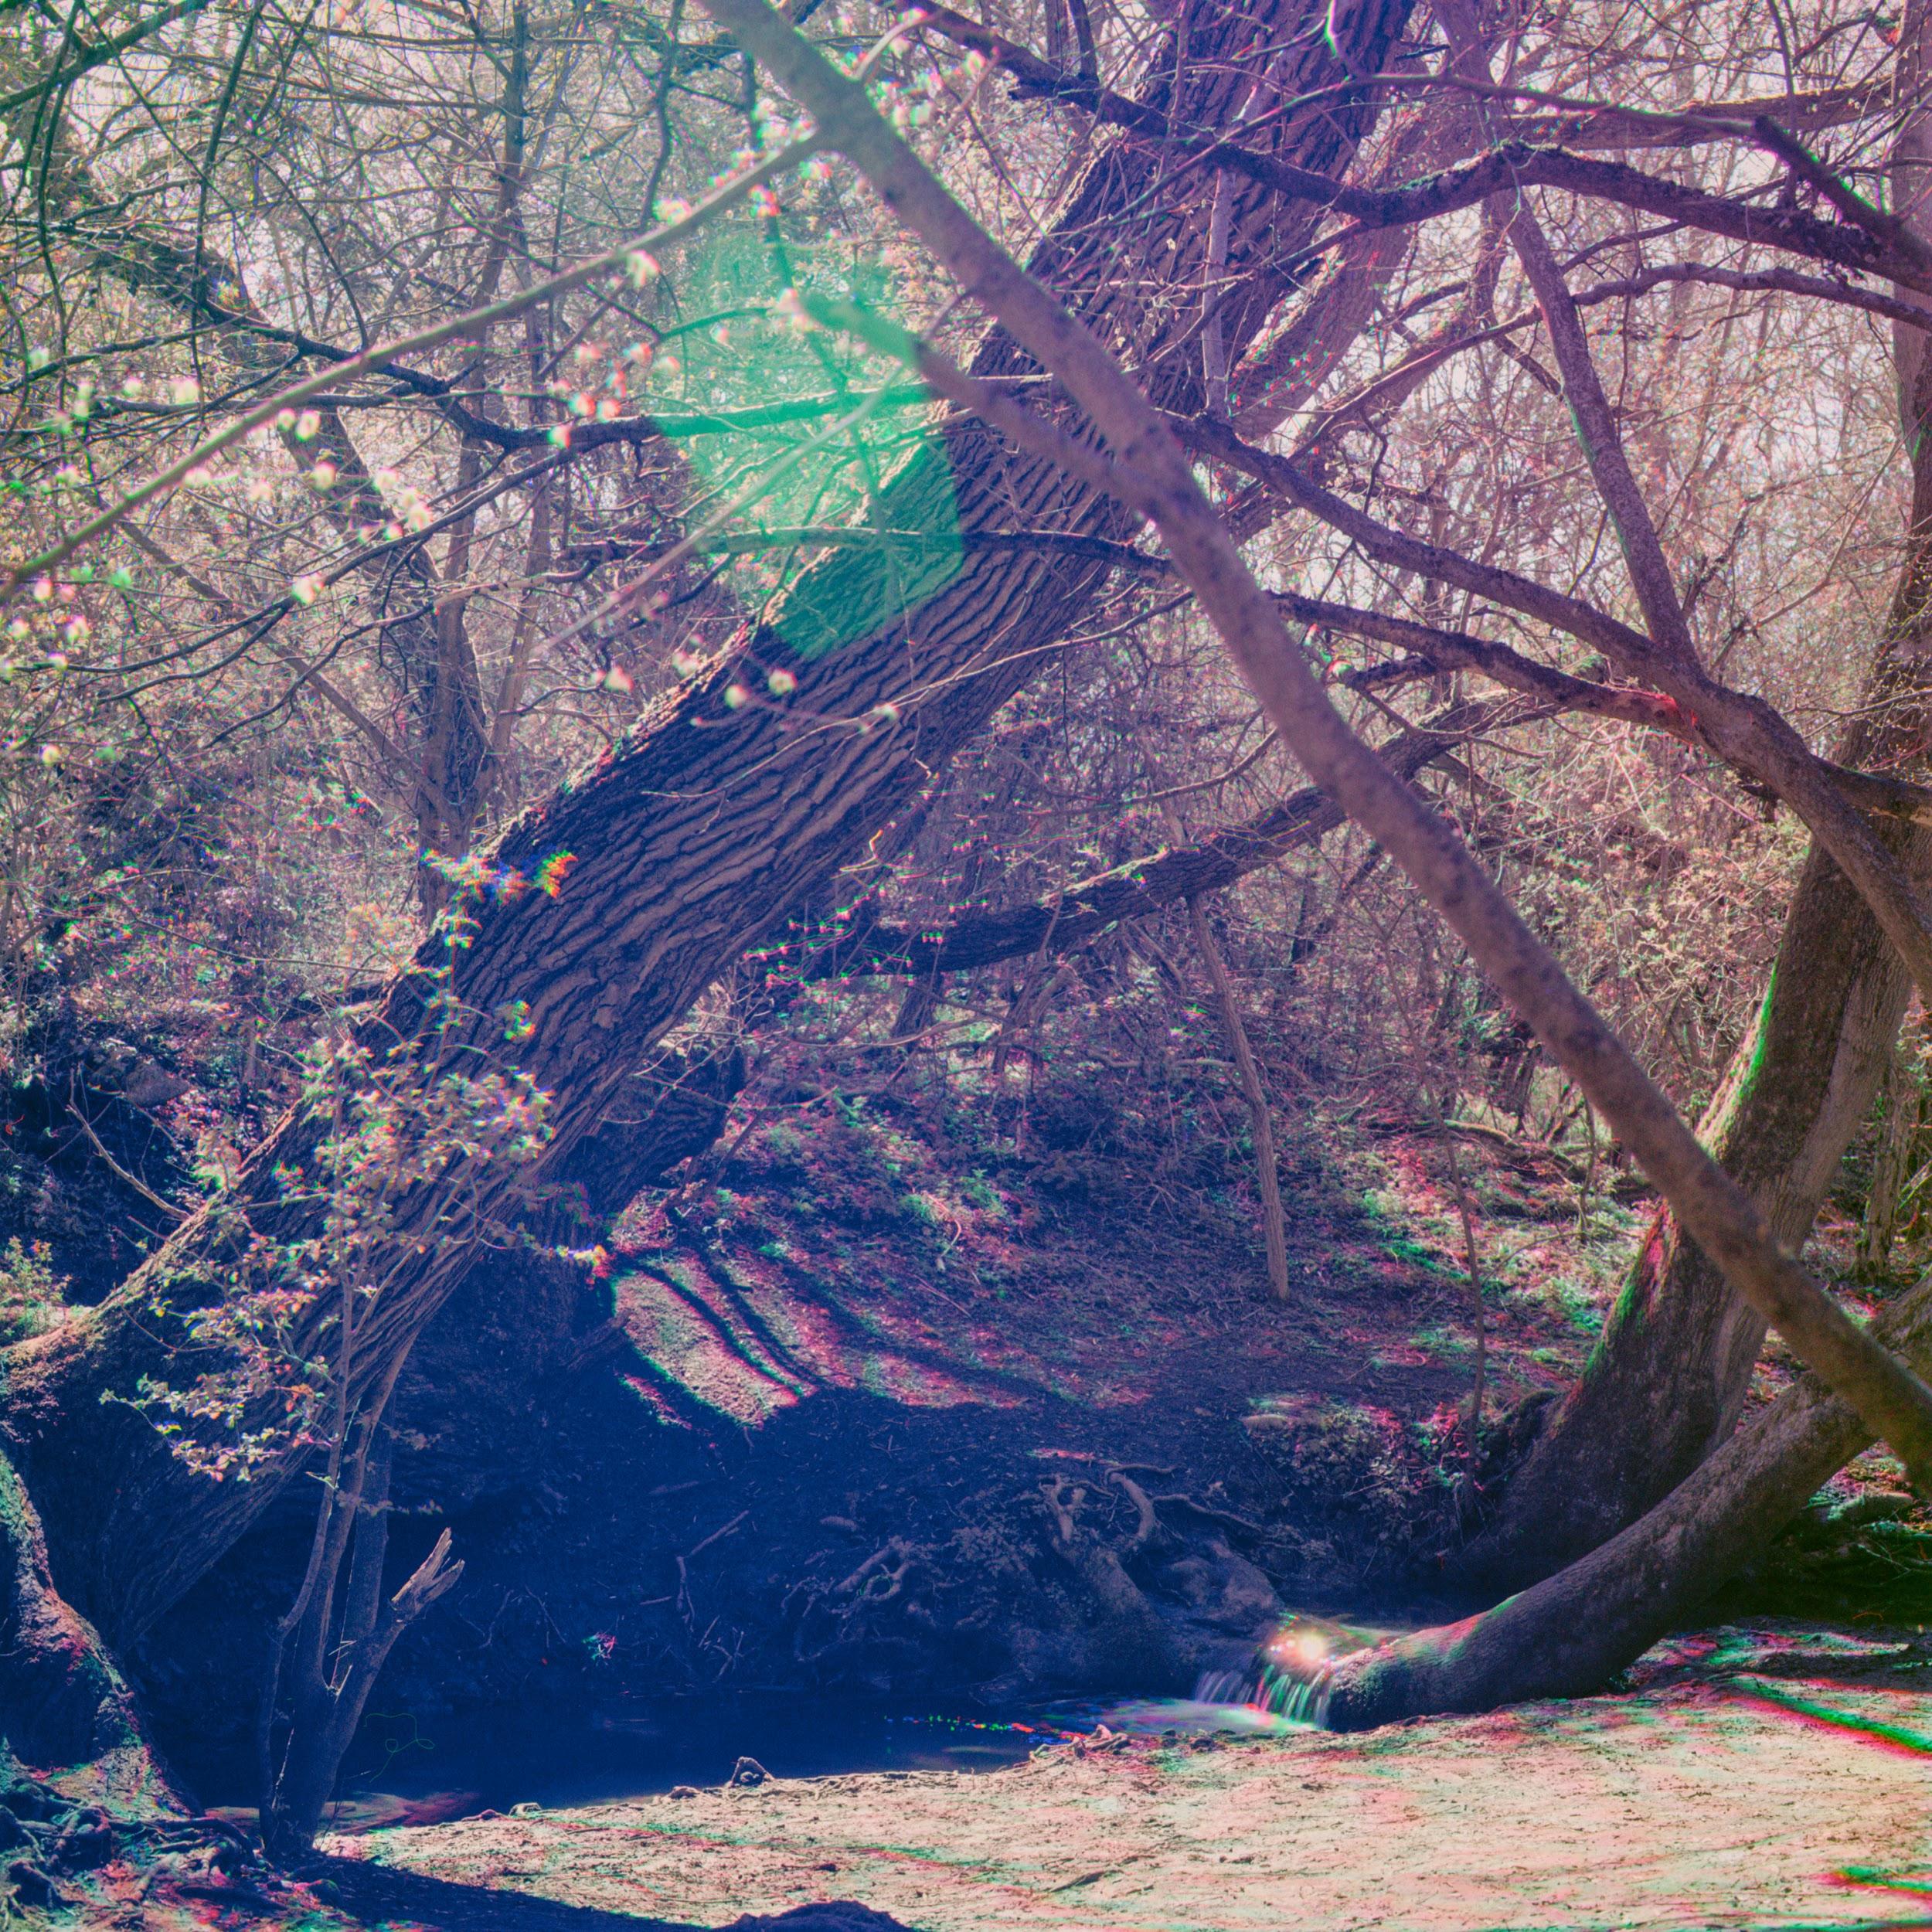
All images above taken with HP5 and 80mm Planar

HP5 with 80mm Planar.


HP5 with 50mm Distagon FLE


I personally wouldn’t shoot colour images like this regularly especially nowadays when we have some fantastic colour film stocks! It has been a great experience to look back and draw inspiration from the methodologies of yesteryear. I am currently working on another effect using similar methods to create a very different effect. Perhaps you can guess what it is if I tell you it uses SFX!


Images © Jack Crofts

26.12.20

5 Frames… From the Peter Pan Cup Christmas Day 2019, on ILFORD Delta 3200 Professional and HP5 PLUS

Serpentine Lake, Hyde Park, London. Images from the 1914 cup, with 1913 winner G Gyton. 
(Photo: Londonist.com)

The Peter Pan Cup is a yearly 100m race, a swim across the icy-cold Serpentine Lido in Hyde Park. Swimmers have met in the park every Christmas morning since 1864, and the titular “Peter Pan Cup” was first donated in 1904 by author J.M. Barrie himself. 

Participants must acclimatise themselves to the cold across the year, and these weekend swim sessions have caught the attention of a few London-based street photographers who have been documenting those days. I wanted to photograph the event itself, so planned my 2019 Christmas Day around attending this early morning event.

I photographed with two cameras, my Nikon FM2 with 70-210 f/4 Series E lens, and a Nikon FG with a Sigma 24mm f/2.8. I had ILFORD Delta 3200 Professional in my FM2, and HP5 PLUS pushed to 1600 in my FG for use with the wide angle.
I wanted my focus to be on the characters and moments, rather than an all encompassing documentation of the event itself, and I’m mostly happy with the results. I had to make a few compromises due to the crowds which meant getting some images and not others – this is something I will hopefully remedy by attending another year (not likely 2020) and shooting again but from different vantage points, leading to a more complete set of images.

I quite liked the Delta 3200 Professional frames, the grain and the early morning sun were a wonderful combination. The HP5 PLUS was a bit too blocky here, I prefer the airiness and lower contrast feeling from the higher speed emulsion.

It’s interesting looking back at these images – I wrote this article a couple of weeks into the New Year (2020), and now after being asked to revisit this article by EM to add a few more thoughts I am forced to also consider the new context these images now exist in. It may be that we don’t see another Christmas gathering such as this for a while, but I’ll definitely try and be there for when it does happen! However I feel about a possible improvement to the way I made these photographs on an aesthetic and storytelling level they do now represent a strong idea about community coming together in the icy cold, and just having a great time together; very appropriate for a Christmas story. Happy holidays!

Interested to know more: Serpentine Swimming Club

Simon King

19.12.20

Ilford Sprite 35-II is a compact film camera due for release in 2021

Ilford has announced that it will be releasing a new 35mm film camera in 2021 called the Ilford Sprite 35-II.

Ilford has recently announced a new 35mm film camera to be released in January 2021. This may initially come as a surprise for some, but there has been quite a resurgence in film over the last few years. 

The camera Ilford is planning on releasing will be an affordable compact camera called the Sprite 35-II. This camera pays homage to the original Sprite 35, which was released back in the 1960s. 

With digital camera technology far beyond what film can produce, many photographers have completely left analog processes behind. However, there are many photographers that find the tactile nature of film extremely appealing, which is one of the reasons why film has been growing in popularity in recent years.

The Sprite 35-II will feature a 31mm f/9.0 fixed focus lens that will be akin to some disposable cameras, even though the Ilford Sprite 35-II will be a reusable camera. The shutter speed is also fixed at 1/120s, which means that it'll probably be best in brightly lit conditions. 


The upside to having a small aperture lens is that the Sprite 35-II will be compact and lightweight camera. Weighing in at only 122g, this camera is actually quite a bit lighter than many smartphones currently on the market. 

The Ilford Sprite 35-II is due to cost $34.95 (around £26 ) and will be released in January 2021.

https://ilford.com/product/sprite-35-ii-camera

24.10.20

Lomography's new 35mm camera has a lens you can fill with liquid


It looks like a fun way to manually add vintage aesthetics to panoramic shots.

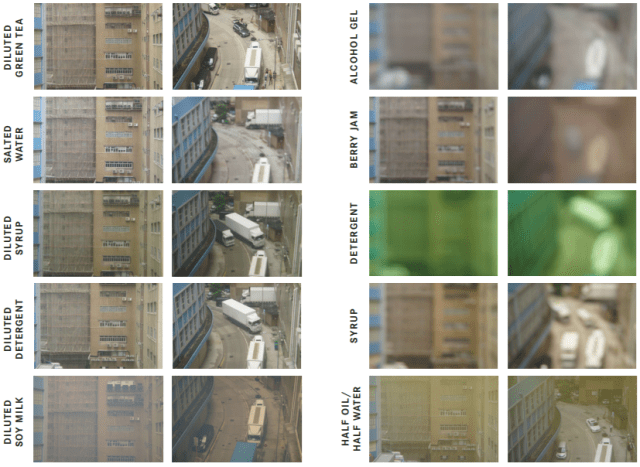
Lomography's latest panoramic 35mm camera has a trick up its sleeve. You can pour liquid into the lens of the HydroChrome Sutton’s Panoramic Belair Camera (yep, that’s the full name) to add some colorful effects to your panoramic shots. Lomo suggests that you’ll be able to capture photos with “vintage aesthetics, washed-out tones and radiant blur” simply by adding clear water to the lens.

It issued a Liquid Guide to give you some ideas on what to inject — ideally particle-free, water-soluble substances like watercolor paint or food coloring. You might use tea or coffee as well, but alcohol, glue, oily solutions and corrosive substances will probably damage the lens.


Lomography

This isn’t the first Lomography camera with a liquid-filled lens, as Peta Pixel points out. Lomo introduced the idea in the cardboard LomoMod No.1 camera it brought out last year. That camera used 120 film instead of 35mm. Effectively, the HydroChrome brings the lens from that model to the sturdier body of a Belair.

The HydroChrome has a fixed-focus lens with a built-in f/11 aperture, though you can swap in f/16, f/22, f/32 and f/168 pinhole aperture plates. It looks like a fun way to manually bring Instagram-esque filters to your analog 35mm shots. 

Pre-orders for the $79 HydroChrome are now open.

Kris Holt